In this article, you'll learn how to navigate and utilize the features in the Update Actions tab.
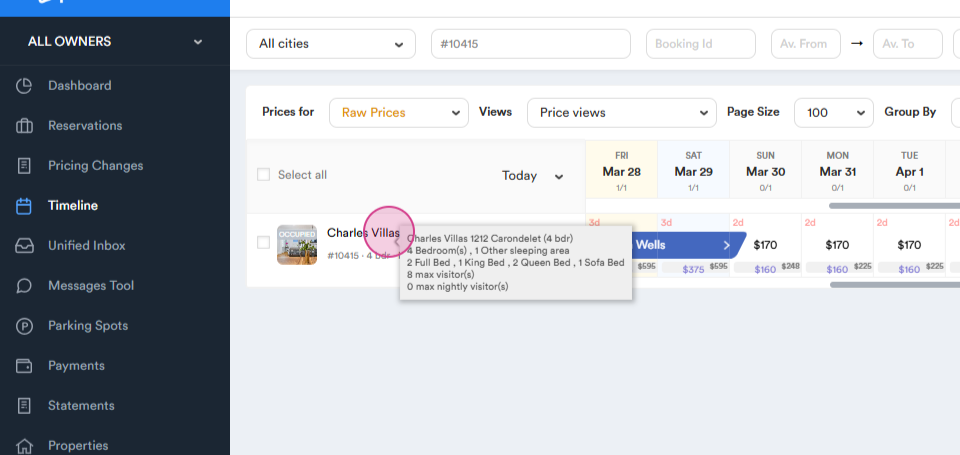
Step 1: Click on the Unit name.
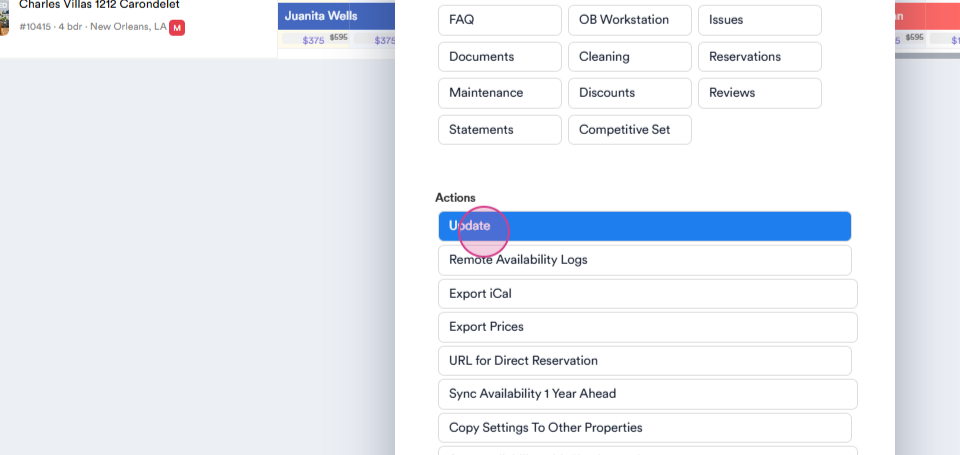
Step 2: Navigate to the Update section.
Here, you'll find a page detailing the unit's information such as property name, owner's name, home type, and other unit details.

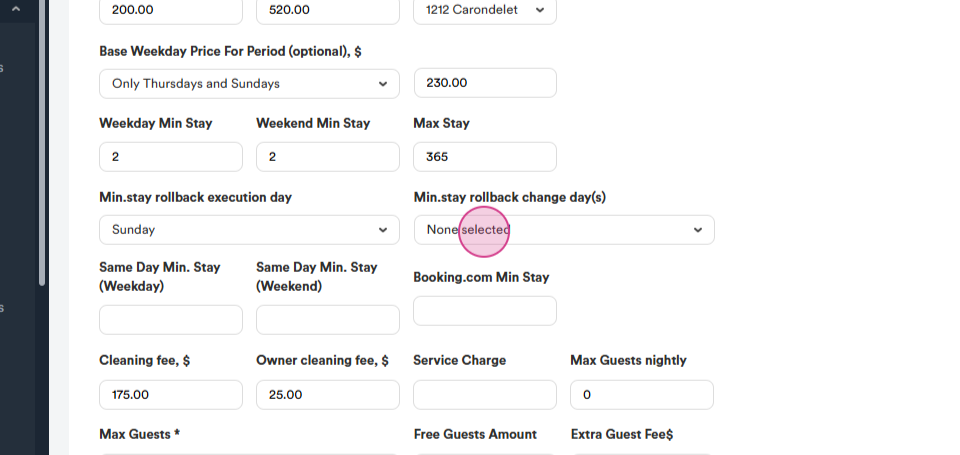
Step 3: Scrolling down you'll notice a section where minimum prices can be set for the unit. This is a safeguard to ensure that neither the system nor users can lower the rates below this threshold. This can be customized for each specific day.
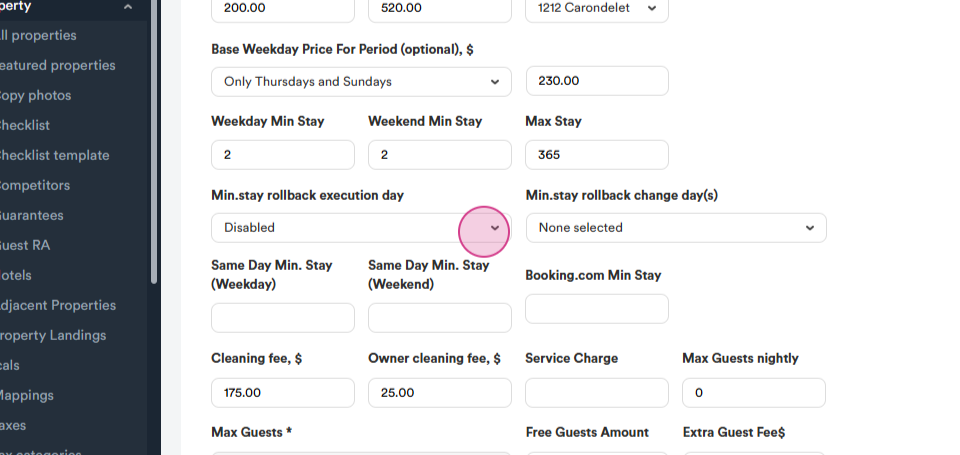
Step 4: Another feature is the ability to set base price for weekend and weekday, as well as select a price group. This allows the system to automatically open calendars based on these prices. We also have the option to set the minimum stay duration for both weekends and weekdays, with the default maximum stay set at 365 days.
Step 5: Use the feature for minimum store rollback execution days. This allows you to adjust the system if you've set specific days to more than the general minimum.
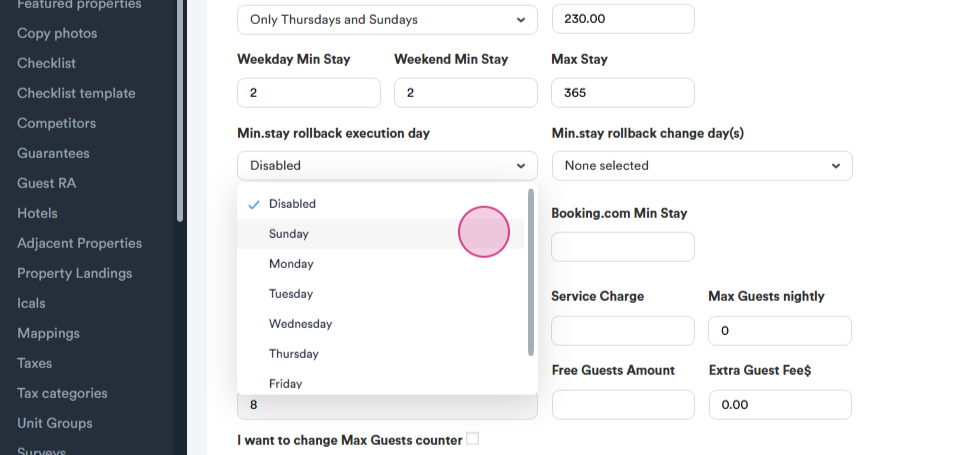
For example, you can set the minimum stay to change every Sunday.
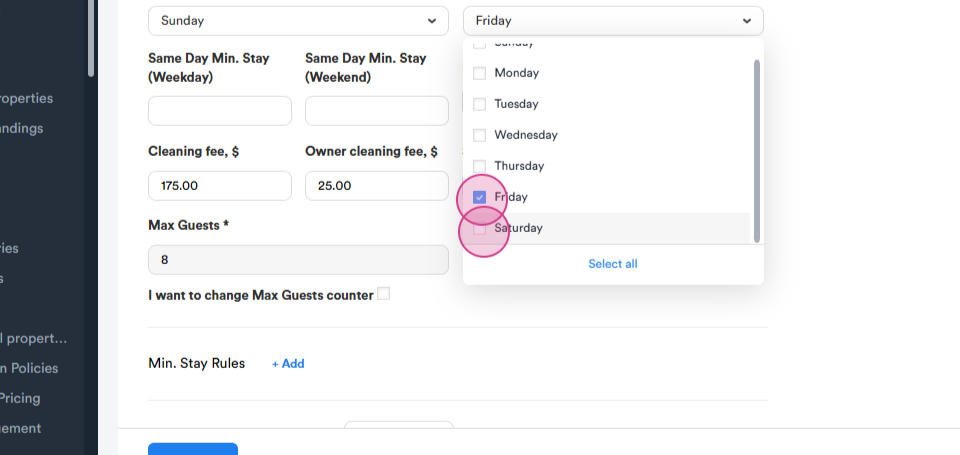
For instance, it could change to two days every Friday and Saturday. In addition, we have the 'same day minimum stay' feature for both weekends and weekdays. The cleaning fee and owner cleaning fee details can also be found here, handled by the tax team. If there's a need to set up an extra guest fee, this can be done here.
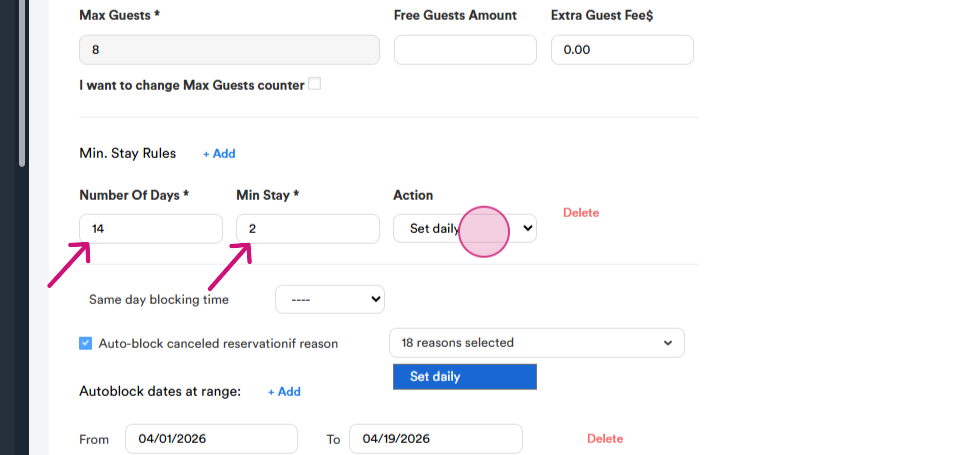
Step 6: We also have a 'minimum stay rule'. This means that, for example, if the check-in date is in the range of 14 days away, the system will change the minimum stay to 2 days.
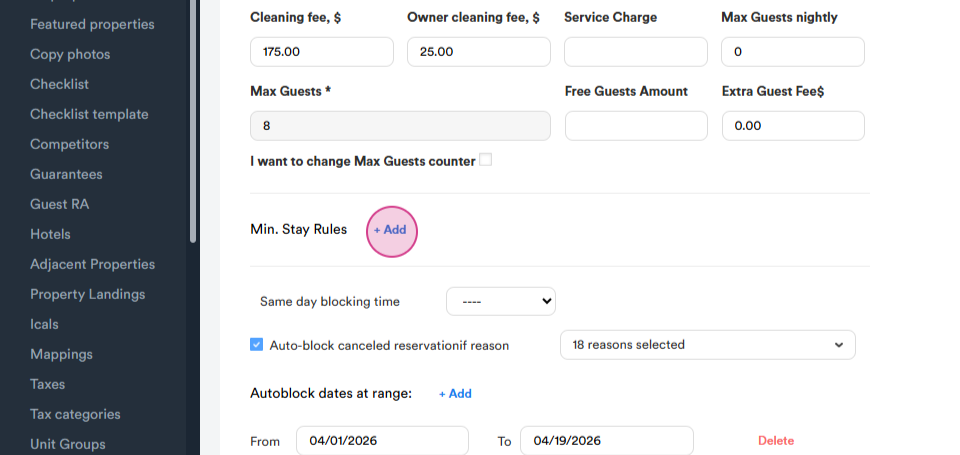
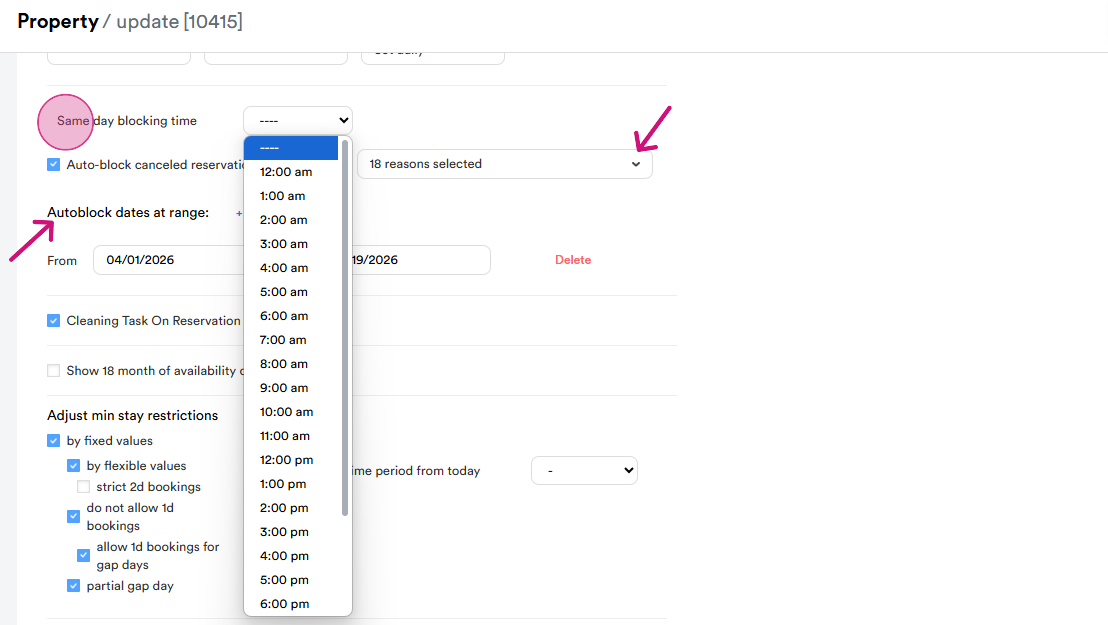
Step 7: Lastly, we have a section dedicated to the same day blocking time. We have an auto-block feature for canceled reservations. For example, when a reservation is canceled, we can choose the reason, and the system will automatically block the date. We can also adjust this for specific date ranges. In addition, we can adjust minimum stay restrictions and other settings. For more details, please refer to our other SOPs.
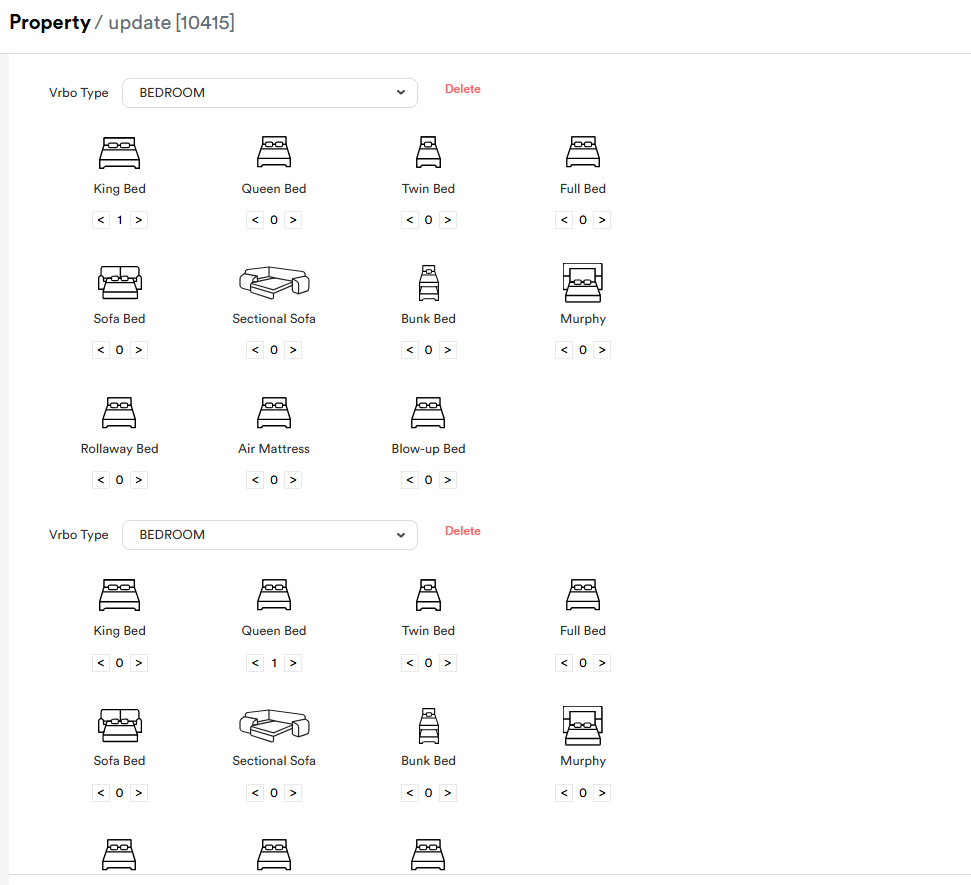
Step 8: Scroll down to view bedding types, percent of rate taxes, and early check-in and late checkout offers.
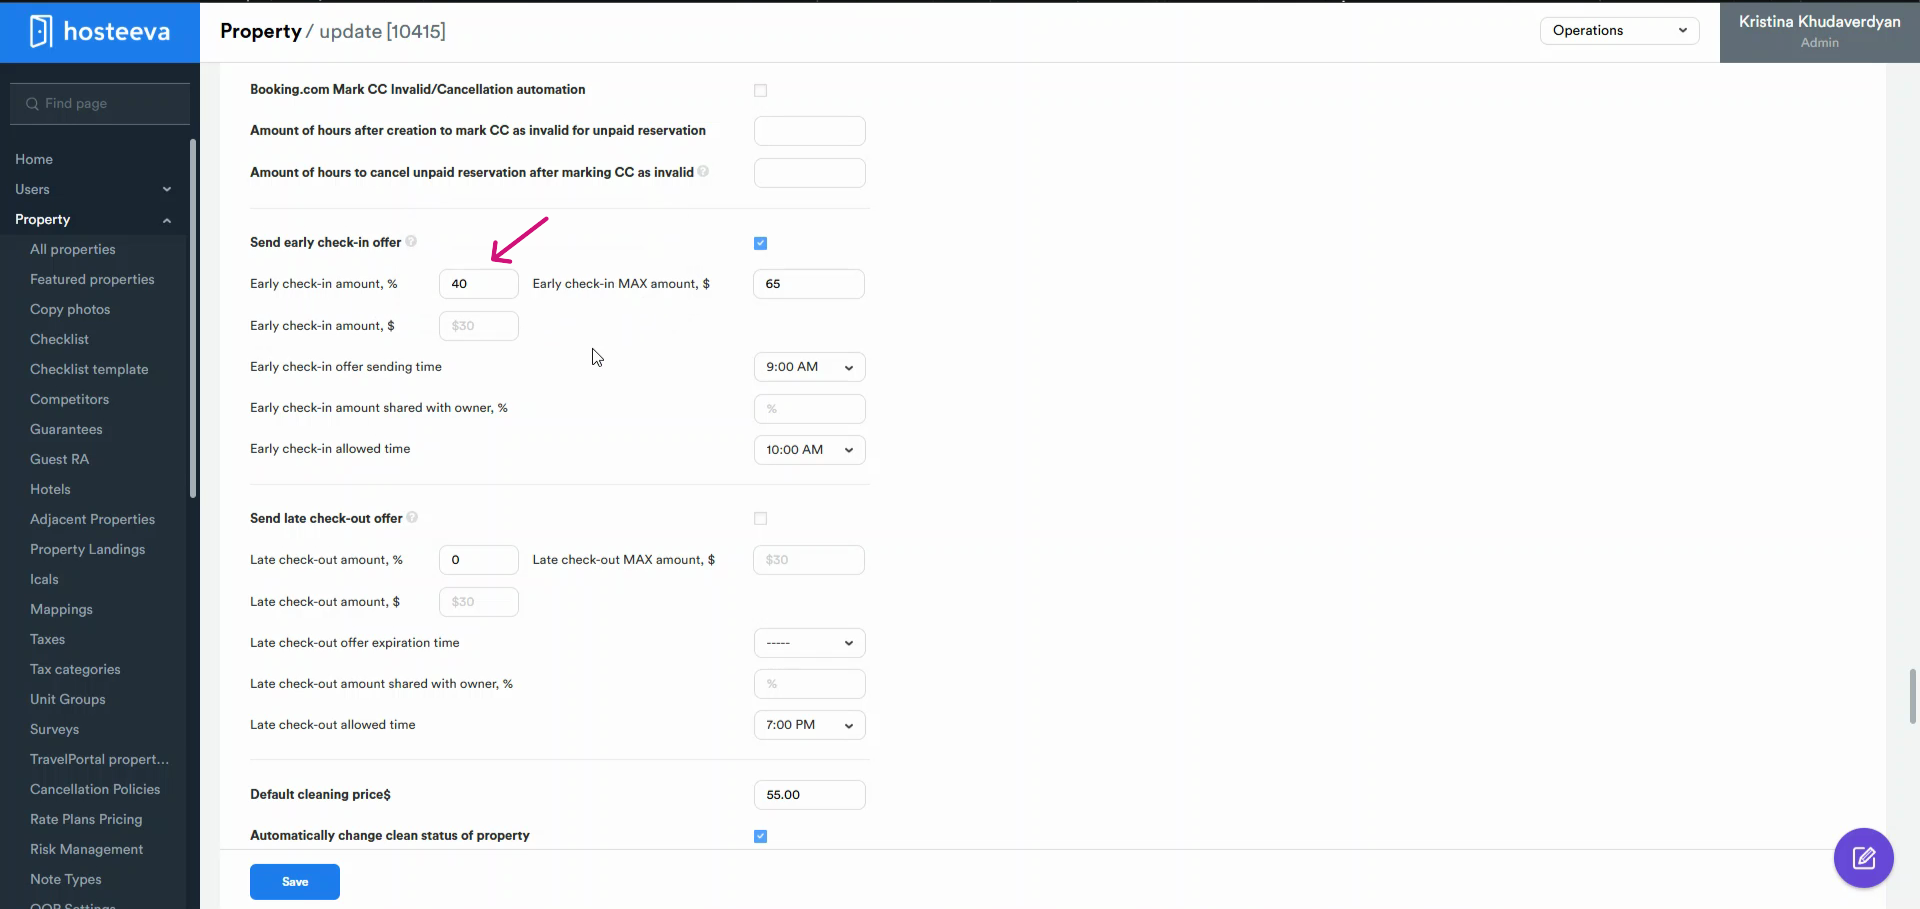
Step 9: We can set these amounts in percentages. For instance, the early check-in amount could be set at 40% and mentioned the maximum amount.
Early check-in can be set in amount and , choosing sending time. You can choose the sending time and allowed early check-in time. We also have an option for sharing the early check-in amount with the owner.
This refers to the logic for calculating early check-ins and late check-outs, which is related to the managed service type. The primary distinction between Managed and Hosted, Platform service types is that the associated charges are automatically categorized as "Managed by Owner" or "Managed by Platform." and these charges are then added to the payout amounts in statements and invoices accordingly.
So, if we enable the Early check-in or late check out feature for Hosted or Platform, we don`t need to add amounts to the "Shared with owner" setting.
Once we've activated all the details for the offer, we need to mark it. The same applies for the late checkout offer. Lastly, let's talk about mappings. Here, you can see all the channel mappings. Please note that if you want to change something, you simply need to click "save".
Thank you for reading!