This article will guide you through the process of setting up automated messages for guests. By the end of this tutorial, you'll have a fully functional automated messaging system in place.
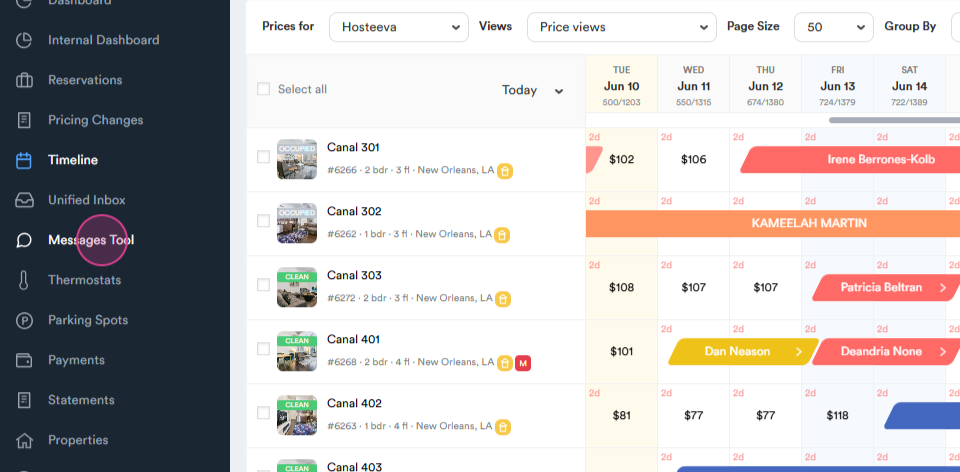
Step 1: Start by navigating to the Message Messages tool tab on the left side of your screen.
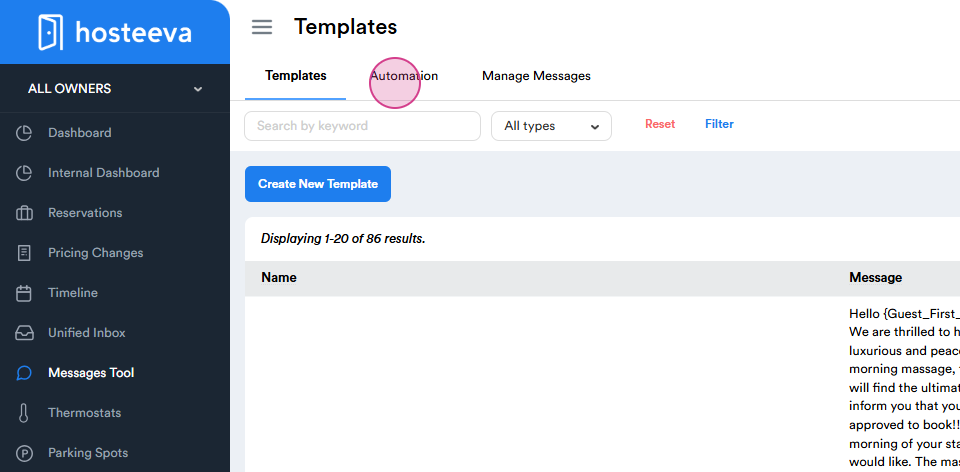
Step 2: Here, you'll see a list of recently created templates. To create a new one, click on Create New Template.

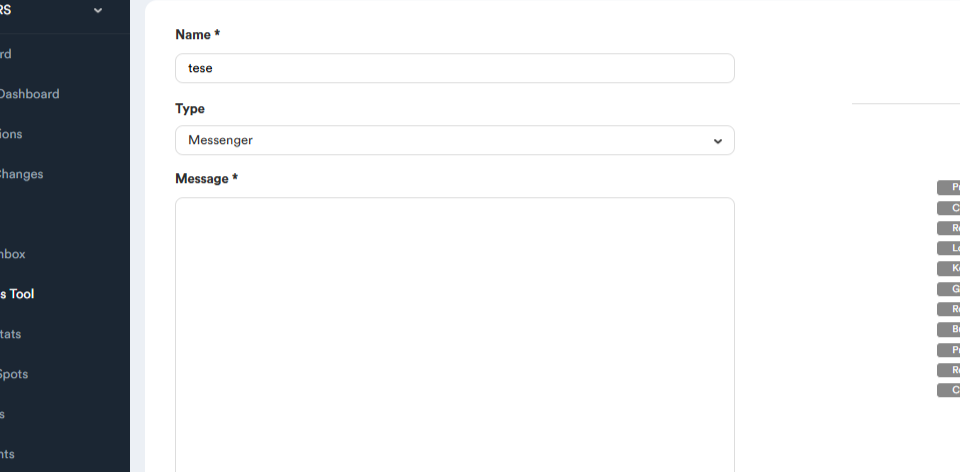
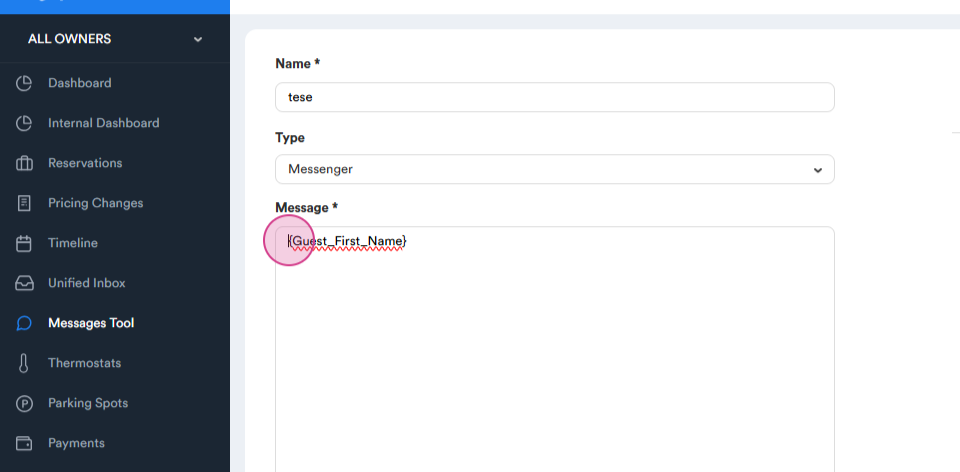
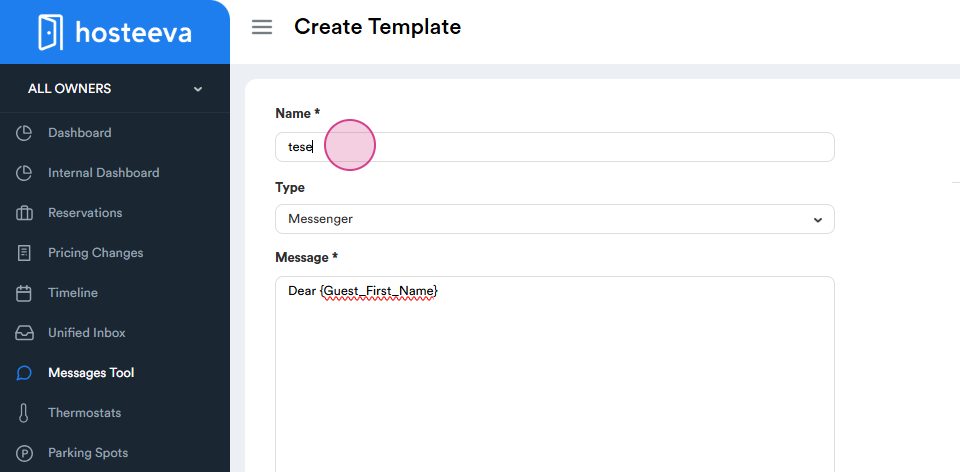
Step 3: Compose the title of your template.
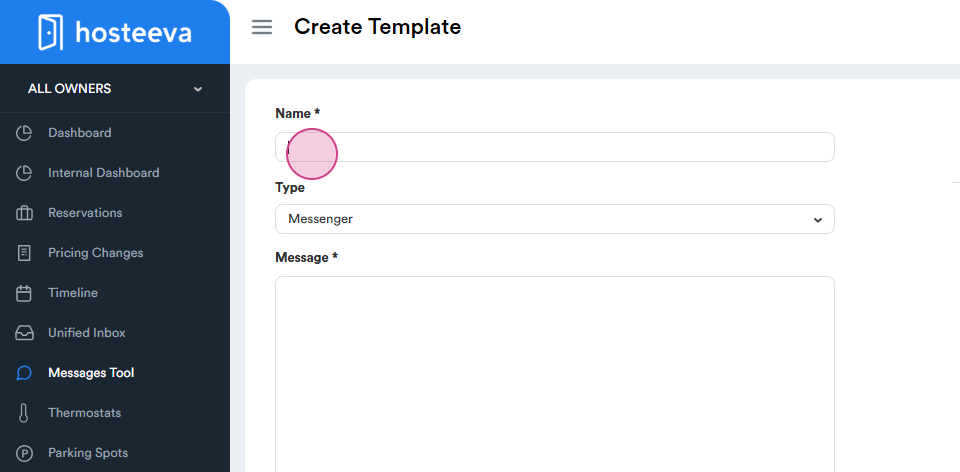
Step 4: Choose the type of message you want to send - whether it's an SMS, Messenger message, or email.
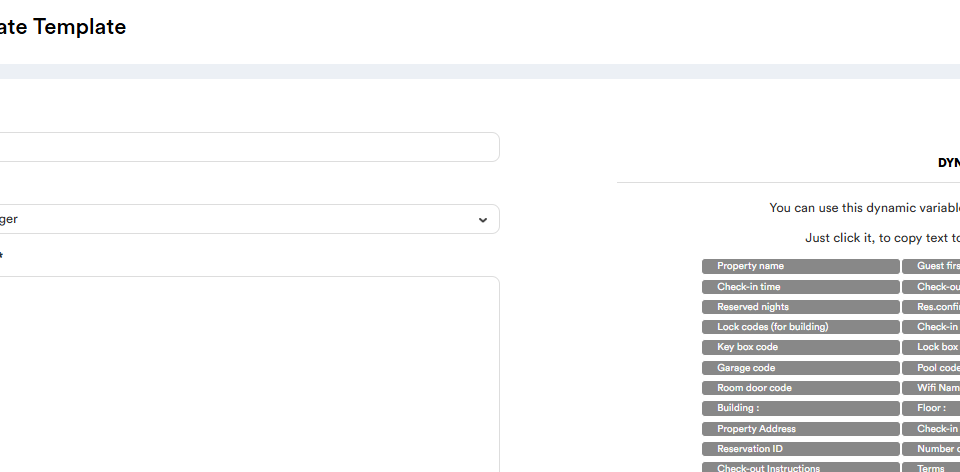
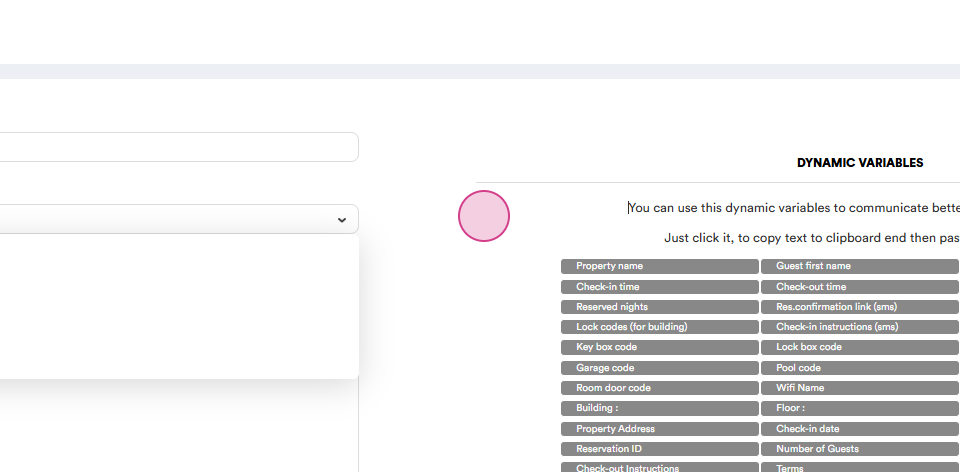
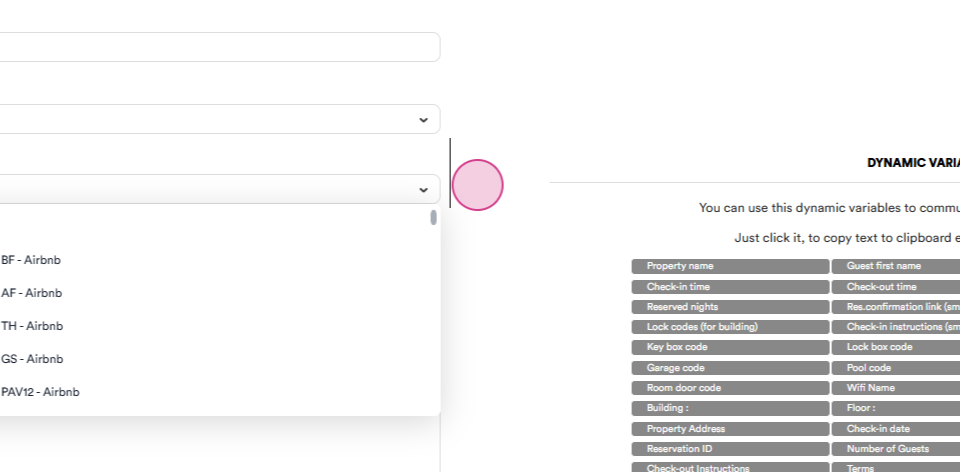
Step 5: Compose the main body of your template. If you want to address the guest directly,
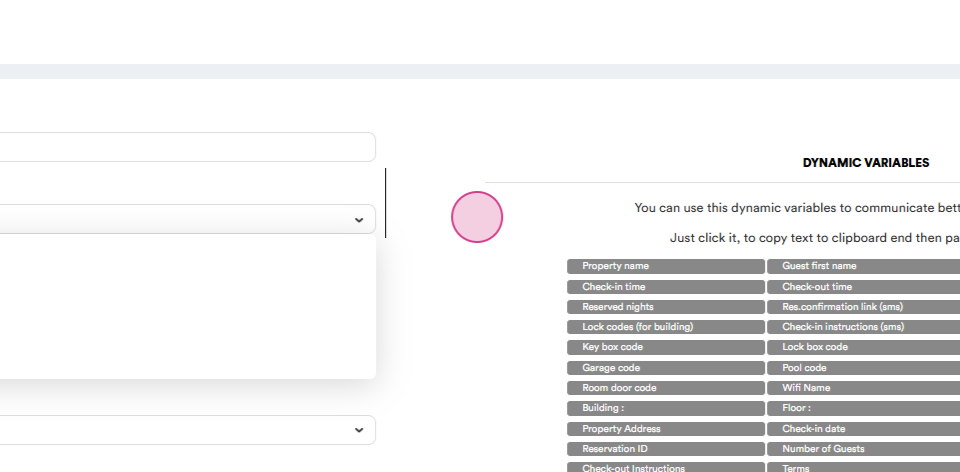
You'll find dynamic variables available for use.
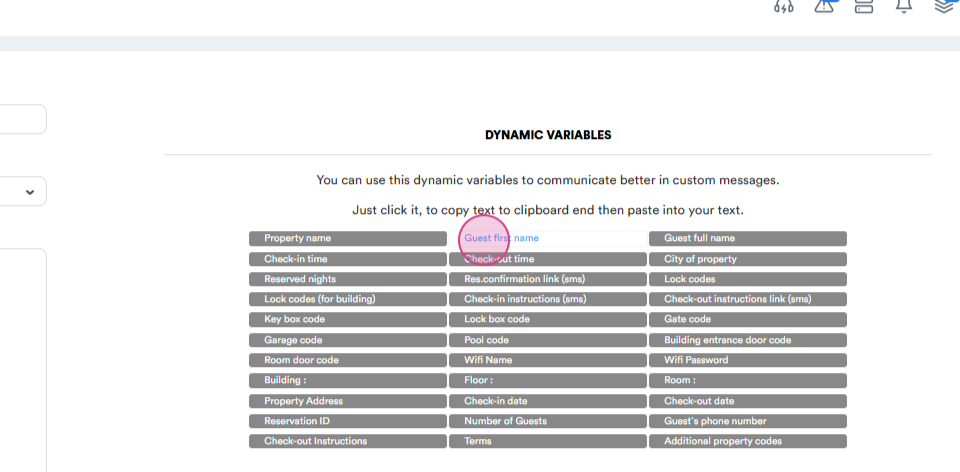
For example, you might start your message with "Guest_First_Name..."
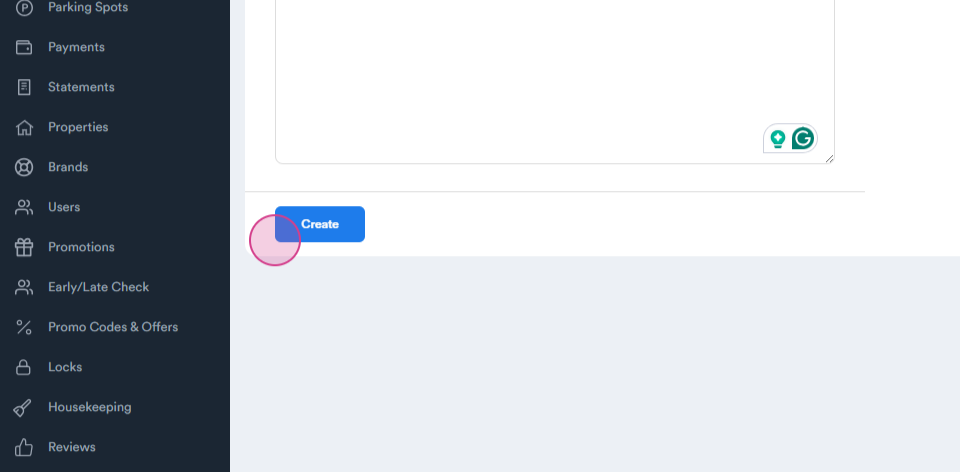
Step 6: Once you're done composing your message, press create.
You'll now have a new template ready for use.
Step 7: After creating your template, navigate to automation.
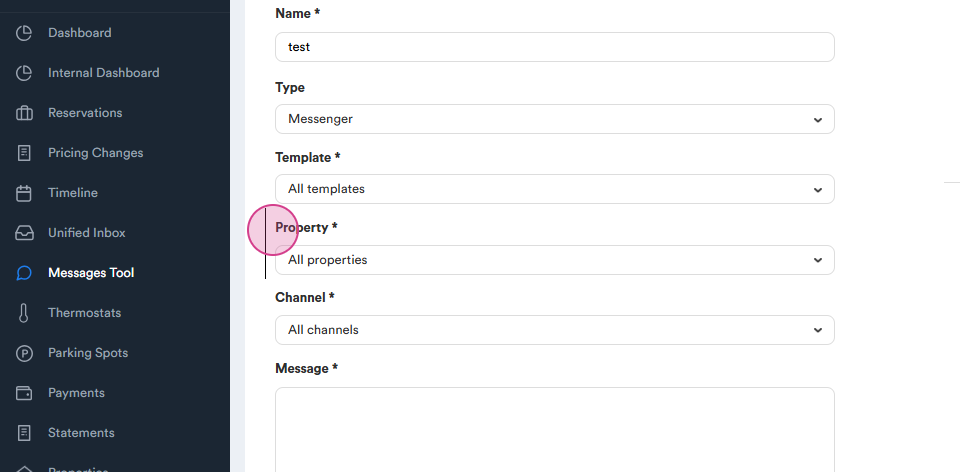
Step 8: Here, create a new rule. In the name field, input the name of the template you've just created.
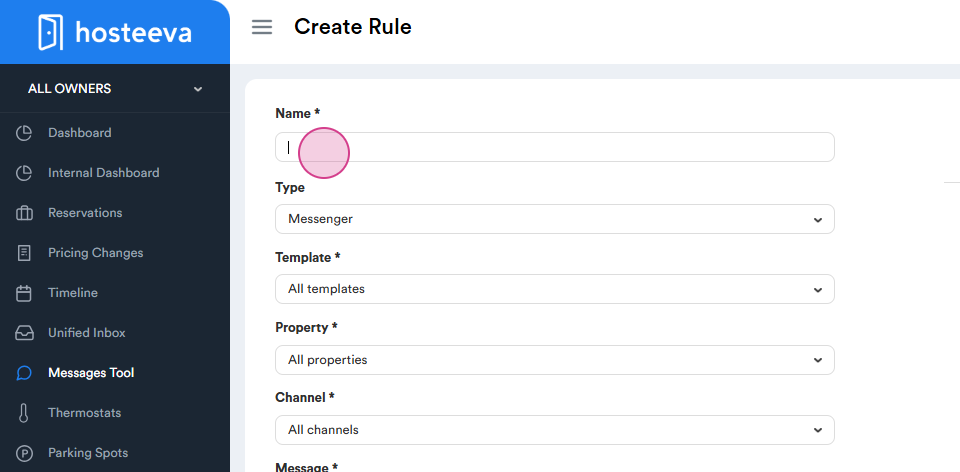
Step 9: Choose the type of message you want to send - again, this could be a Messenger message, email, or SMS.

Step 10: Select your newly created template from the list.
Step 11: From the property section, choose the properties to which you want to send the message. Choose the channels and reservations to which you want to send the message.
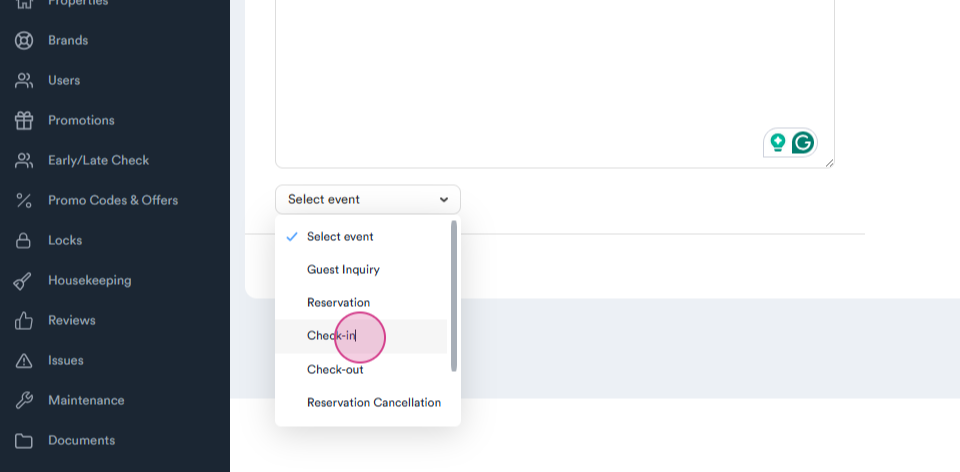
Step 12: At the bottom of the screen, you'll see a select event option. Here, you can choose the event that triggers the message - for example, an early check-in, a guest inquiry, or a new reservation.
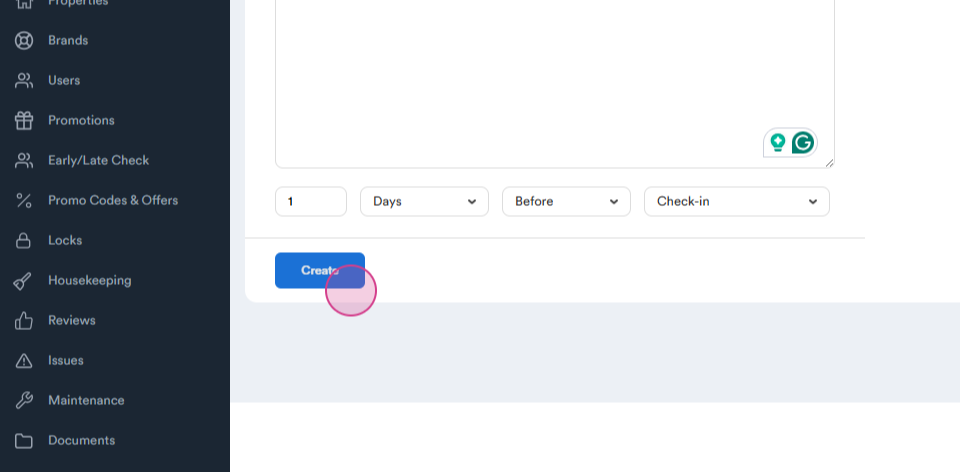
Step 13: Choose when to send the message - before check-in, after check-in, or when the reservation is created.
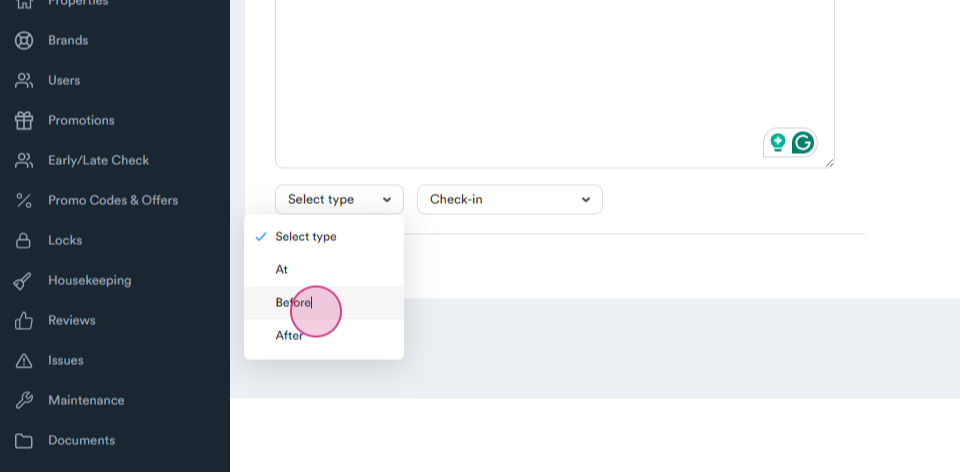
Step 14: Select the time before check-in when the message should be sent.

Step 15: Once you're done setting up your automated message, press create.
You now have a fully set-up automated messaging system.
Thank you for following along with this tutorial.