This tutorial will guide you through the process of creating a new reservation, sending payment links, and managing other reservation-related tasks in Bywaters hotel system.
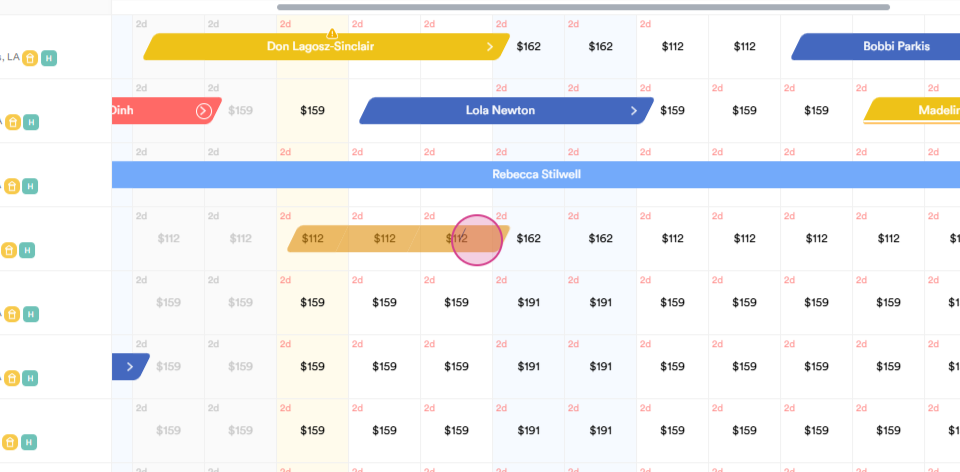
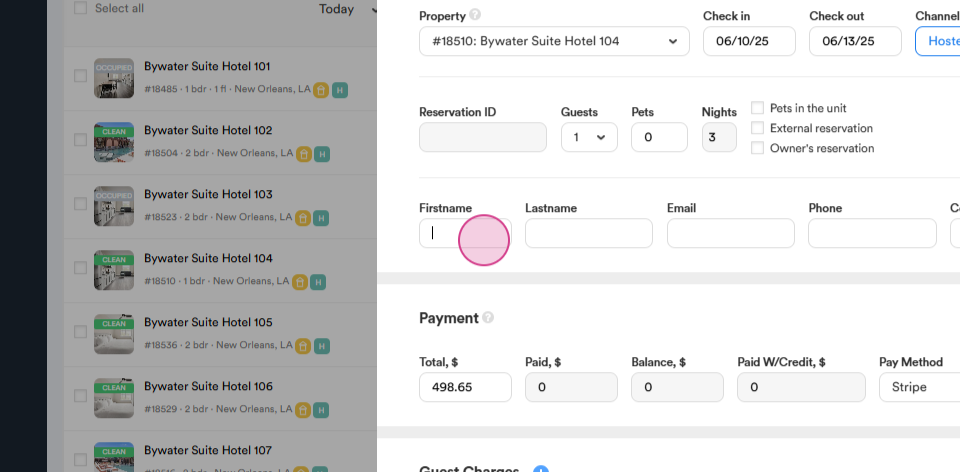
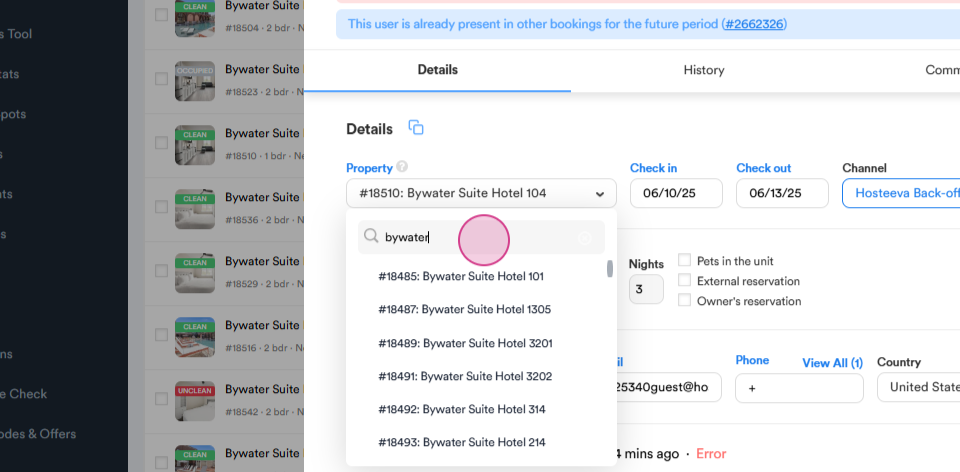
Step 1: Start by selecting a random room from the Bywater Hotel. For this example, we'll use room number 104.
Step 2: Choose the start date (check-in date) and end date (check-out date). For instance, let's select July 10th as the start date and July 13th as the end date. Click on the start date and drag the mouse to the checkout date.
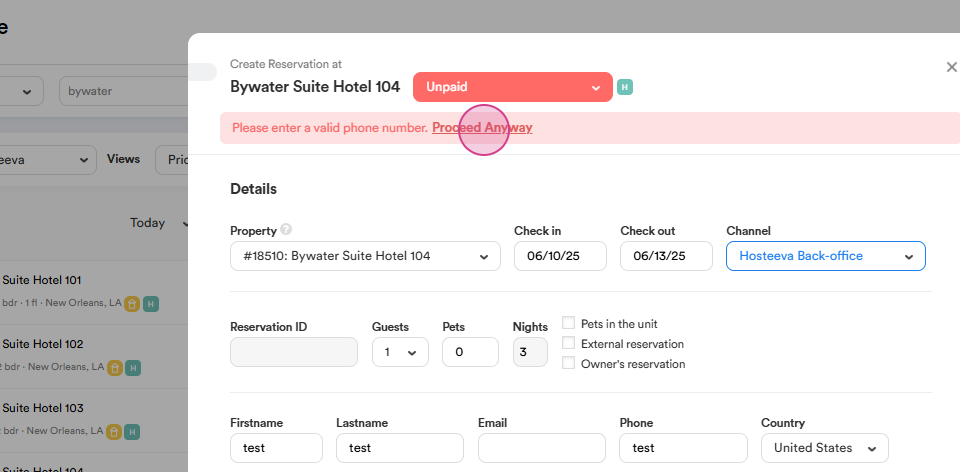
Step 3: Left-click to bring up the Create Reservation button. Click on it.

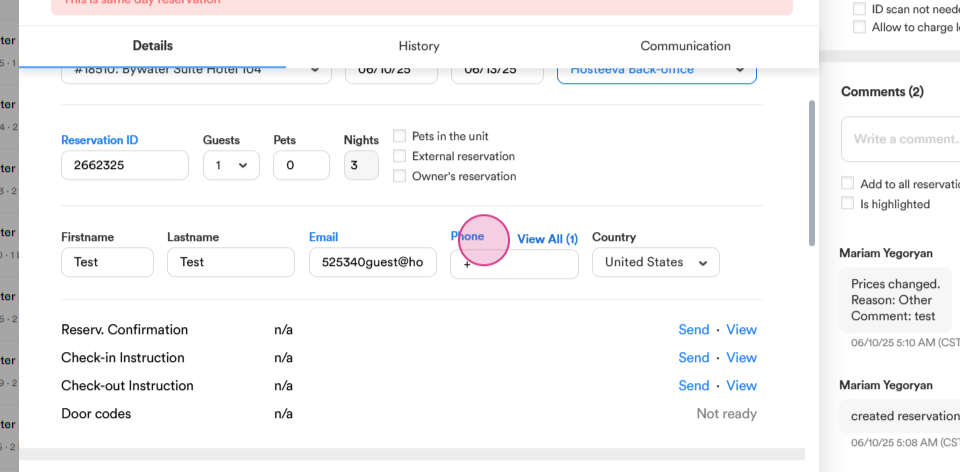
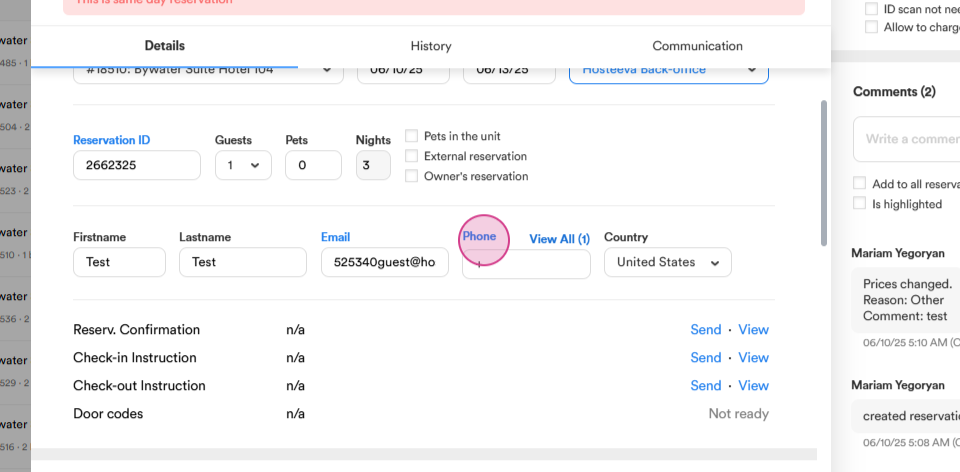
Step 4: Fill in the guest's first and last name, email address, and phone number.

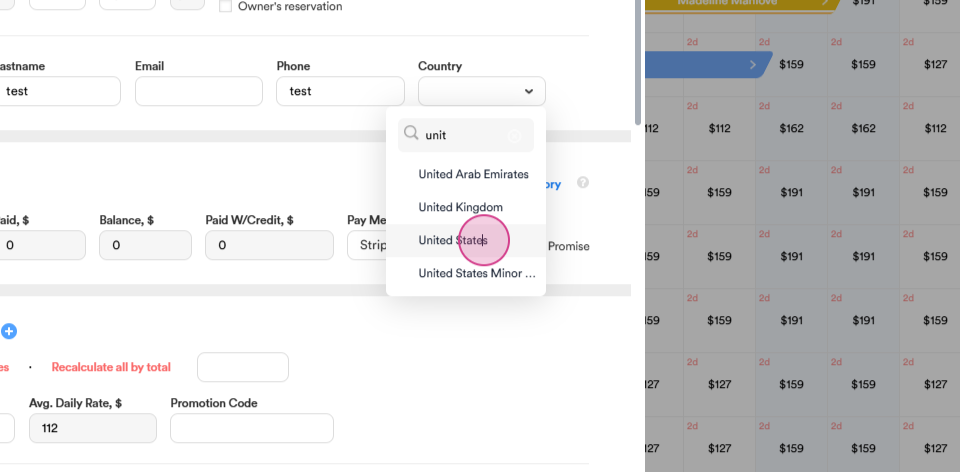
Step 5: Select the guest's country. For this example, we'll choose the United States.
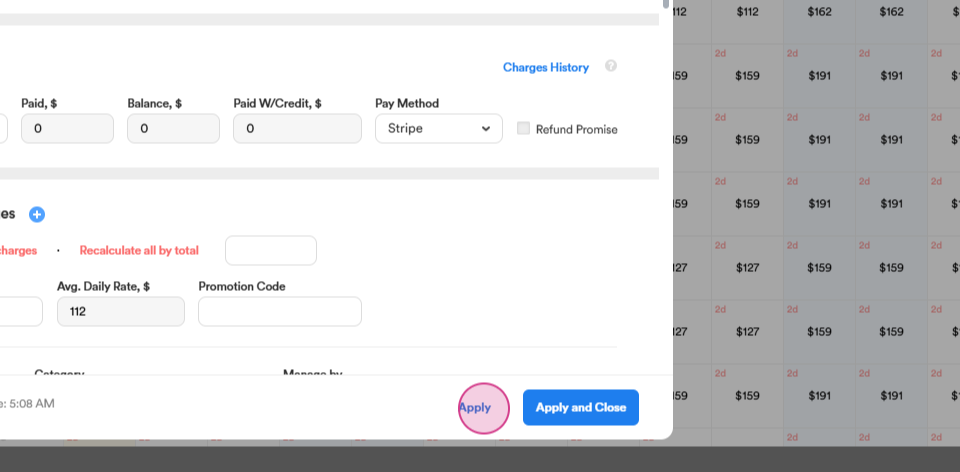
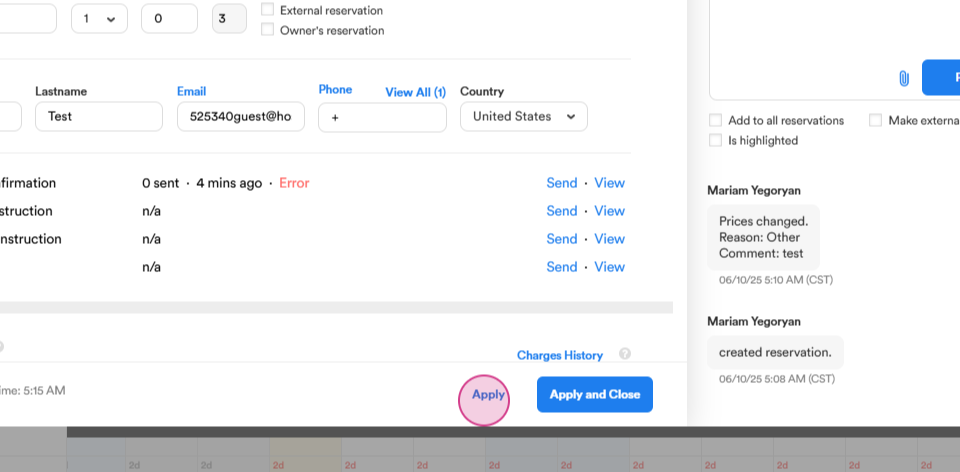
Step 6: After filling in all the fields, click on Apply. The system might ask for a valid phone number. Since this is a test reservation, proceed anyway.
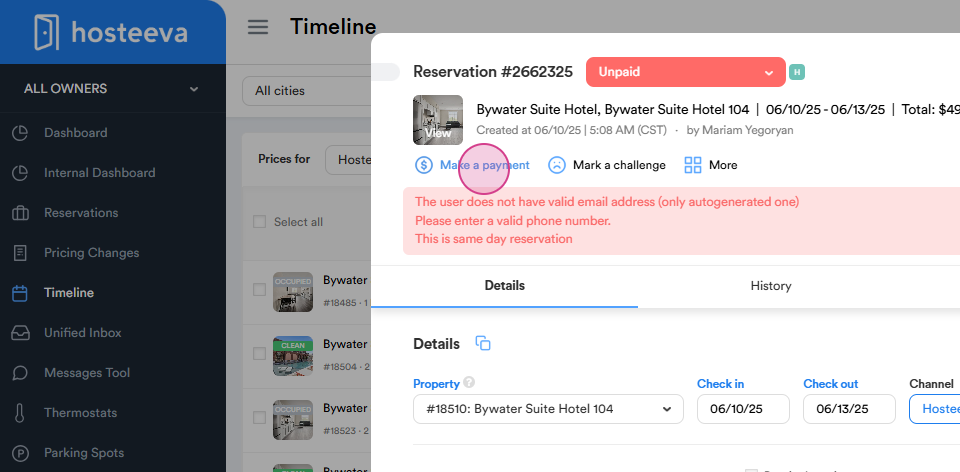
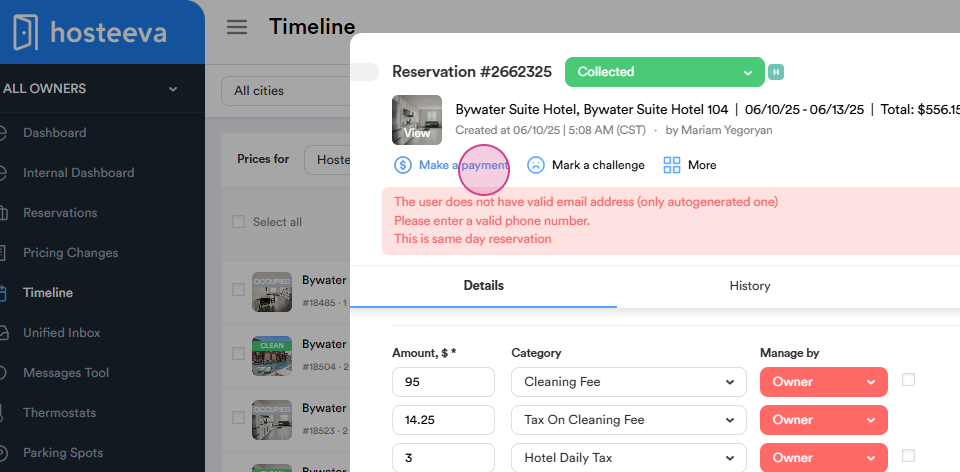
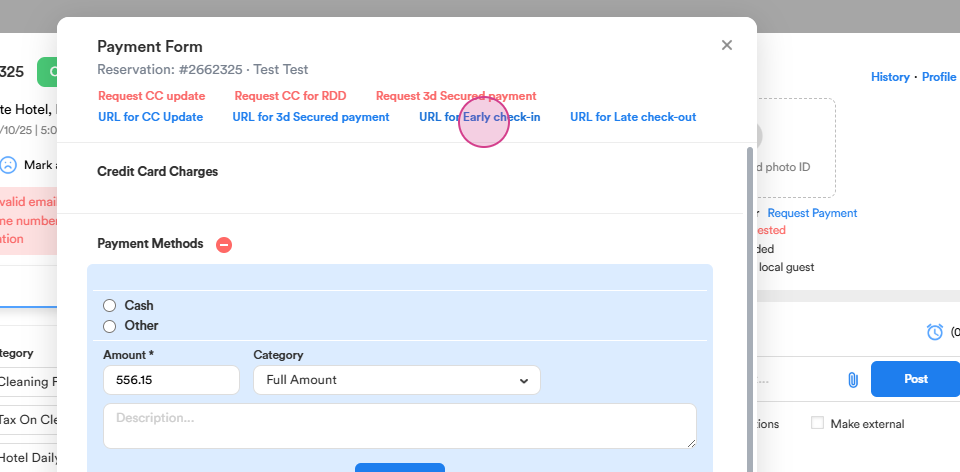
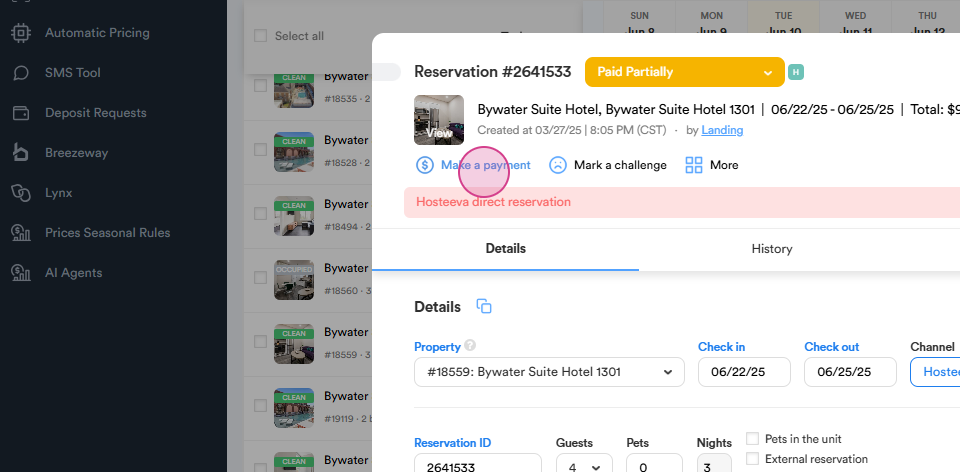
Step 7: To send the payment link, click on the Make a Payment button located at the upper part of the reservation dialog.
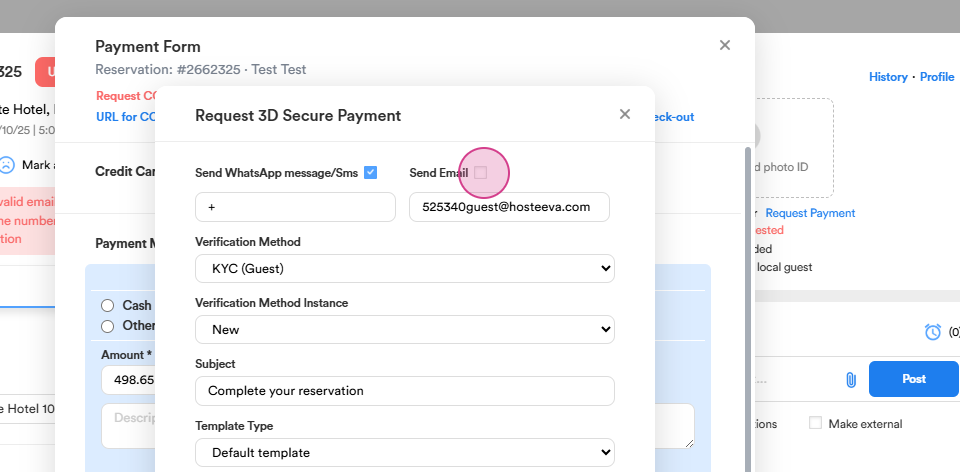
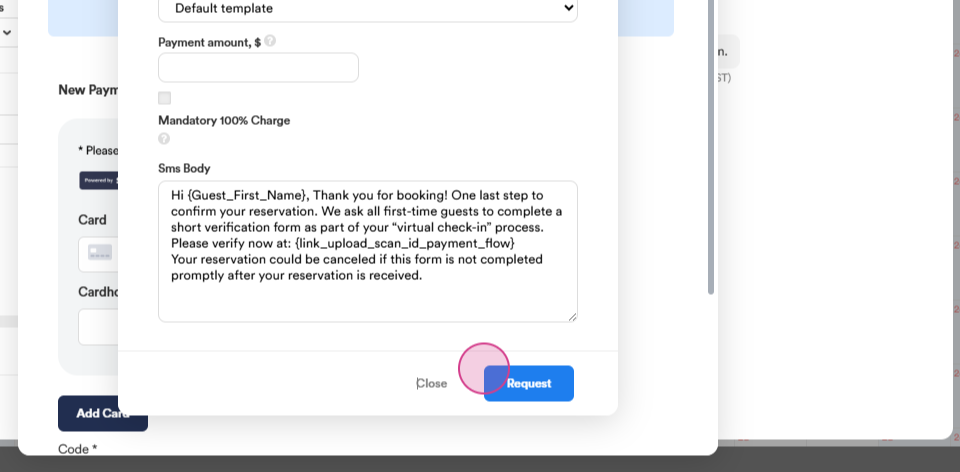
Step 8: Click on Request Ready Secure Payment Link. Choose whether you want to send it via SMS, email, or both, and request the payment link.

Step 9: Once the guest has paid, change the reservation status to collected

Step 10: If the guest requests an early check-in, you'll need to send them an early check-in link. Scroll down to the Guest Charges section and click on the plus sign to add an early check-in fee.
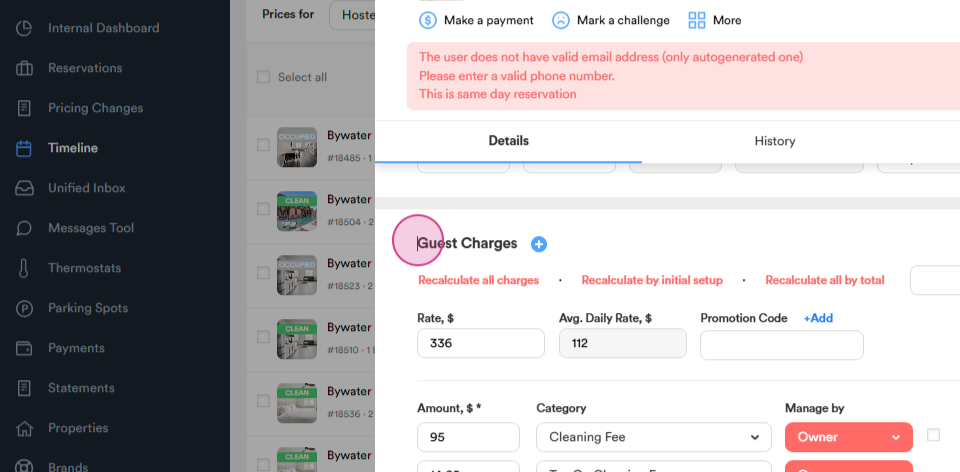
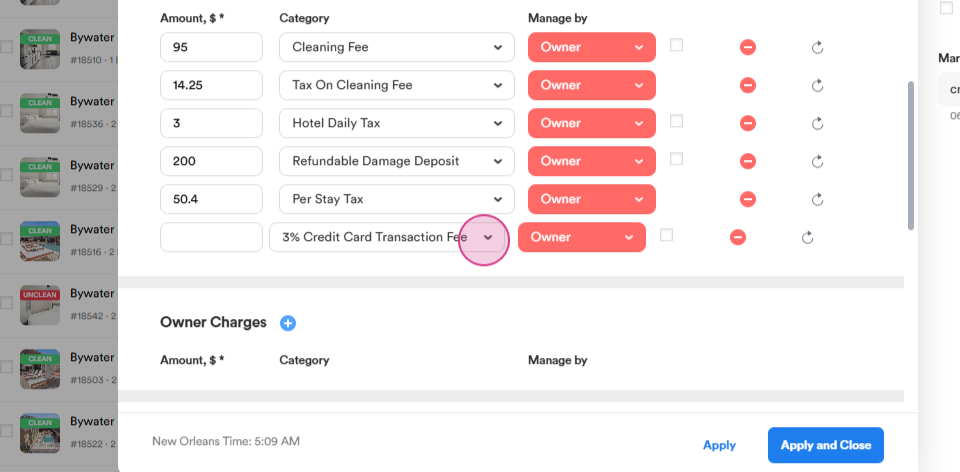
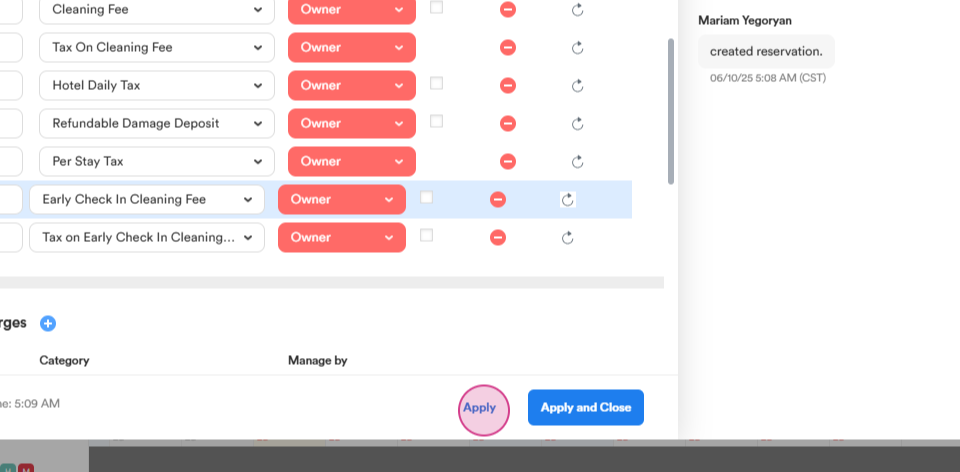
Step 11: Enter the price for the early check-in (for example, $50). The system will automatically calculate the tax. Click Apply.
Step 12: To request payment from the guest for the early check-in, go back to the Make a Payment section. Here, you'll find URLs for early check-in and late checkout. Click on the relevant link to send it to the guest.
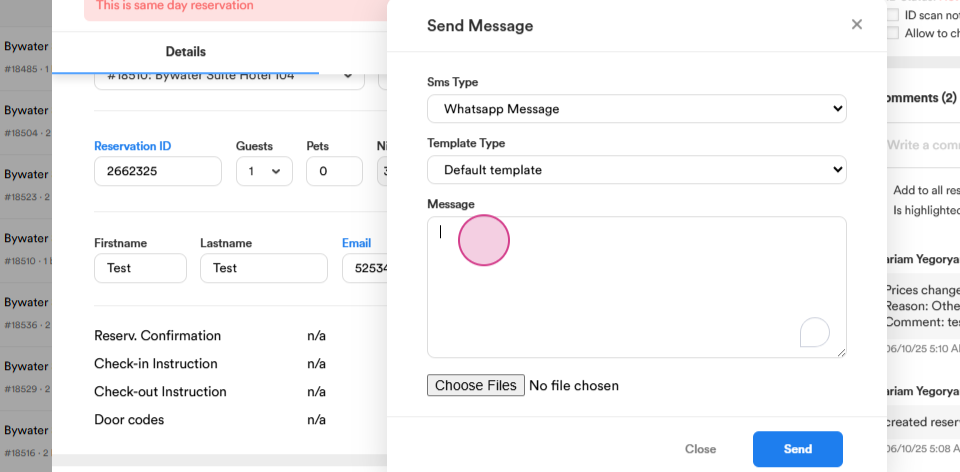
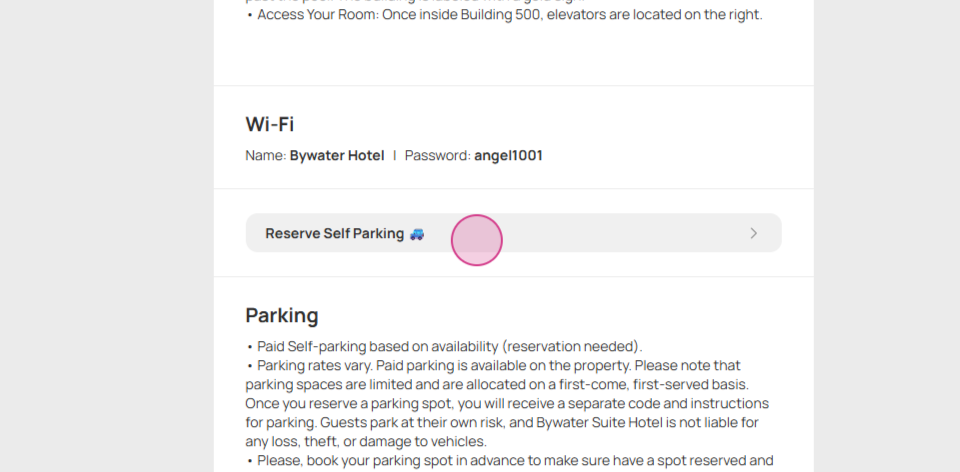
Step 13: To send the parking link to the guest, navigate to the Check-In Instructions section and click on Reserve Self Parking. Copy the link and send it to the guest via SMS.
Step 14: Navigate to an active reservation to request the refundable damage deposit.
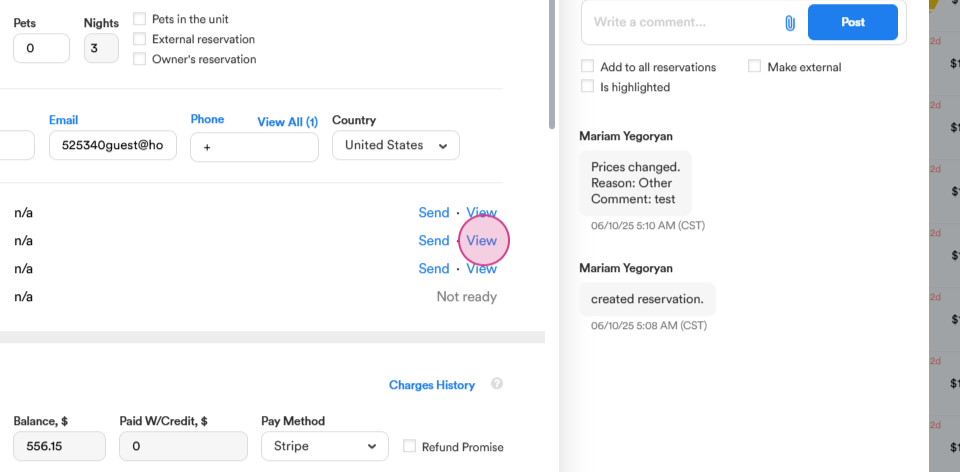
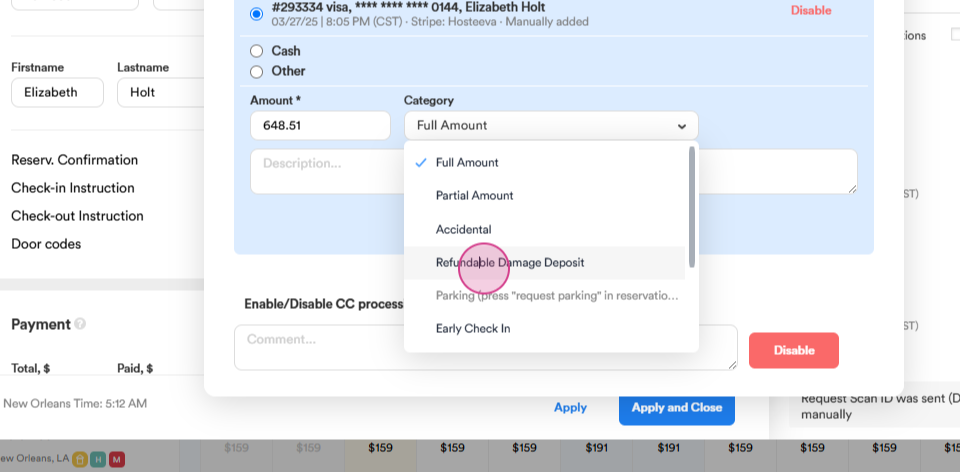
Step 15: Go to the Make a Payment section and select Refundable Damage Deposit from the drop-down menu in the Category section. The amount should be $200. Put the refundable damage deposit on hold.
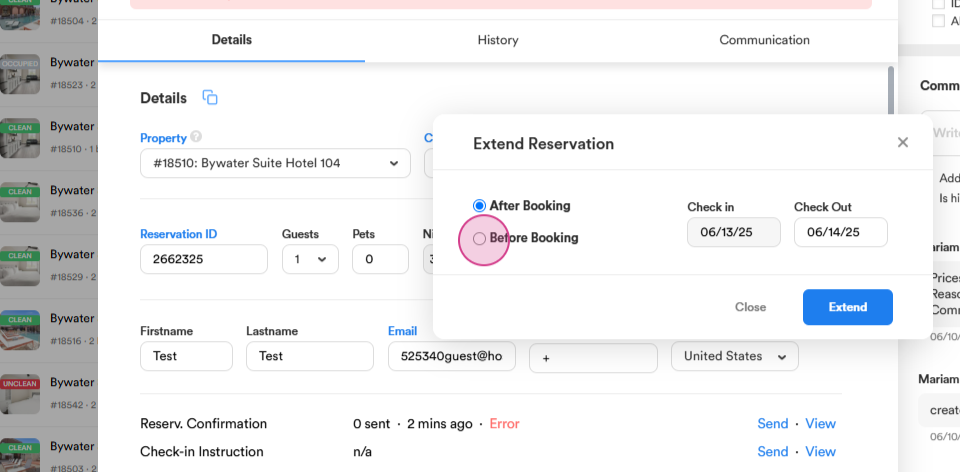
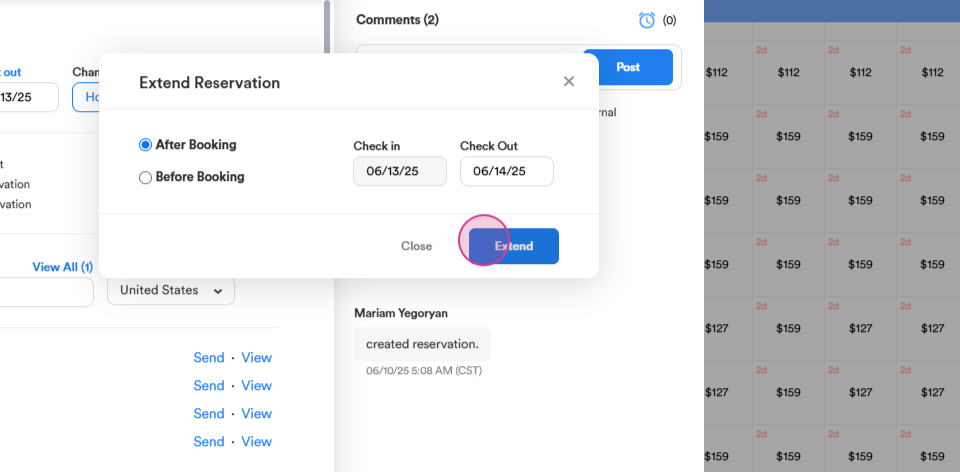
Step 16: If the guest wants to extend their stay, select Extend Stay from the More button. You'll have two options: Before Booking and After Booking. Choose the appropriate option based on whether the guest wants to arrive earlier or stay later.

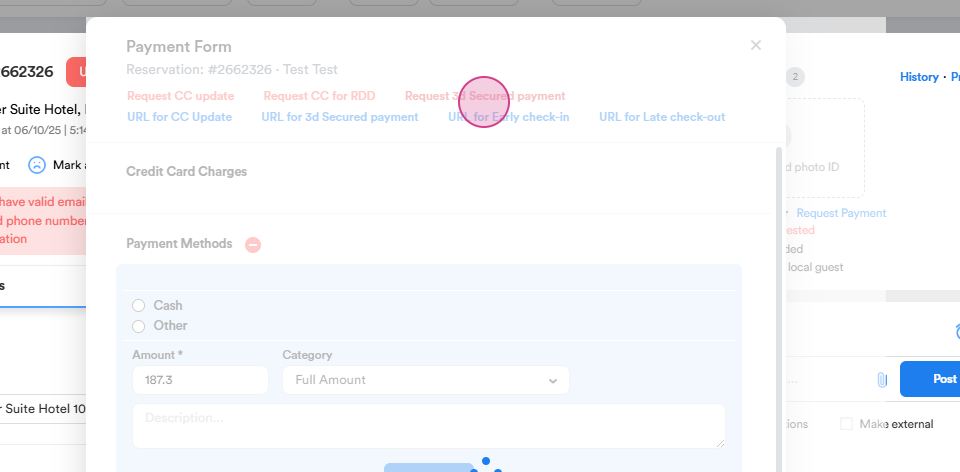
Step 17: To request payment for the extension, go back to the Make a Payment section and request a payment using the 3D Secure Payment Link.
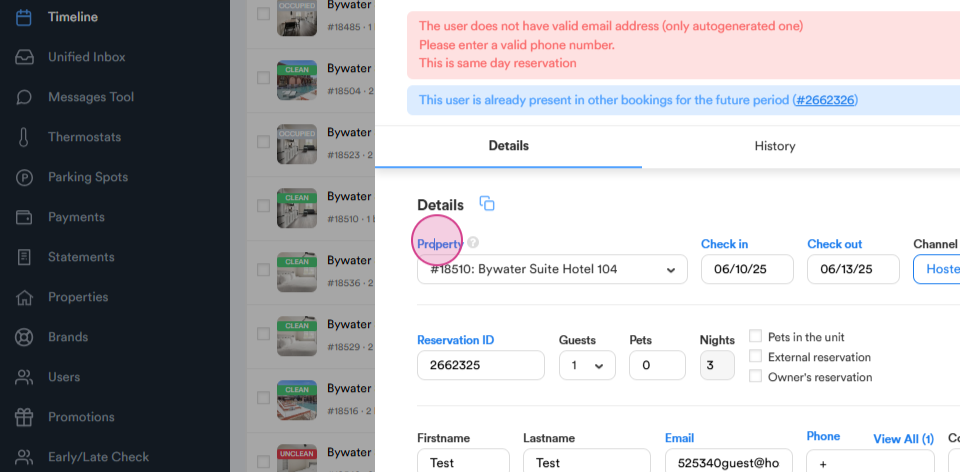
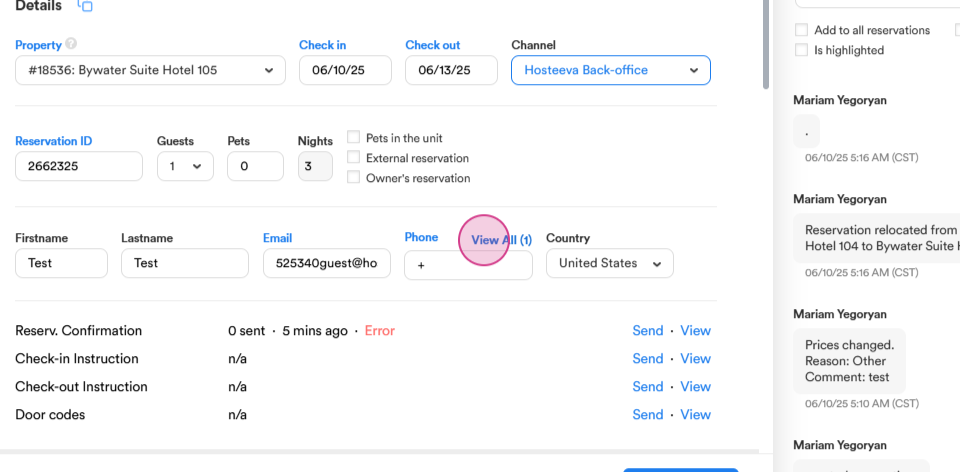
Step 18: If the guest needs to be relocated, first check the previous room type. Then, go to the reservation and select a new room from the Property section's drop-down menu. For this example, we'll relocate the guest to room 105.
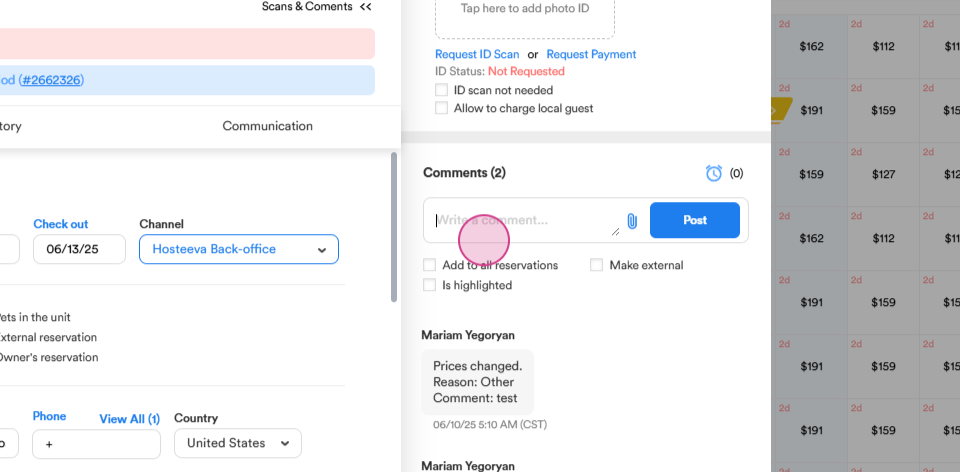
Step 19: Leave a comment and click Apply. Proceed with the relocation.
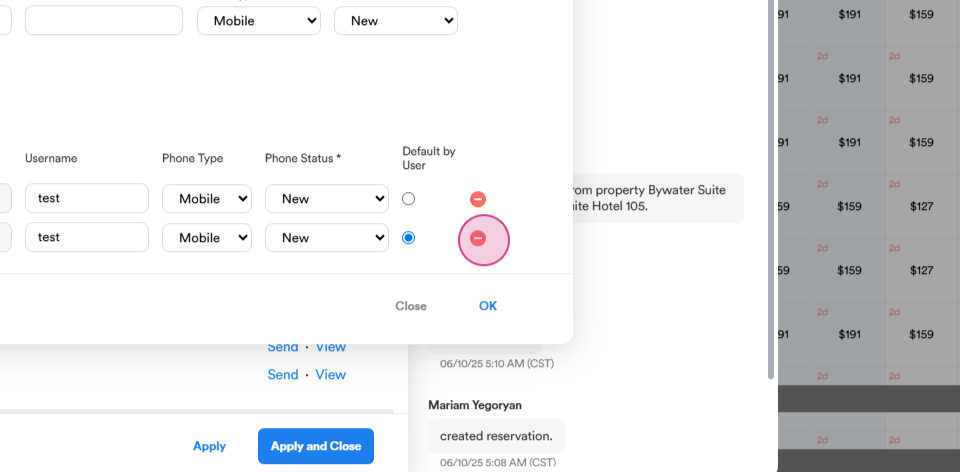
Step 20: To add a new phone number to the existing one, click on the View All section and add the new number.
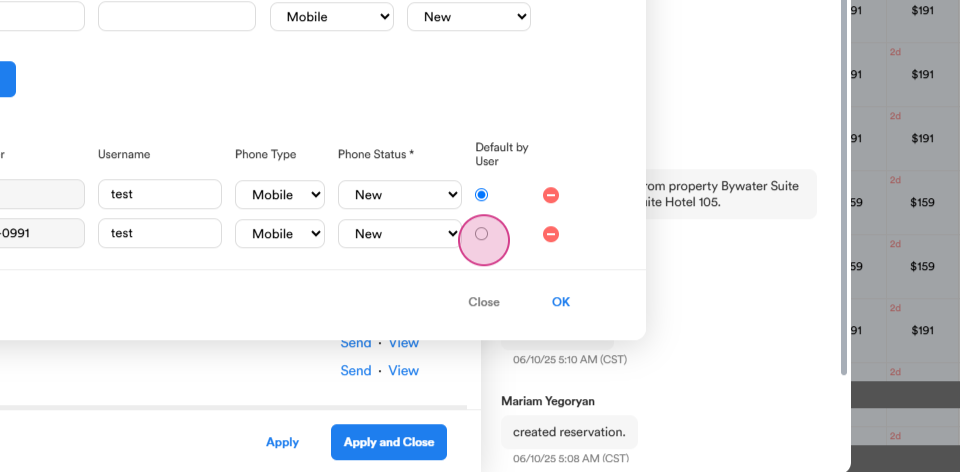
Step 21: You can make a phone number primary or delete it using the Default by User button.
Step 22: To block dates for a room, click on the start date and drag it to the end date. Left-click and select Update Availability. Change the status to Not Available, leave a comment, and click Done. The dates are now blocked.
Thank you for following this tutorial.