In this article, you'll learn how to create an owner account on the Hosteeva platform.
Step 1: Start by logging into your Hosteeva dashboard and navigating to the Users tab.
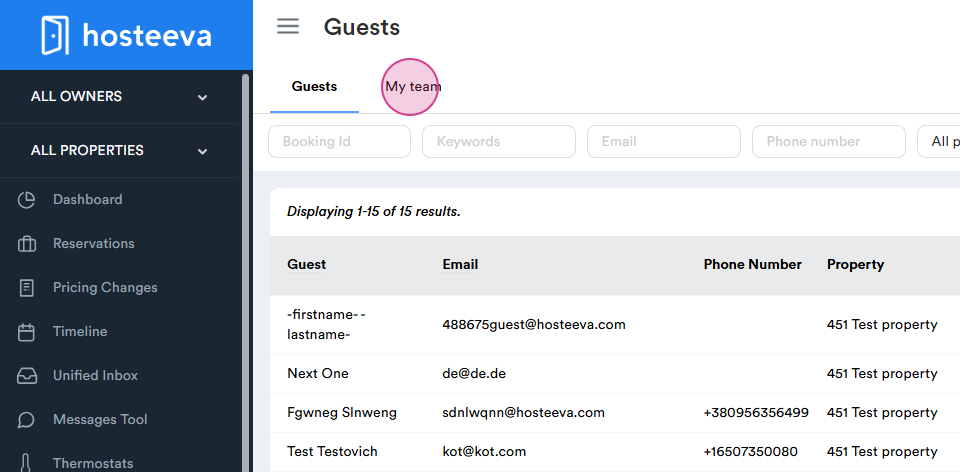
Step 2: From the Users tab, select My Team.
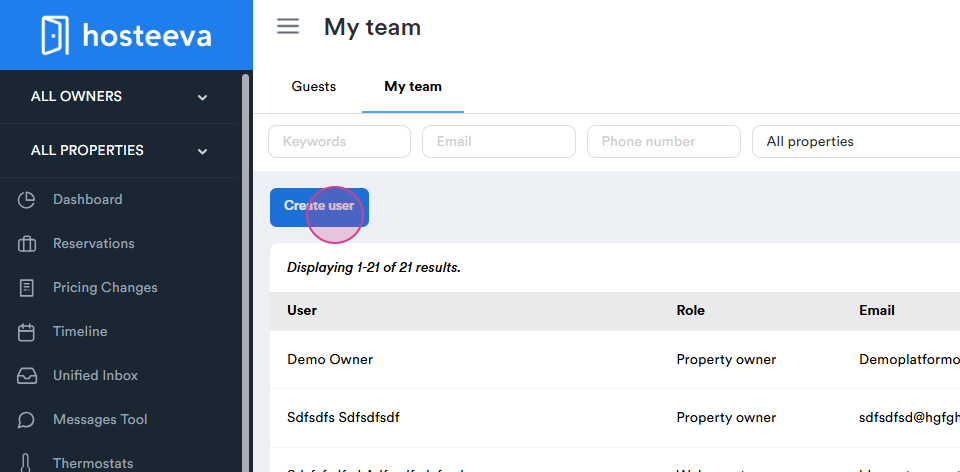
Step 3: Here, you'll find the Create User button. Click on it.
Step 4: Fill in the owner's information, including their first name, last name, email address, phone number, and password.
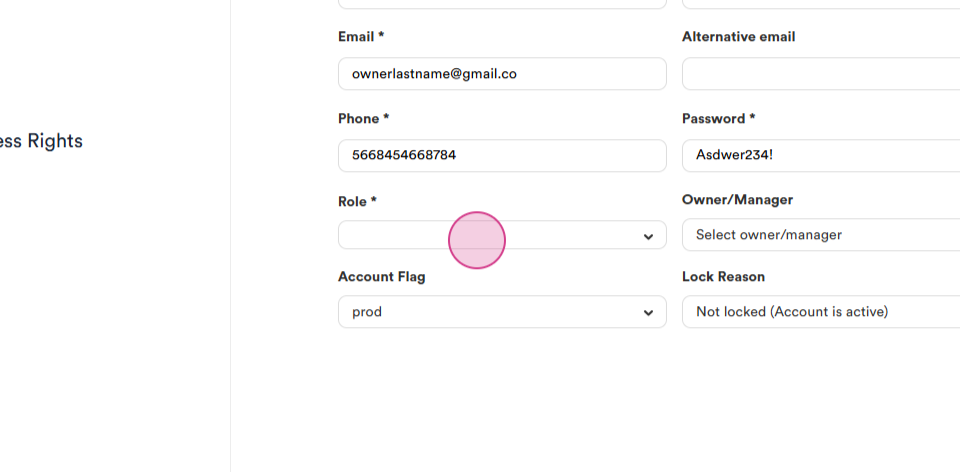
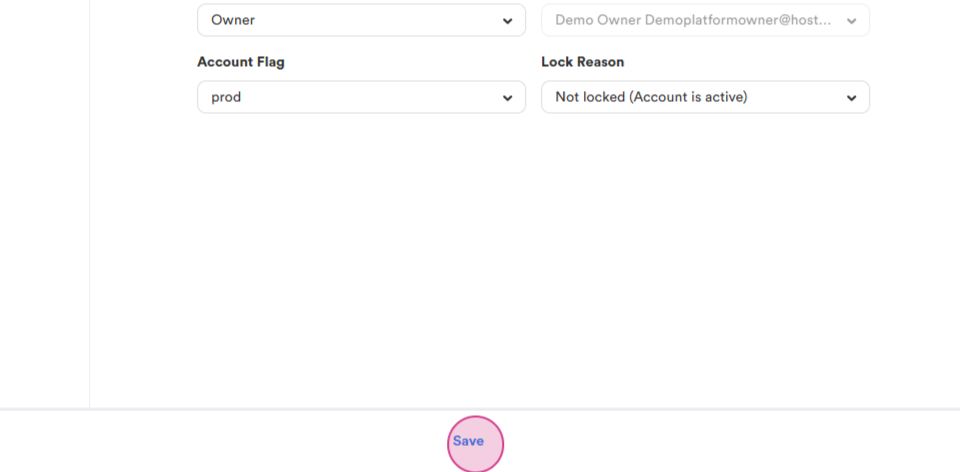
Step 5: Set the owner role as Owner. The account flag should be set to Prod and lock reason should be Not Locked. Click on the Save button to store this information.
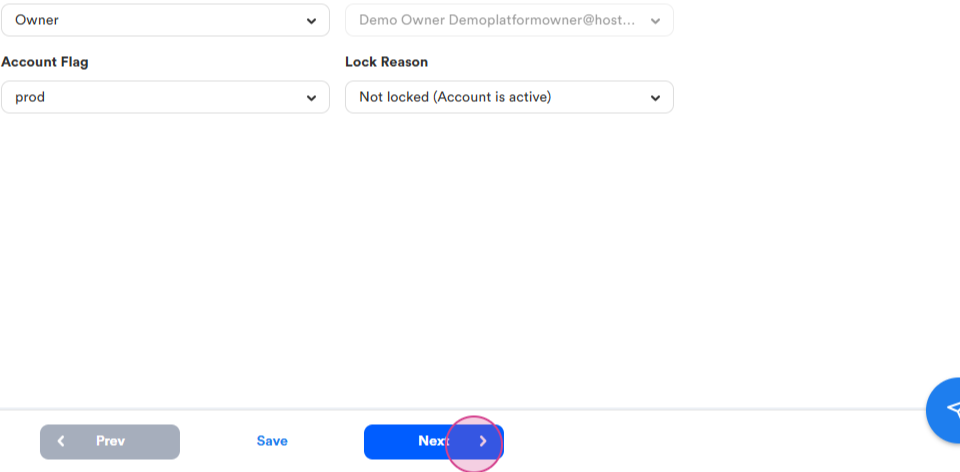
Step 6: Click on the Next button.
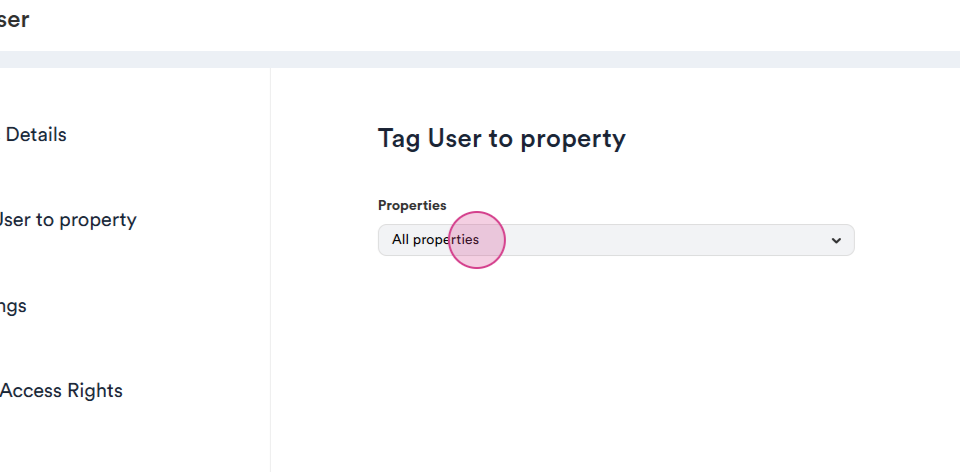
Step 7: Here, you have the option to assign a property to the owner. If you don't have a property created yet, click the Next button.
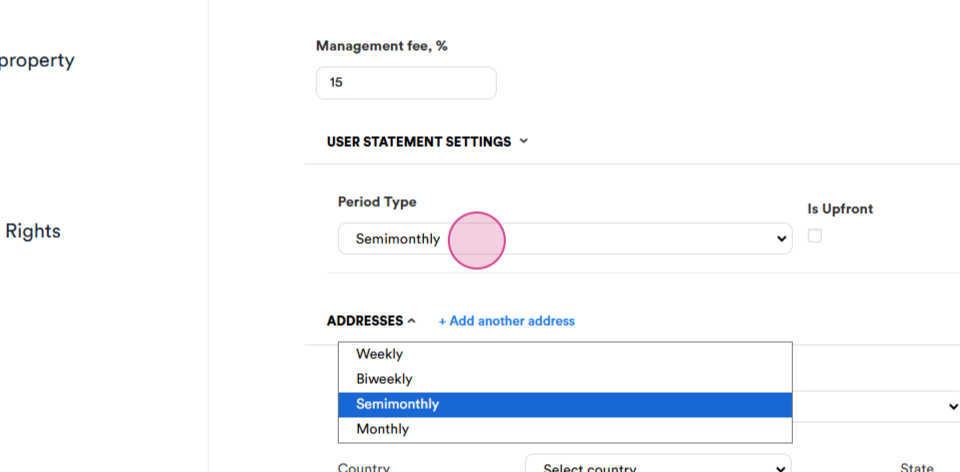
Step 8: Fill in the commission details. This is the percentage you'll collect from your owners.
Step 9: Set the payment schedule for the owner. This could be weekly, biweekly, semi-monthly, or monthly. You'll also need to specify if the payment is upfront or at the end of the period.
Step 10: Fill in the billing address. Under settings, you can enable notifications.
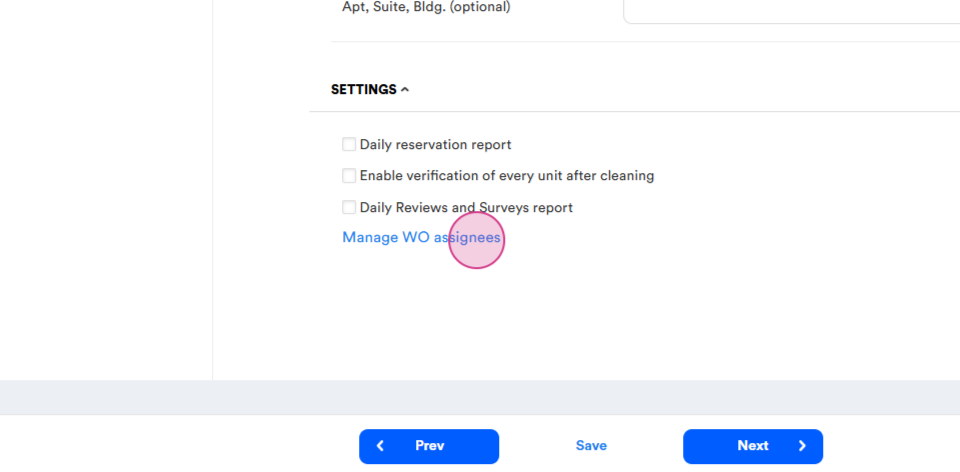
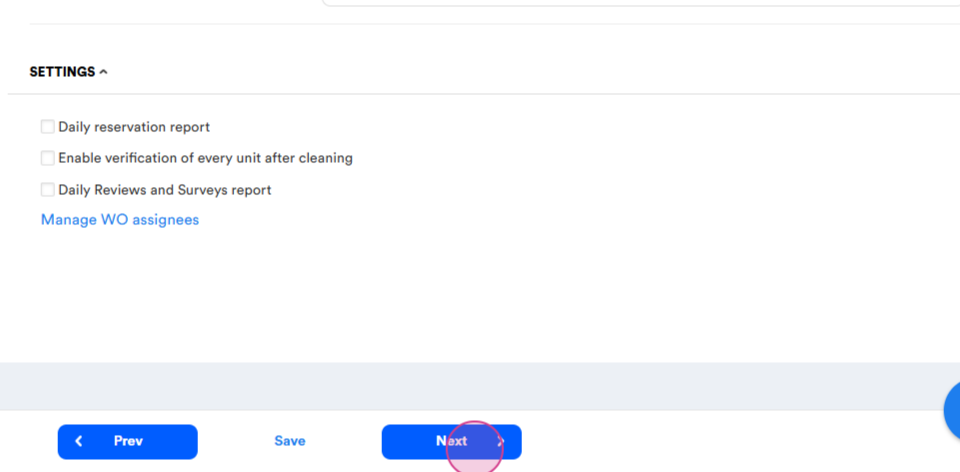
Step 11: Click on Manage Work Order Assignees to set who should receive maintenance notifications.
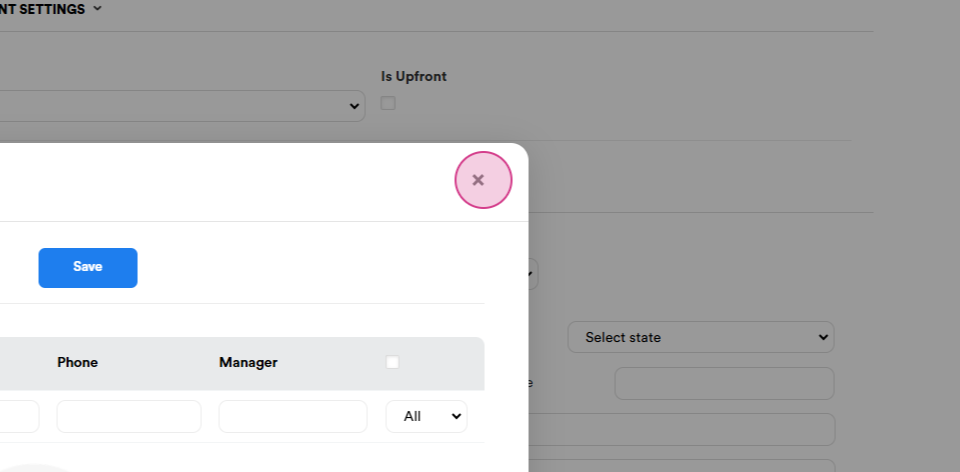
Step 12: Once all the information is filled in, click on the Next button.
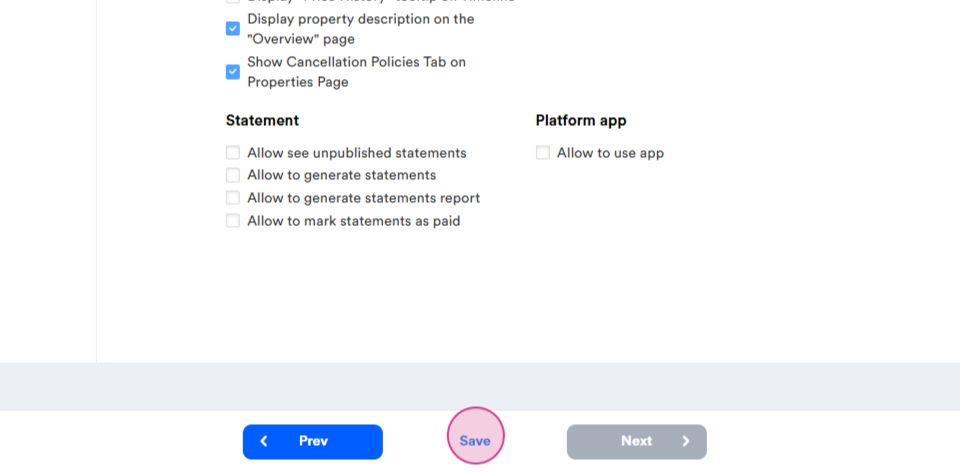
Step 13: Here, you can set the access rights for the owner. You can update these rights at any time to give more or limit access. Once done, click on the Save button.
Step 14: Your new owner is now created.
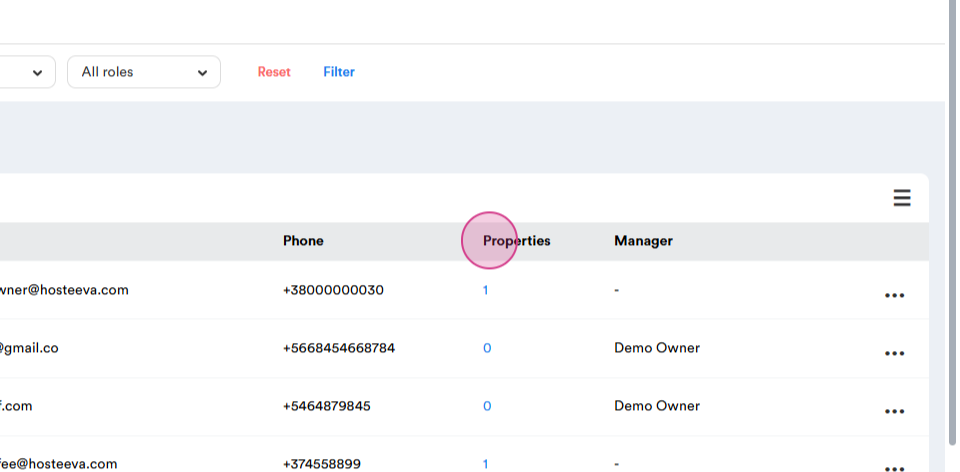
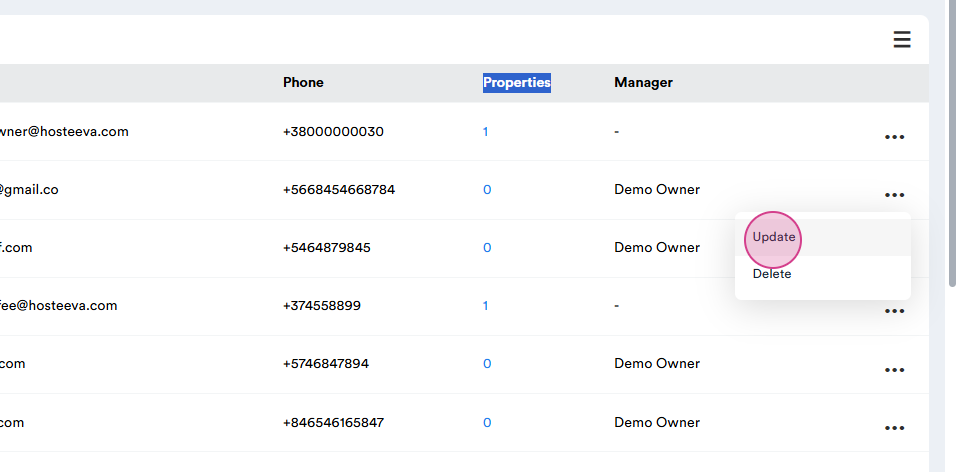
Step 15: If you need to update any details, click on the three dots and select Update.
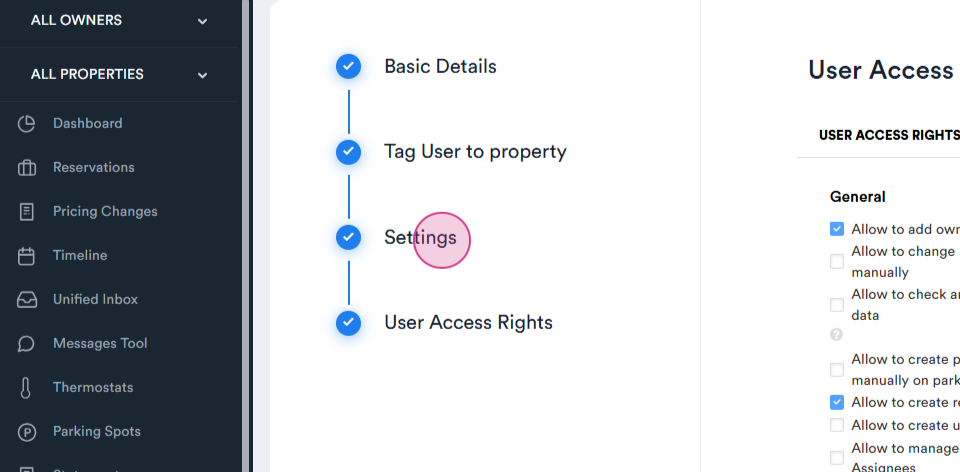
Step 16: Here, you can update the user access rights, settings, property details, and basic details. Once done, click on the Save button.
Thank you!