Creating an expense under the Issues tab is a straightforward process that helps you track and assign expenses efficiently. Use this feature when you need to register a new expense and bill it to the correct entity, such as the owner or management, directly from your platform.
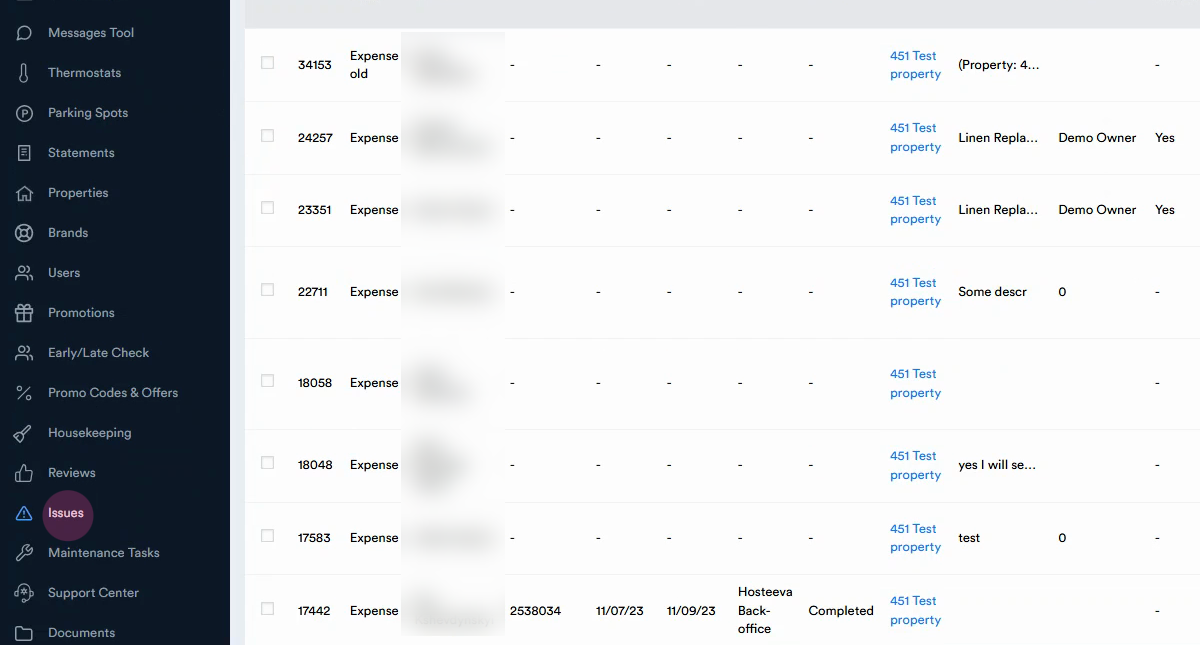
Step 1: Go to the Issues tab on the left side of the screen.
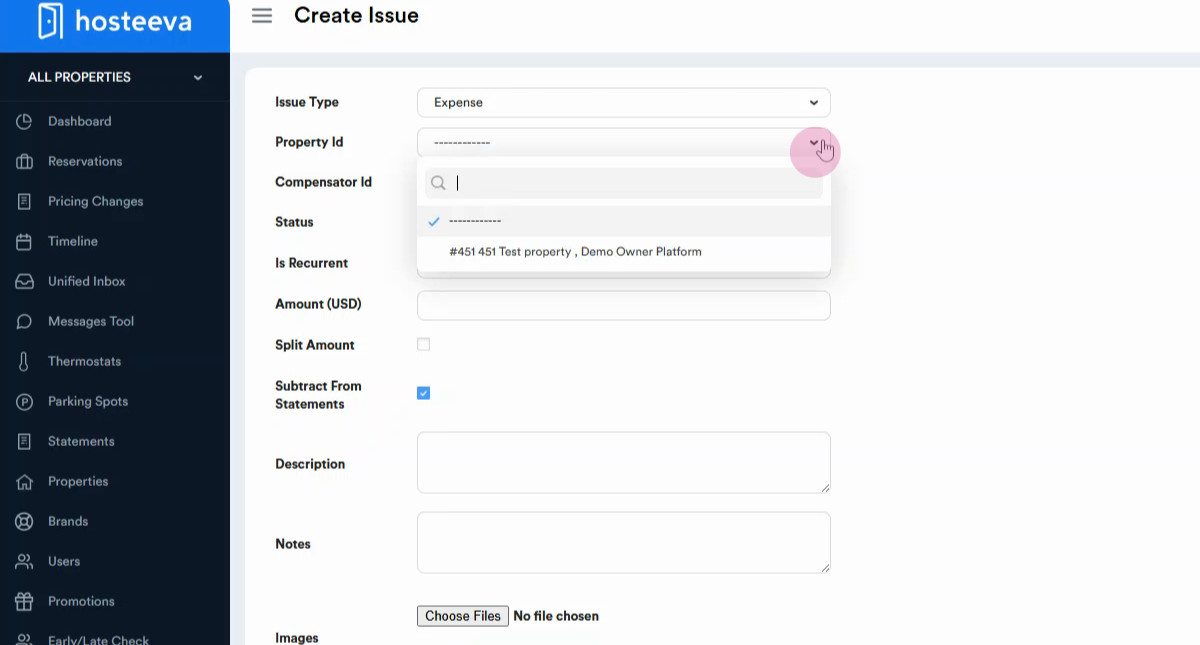
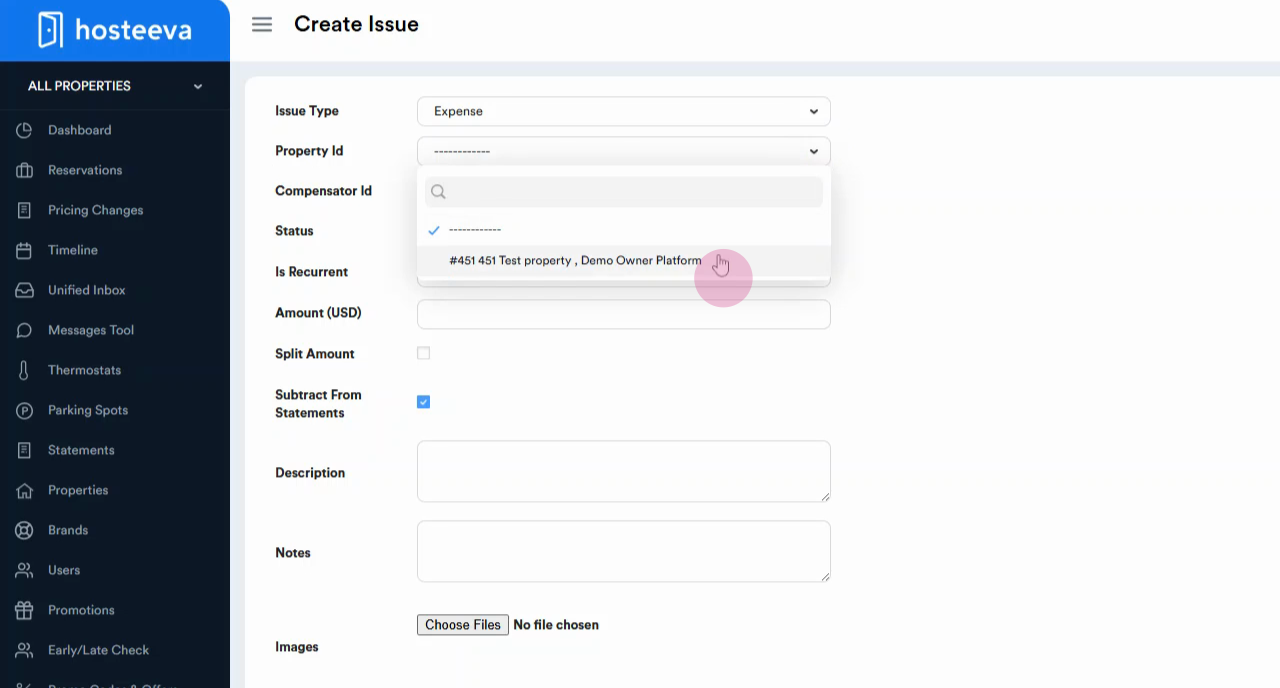
Step 2: Click the Create button to start a new issue entry. The Issue type is Expense by default. Choose the appropriate Property ID from the dropdown.
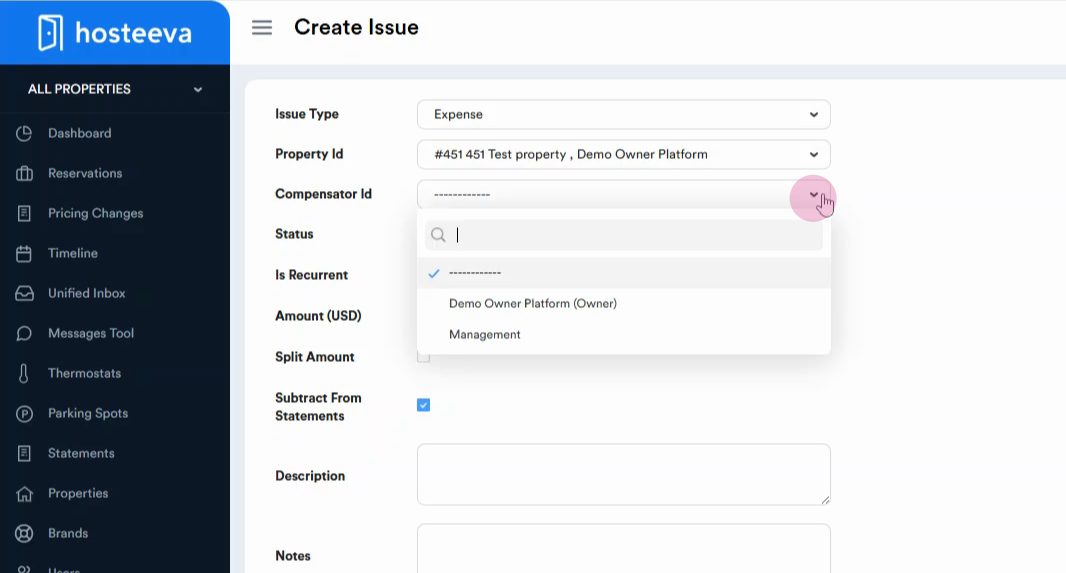
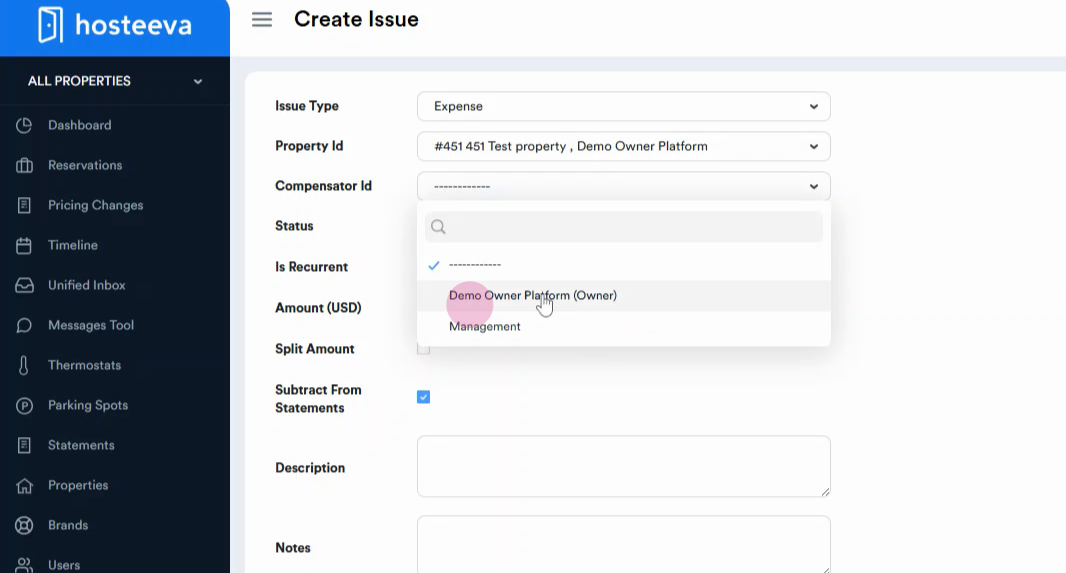
Step 3: Pick the correct Compensator ID—this is the entity to be billed. Select Owner or Management based on who the expense applies to.
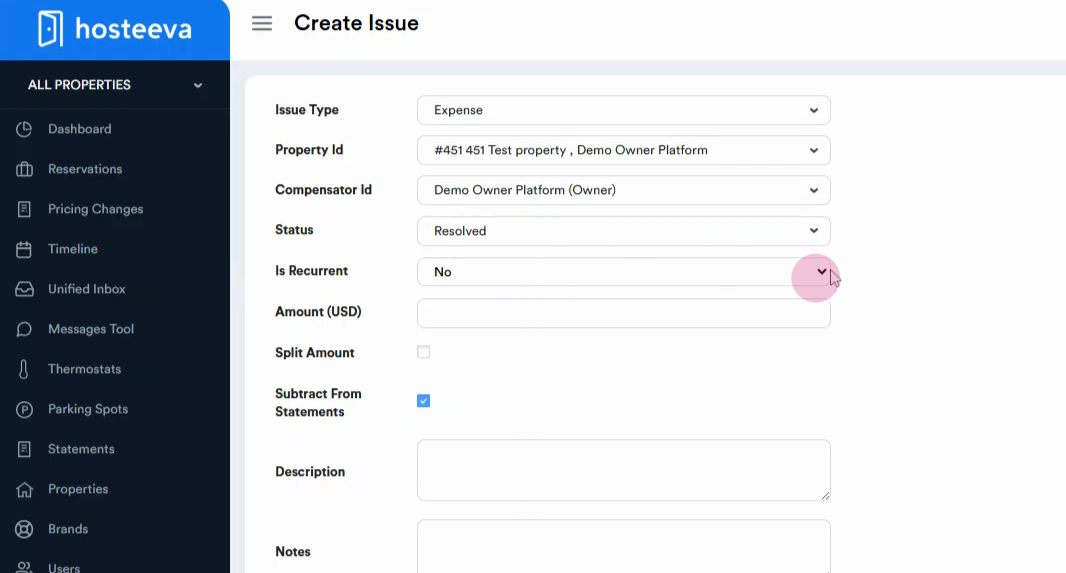
Step 4: Confirm the Status as resolved. To make the expense recurring, select Yes from the dropdown. If not, leave it as No.
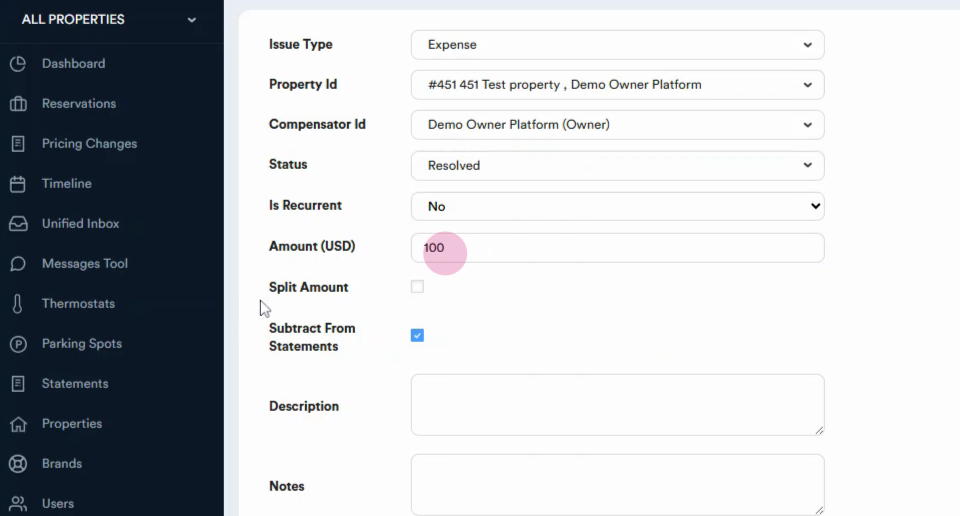
Step 5: Enter the Amount for the expense, such as $100.
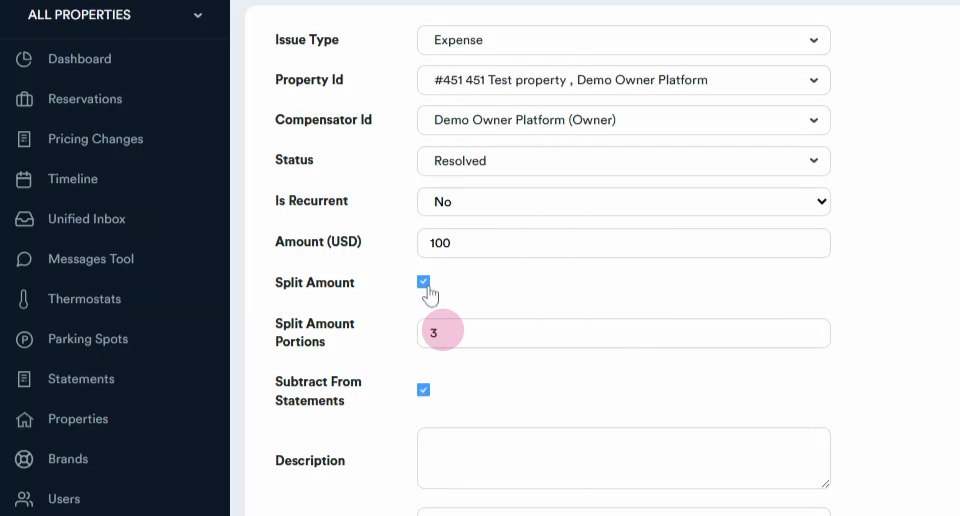
Step 6: To split the expense into portions, check the split checkbox, and assign the portions for splitting.
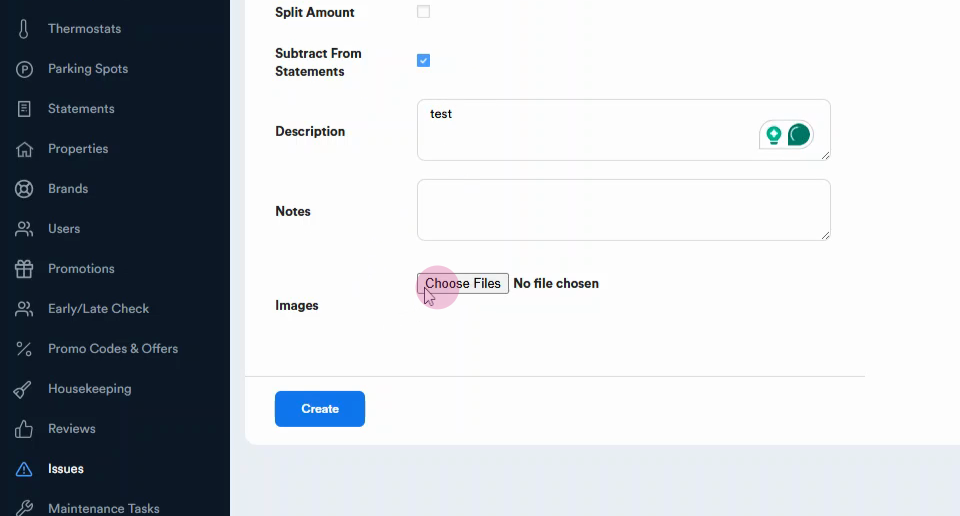
Step 7: To include the expense in the statement, make sure Subtract from statement is selected.

Step 10: Add a description and notes if needed.
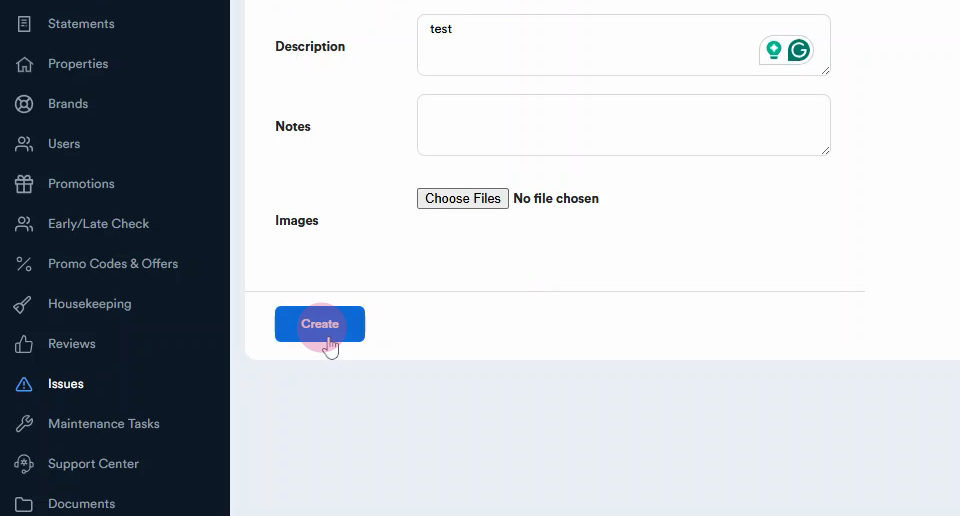
Step 11: Attach any relevant files—PDF, JPG, or similar—by clicking the file upload area.
Step 12: Press the Create button to finalize the entry.
Once created, the expense is billed to the designated entity and included in the financial statements where selected. Use this workflow to keep your expense tracking clear and organized.