This guide explains how to create QR codes on Hosteeva. QR codes offer a convenient way to share information with guests. This tutorial focuses on creating three types of QR codes: Tip to Housekeeper, Instruction, and Custom URL.
Creating a 'Tip to Housekeeper' QR Code
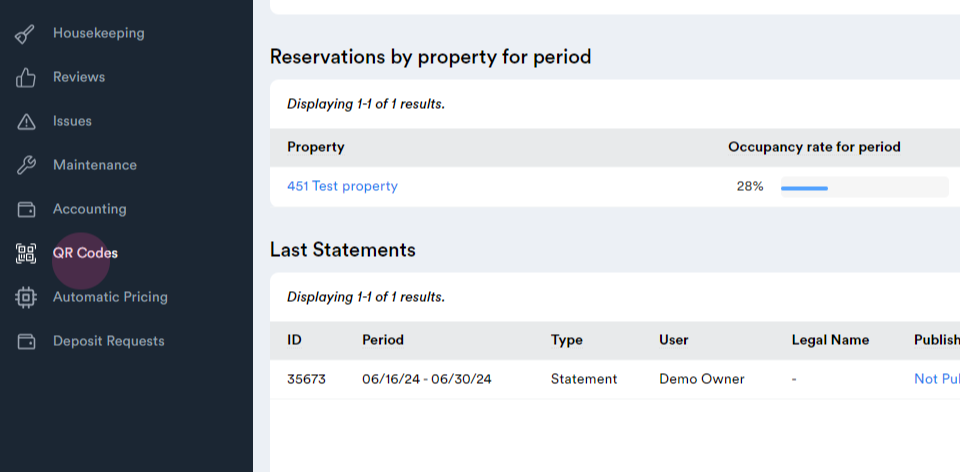
Step 1: Log in to the Hosteeva dashboard and navigate to the QR code section.
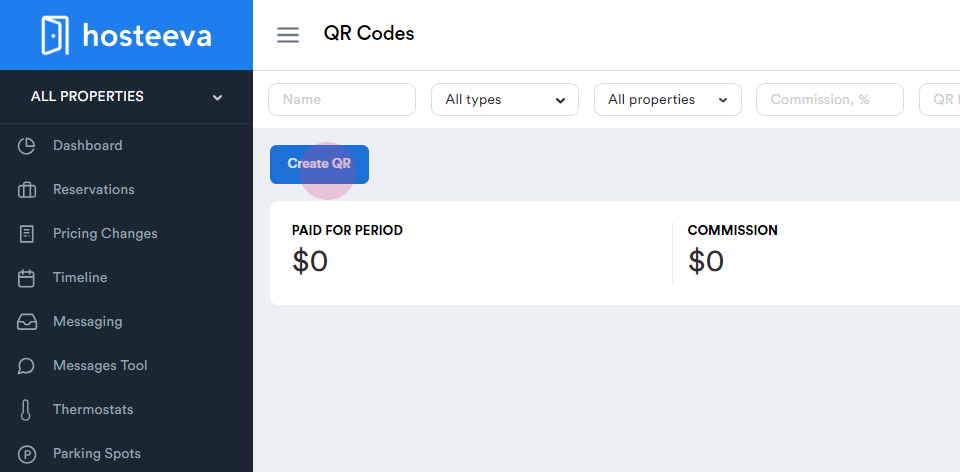
Step 2: Click on Create QR.
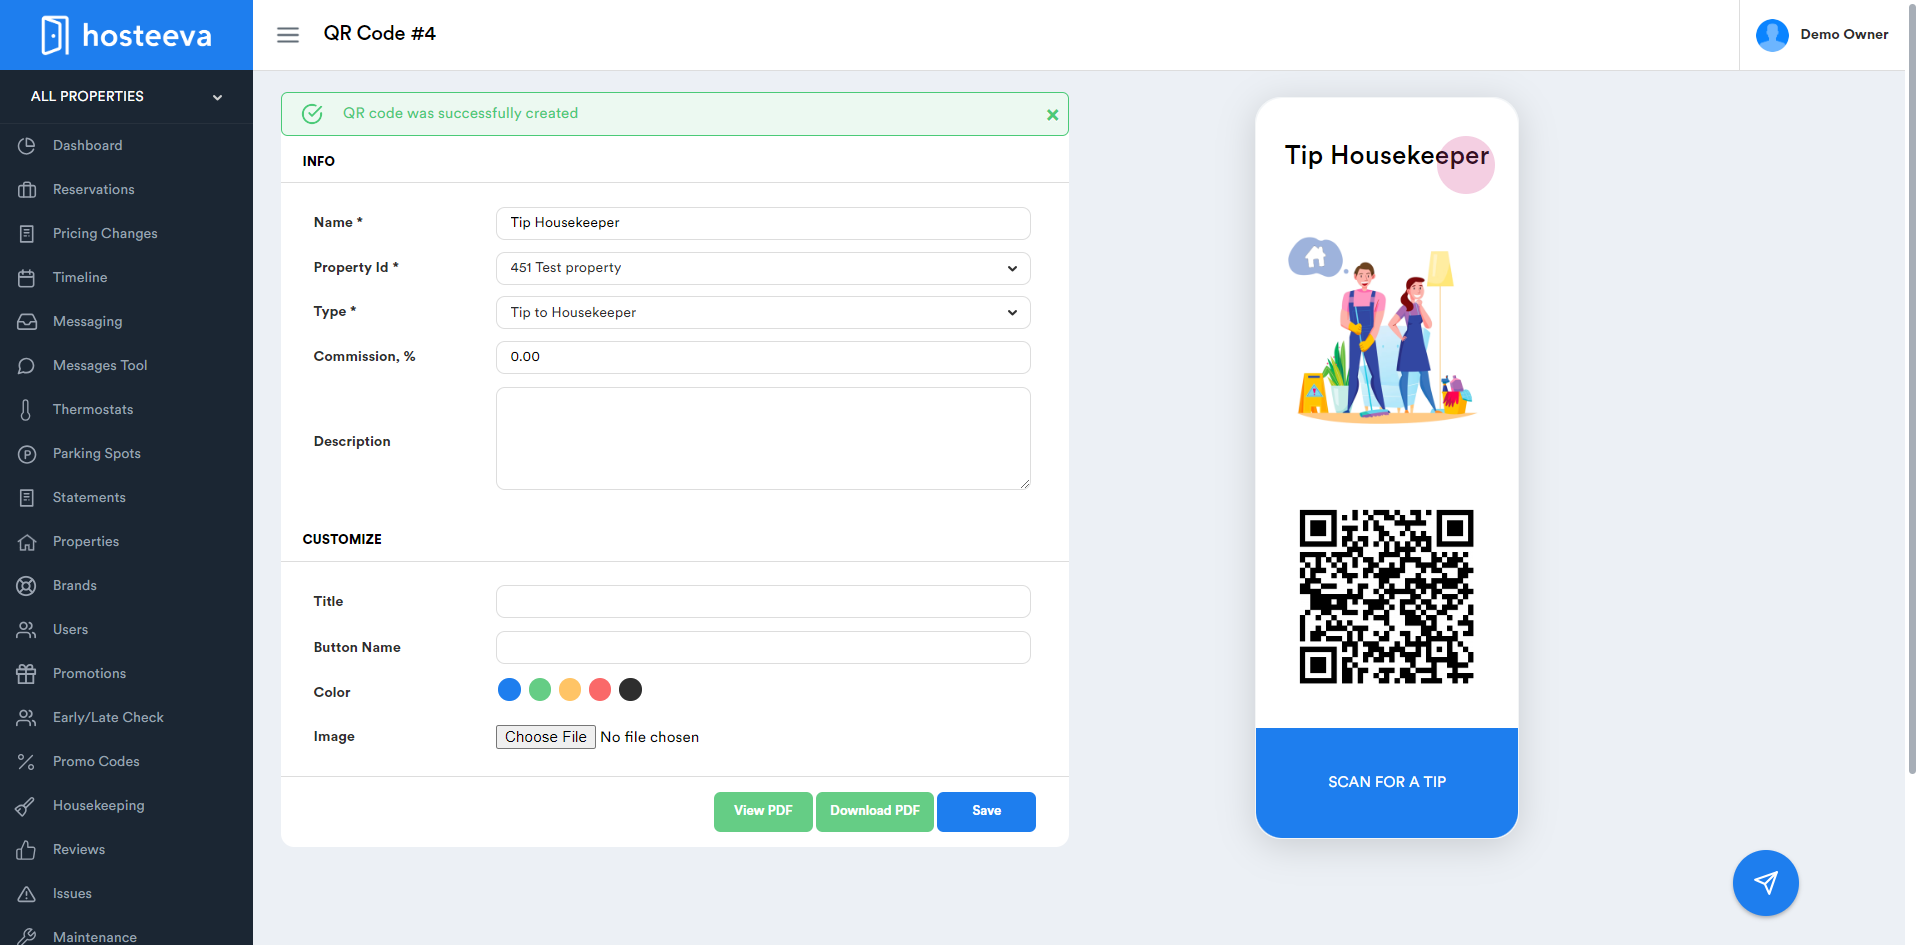
Step 3: Name your QR code, for example, "Tip Pass Keeper". Optionally, add a description.
Step 4: Choose the property for which you're creating the QR code.
Step 5: Select the Tip to Housekeeper type.
Step 6: Click Create to generate your QR code.
Step 7: View your newly created QR code. Edit the image, color, wording, and name as needed.
To test the QR code, scan it. The guest will be able to leave a tip for your housekeeper.
Creating an 'Instruction' QR Code
Step 1: Return to the QR code section.
Step 2: Click on Create QR.
Step 3: Select the Instruction type.
Step 4: Name your QR code based on the instruction it provides. For example, "Attractions".
Step 5: Click Create to generate your QR code.
Step 6: View your newly created QR code. Edit the image, color, wording, and name as needed.
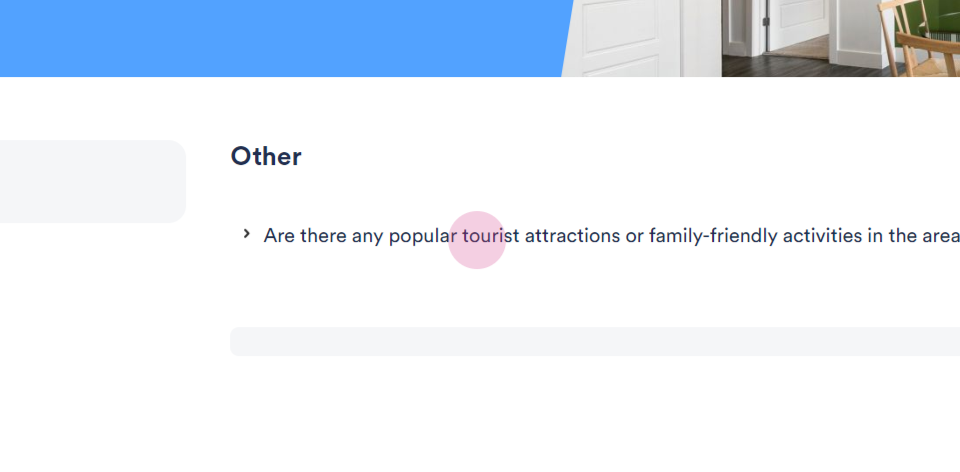
Step 7: To test the QR code, scan it. The guest will see the question and the corresponding answer.
Creating a 'Custom URL' QR Code
Step 1: Return to the QR code section.
Step 2: Click on Create QR.
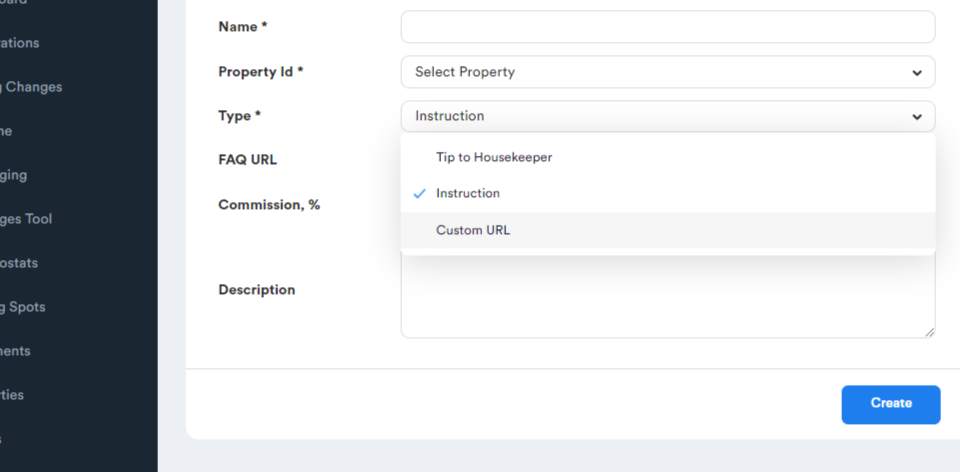
Step 3: Select the Custom URL type.
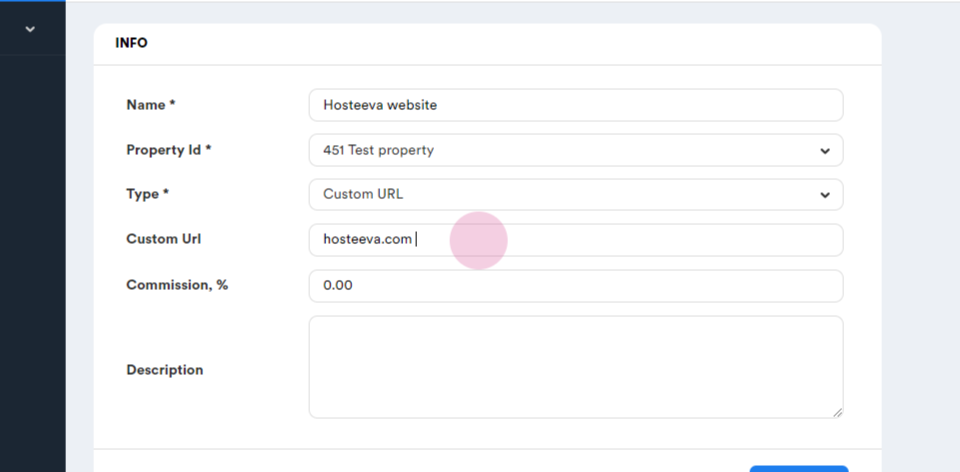
Step 4: Name your QR code based on the URL it directs to. For example, "Hosteeva Website".
Step 5: Enter the URL you want the QR code to direct to.
Step 6: Click Create to generate your QR code.
Step 7: View your newly created QR code. Edit the image, color, wording, and name as needed.
For any further questions, please contact your Hosteeva representative.