By the end of this article, you'll know how to set up early check-in and late checkout offers from the admin portal.
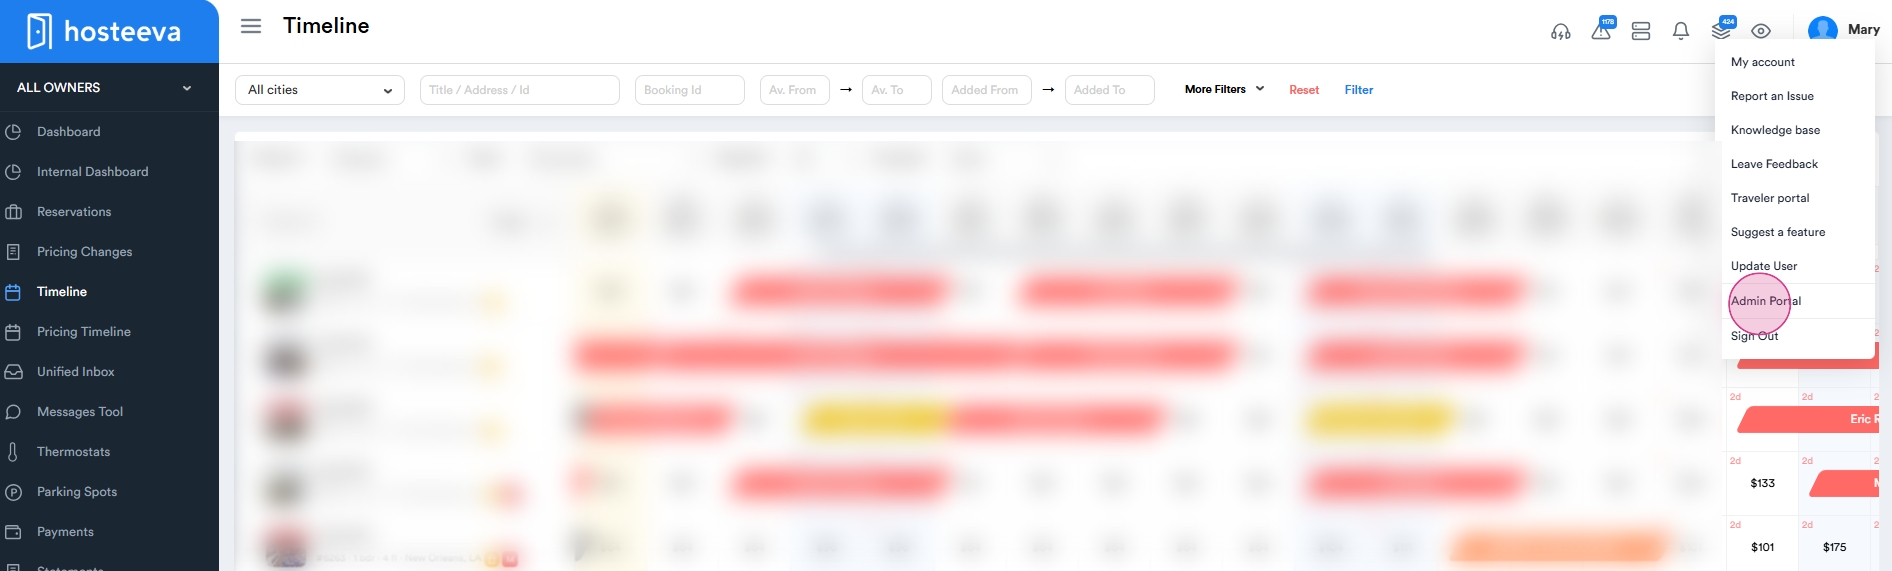
Step 1: Start by navigating to the admin portal from the timeline.
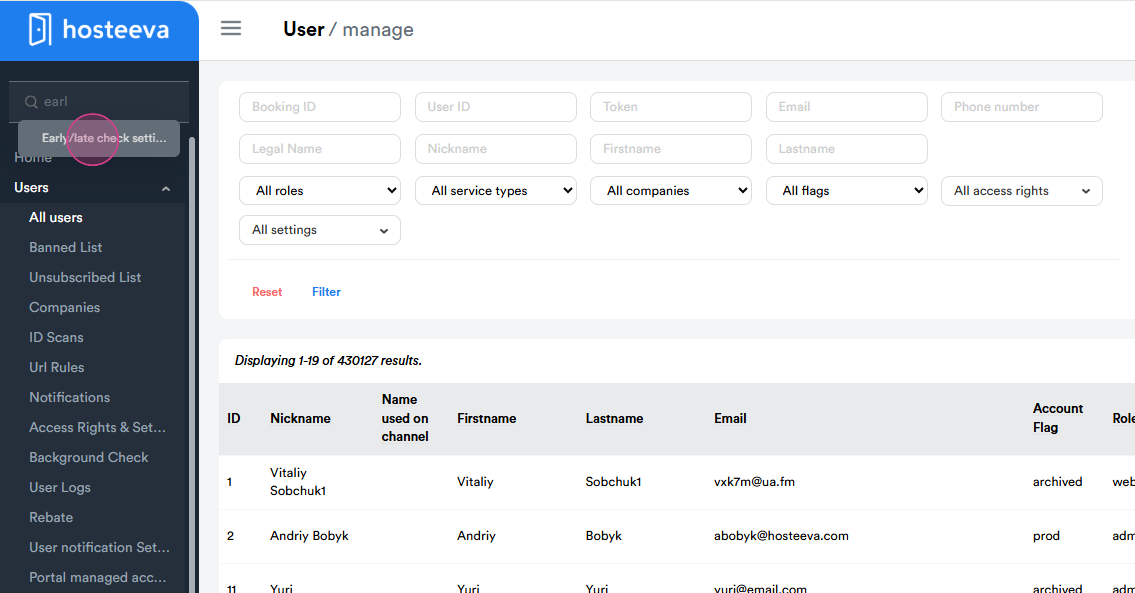
Step 2: Type "early check-in late checkout settings" in the search box.
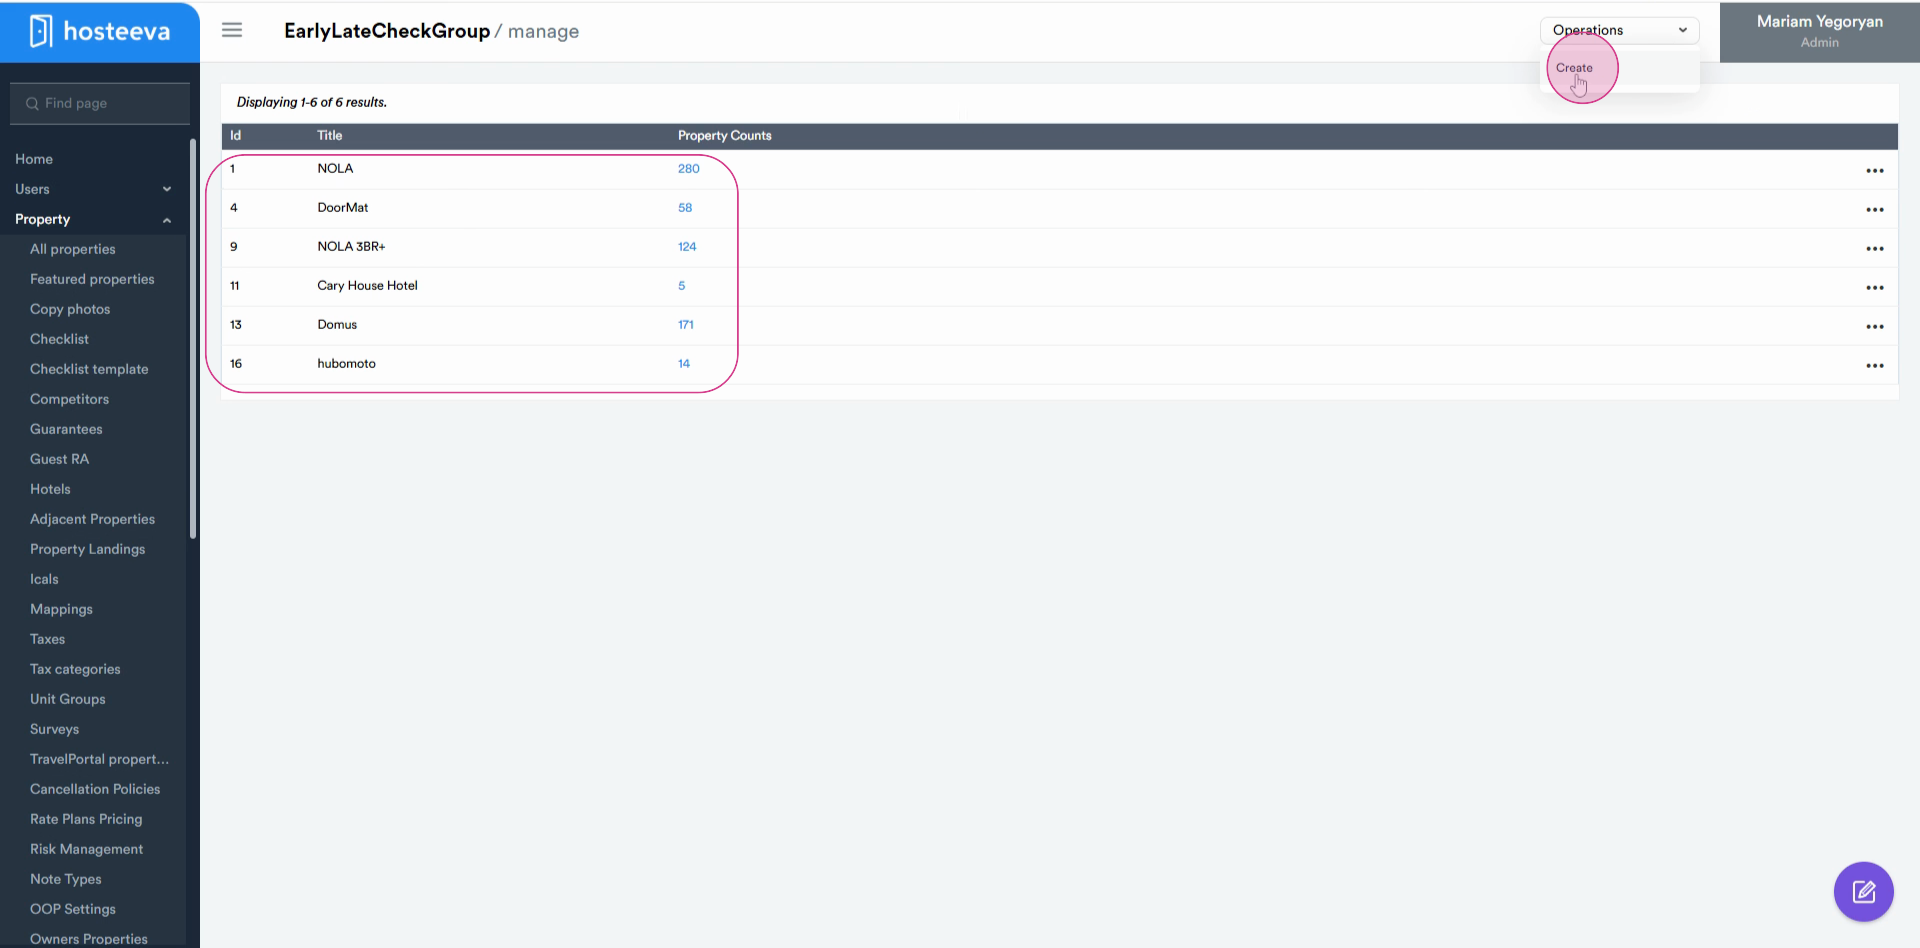
Step 3: You'll see existing groups. To create a new one, click the "create" button in the operation section.
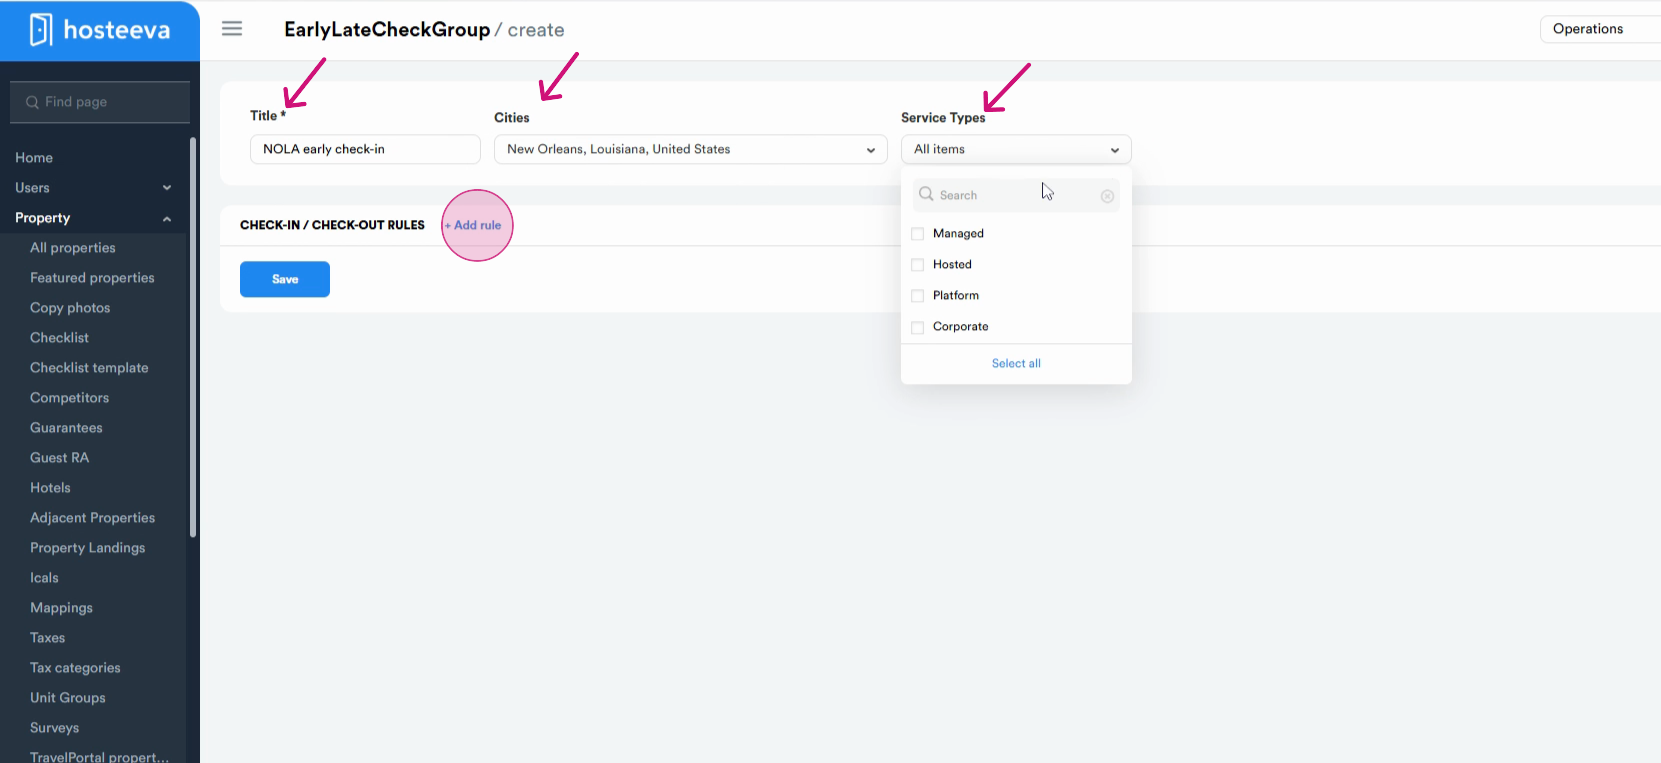
Step 4: Give your group a title. For instance, "NOLA early check-in late checkout". Choose the city. In this example, we're selecting New Orleans. Next, select the service type. While selecting the service type, if you choose "managed", you'll need to create a rule.
Step 5: Click on "create rule", provide a comment, for example, "early check-in late check-out on Christmas or Mardi Gras". When selecting properties, the system will suggest properties based on the service type. Choose multiple properties to include in this rule, provide a comment, and then click on "configure".

Step 6:Here, you'll need to set the early check-in either as a percentage, 10 % of the rate, but meanwhile, do not forget to set an amount limit, like 60$ in this case. You may also set a maximum amount for early check-in, or a fixed amount, such as $50. Set the early check-in offer sending start time,12 am in this case.
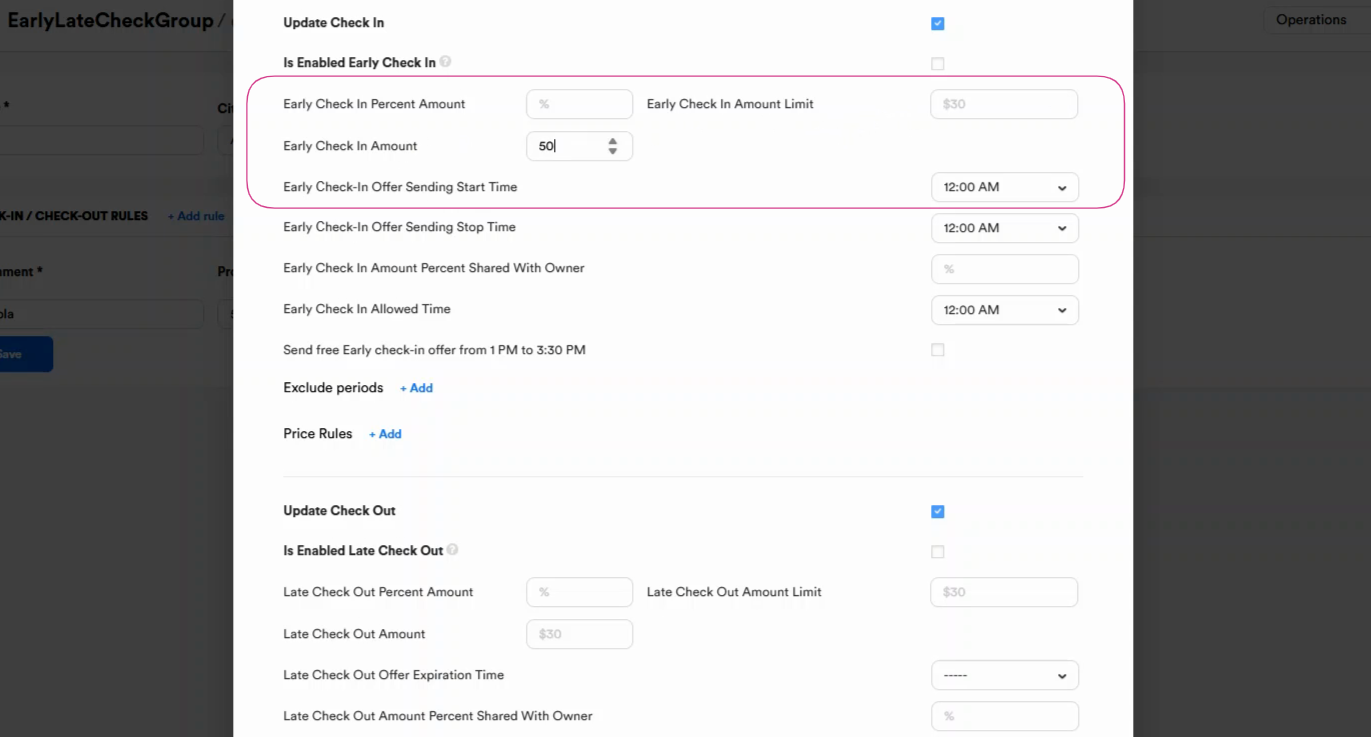
Step 7: You'll see an option for "early check-in amount percent shared with owner". This is for calculating early check-ins and late checkouts related to the managed service. The primary distinction between Managed, Hosted, and Platform service types is that the associated charges are automatically categorized as "Managed by Owner" or "Managed by Platform," and these charges are then added to the payout amounts in statements and invoices accordingly. So, if we enable the Early check-in or late check-out feature for Hosted or Platform, we don`t need to add amounts to the "Shared with owner" setting․.
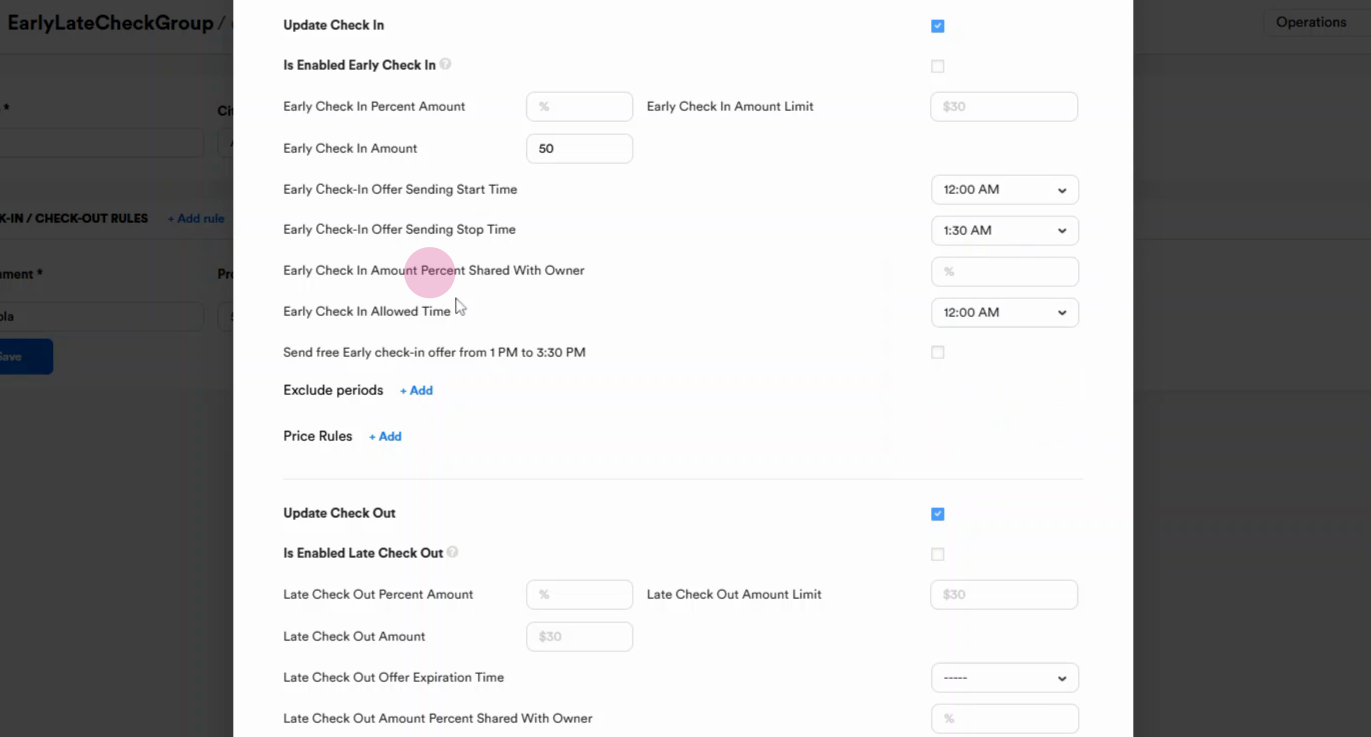
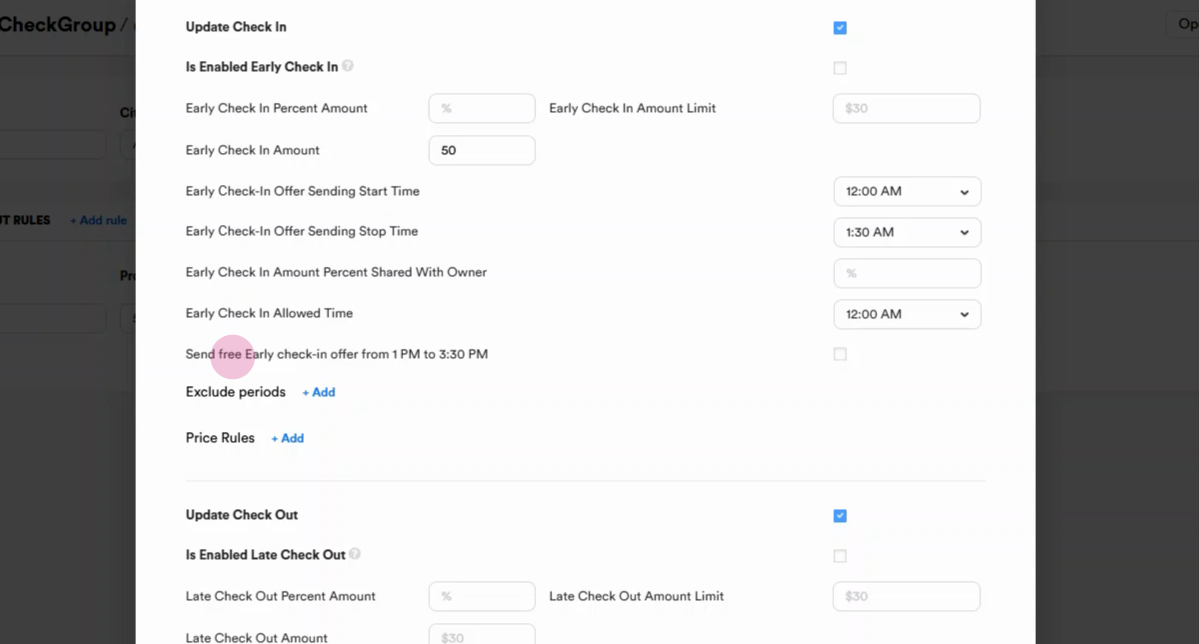
Step 8: You also have the option to send a free check offer from 1 pm to 3:30 pm. This is a complimentary offer sent only to guests who haven't booked early check-in through our paid option. As of now, this option works only for NOLA, but if other owners want that option, you can enable it.
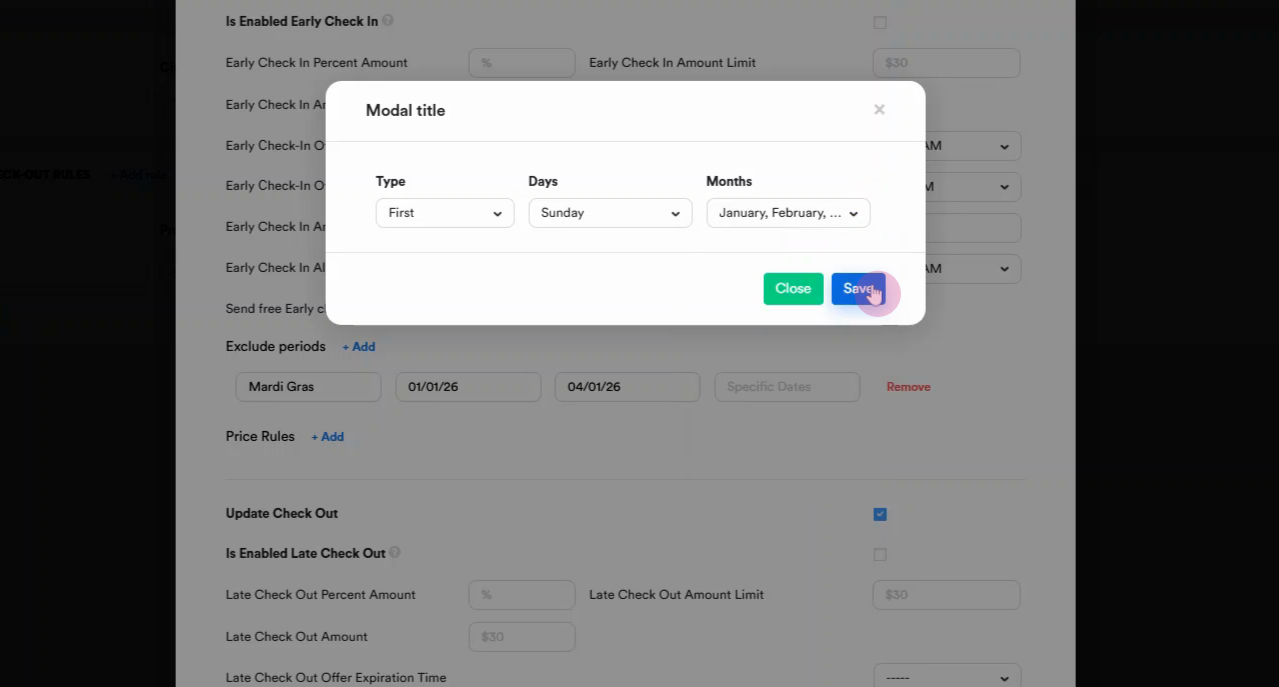
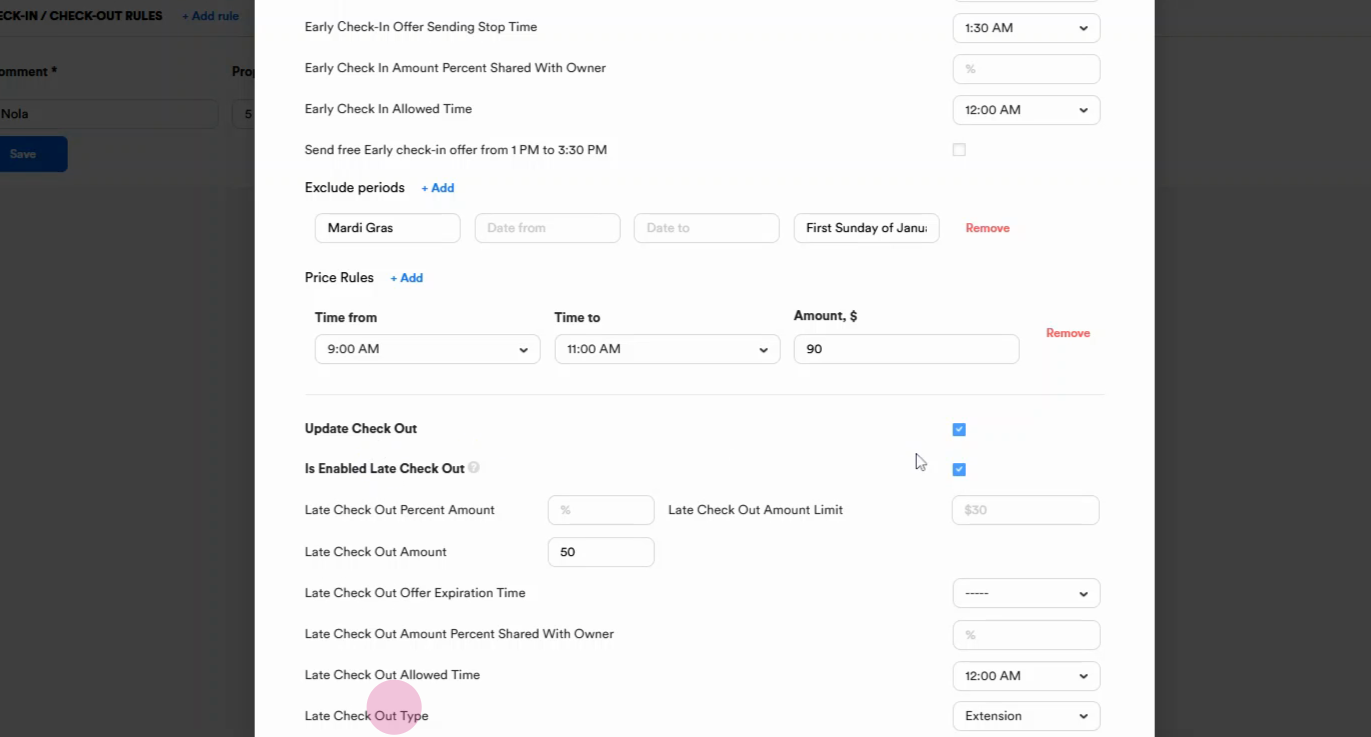
Step 9: You can also exclude certain periods. Give this period a title. Choose the date range. You can also choose whether this applies to the first or last Sunday of a certain month and click Save to apply your settings
Step 10: Next is the price rule. For example, we have a standard early check-in, which starts at 12 AM. If we want to set a new time before 12 AM, for example, from 9 to 11 AM, we can add this time range as well. And set another amount. For example, let's say ninety dollars. This means that from 9 AM until 11 AM, the early check-in price will be 90 dollars.
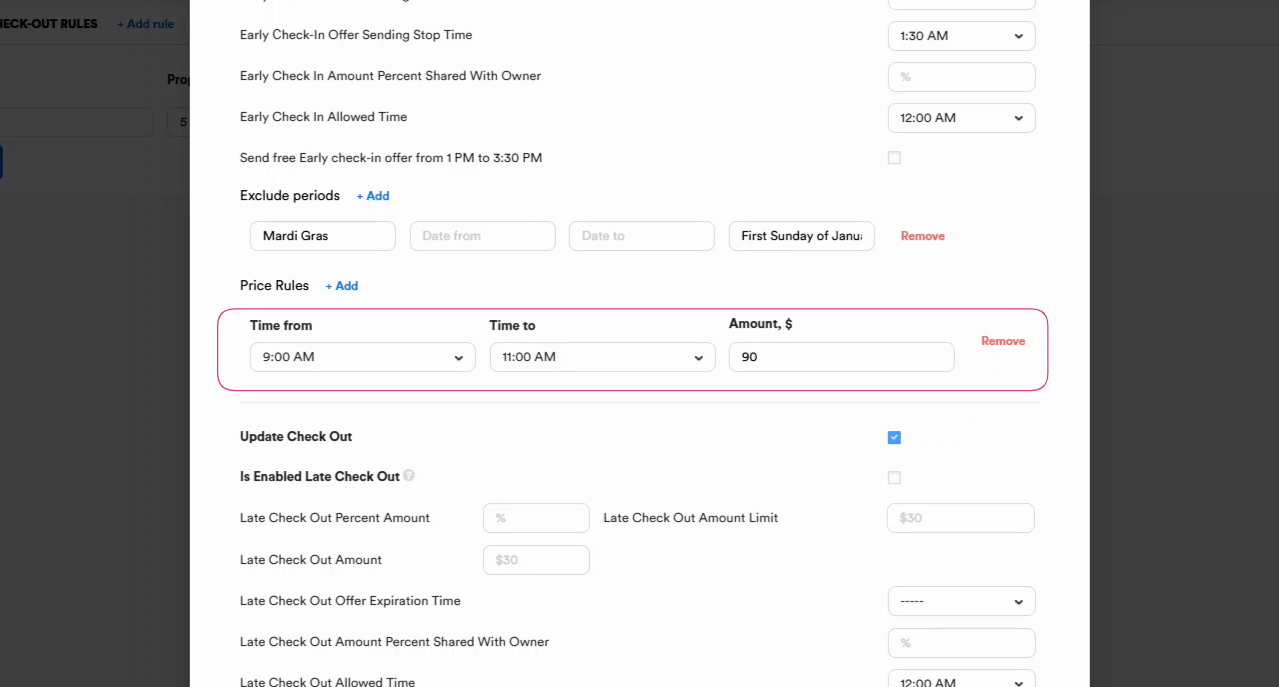
Step 11: We also see the late checkout type. This can be set per property. By default, the system creates an extension for the next day as a temporary block. The system opens it immediately after the property receives a clean cleaning status, and without a block (for cases when we offer cheap late check-outs for a short period of time).
Step 12: After creating a group and rules, navigate back to the timeline. Select the property that's in your previously created group. Click on the title of the property.
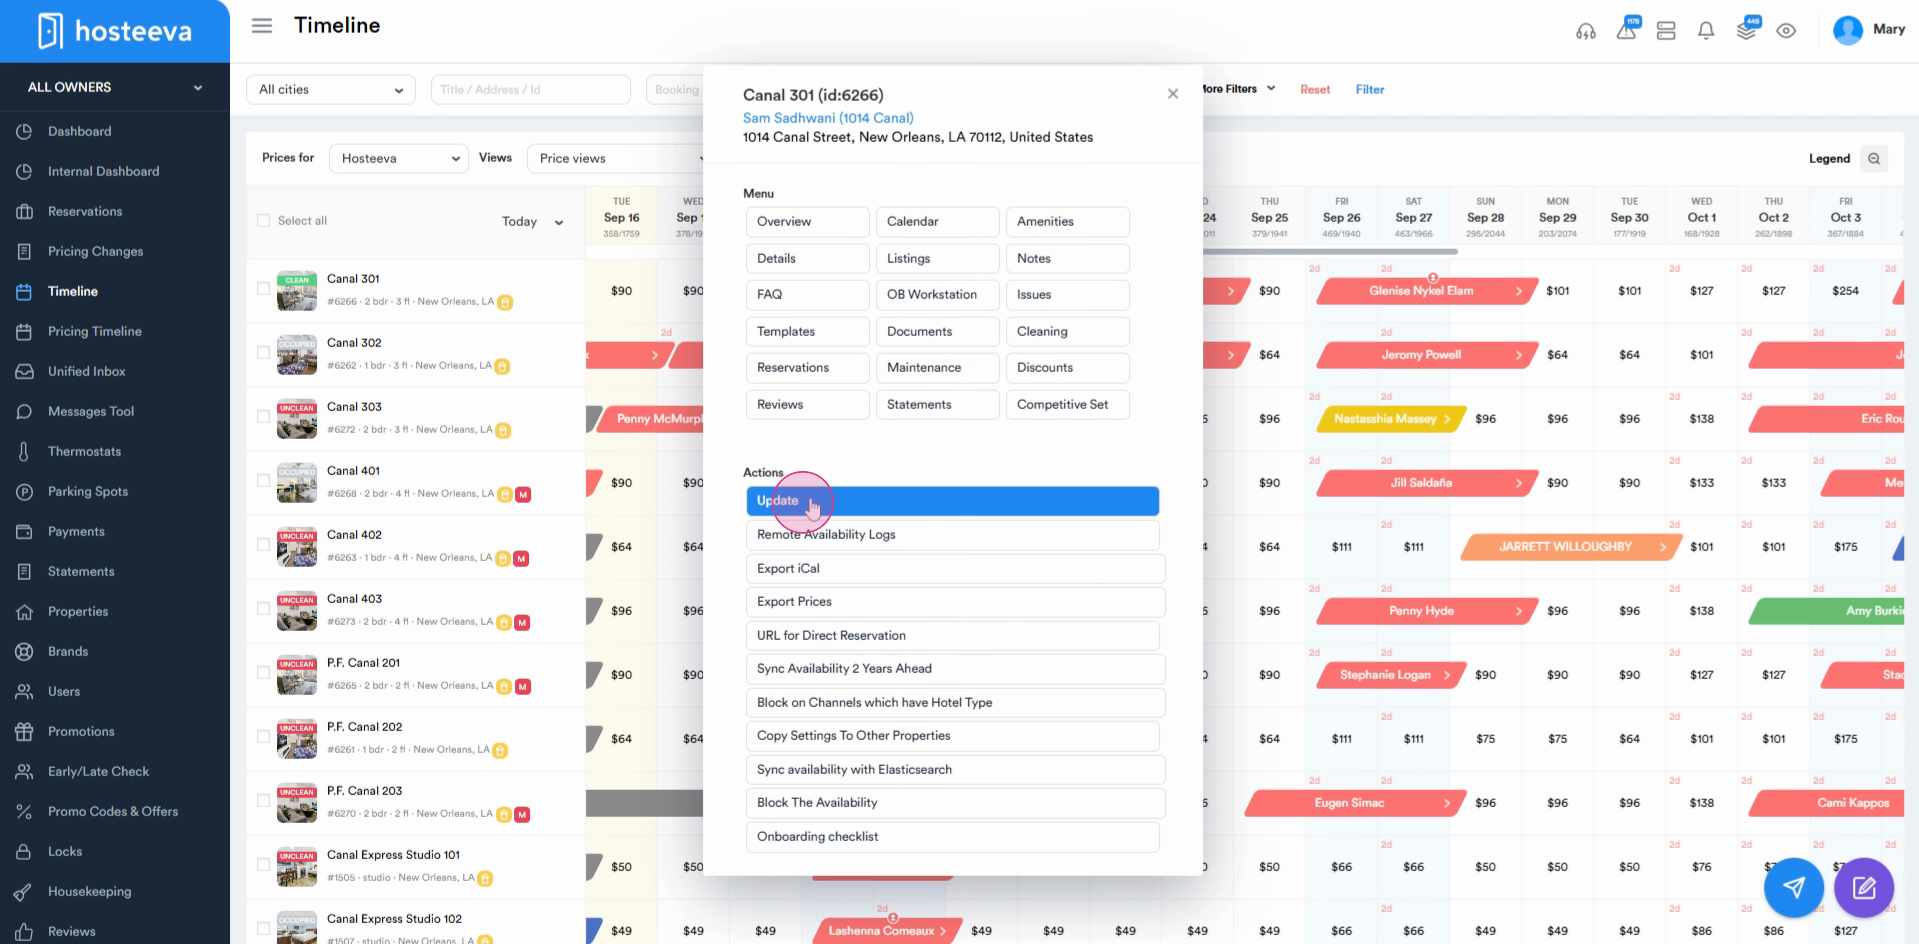
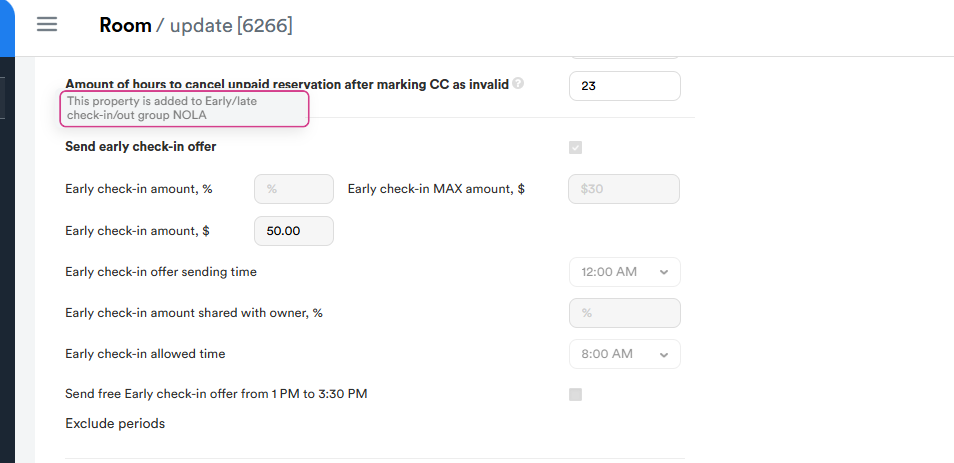
Go to the "update" section and scroll down. You'll see that the property has been added to the early check-in late checkout group. Any changes and configurations will be done from the admin portal, not here.
That's it! You've successfully set up early check-in and late checkout offers from the admin portal.