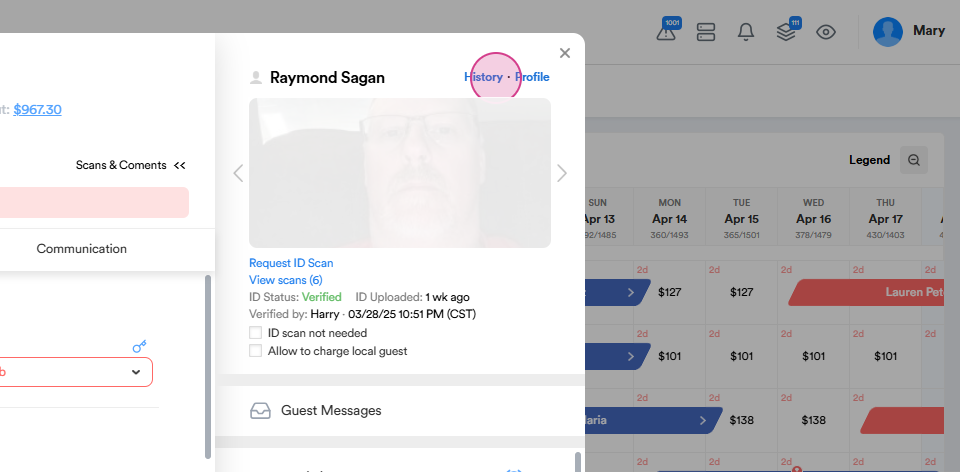
In this article, you'll learn about the newly introduced features of history and profile options in the reservation dialog for area managers.
Step 1: On the right side of the guest's first and last name, you'll find the new profile and history options.
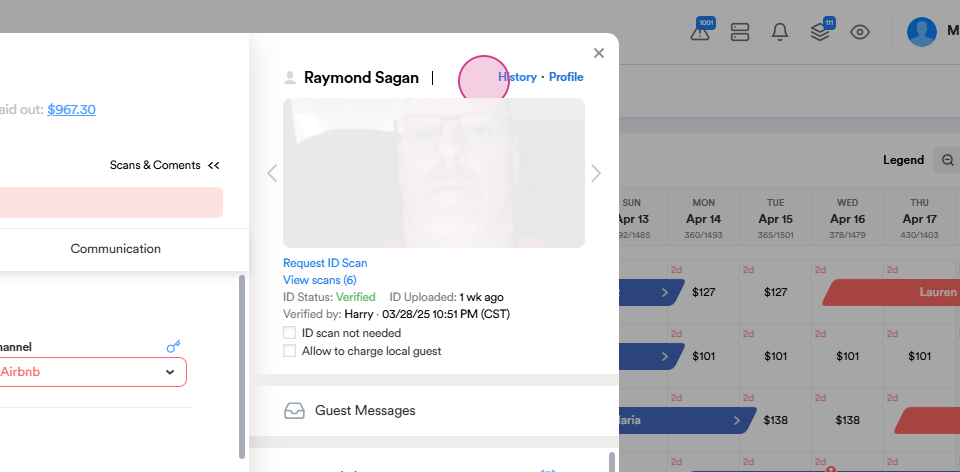
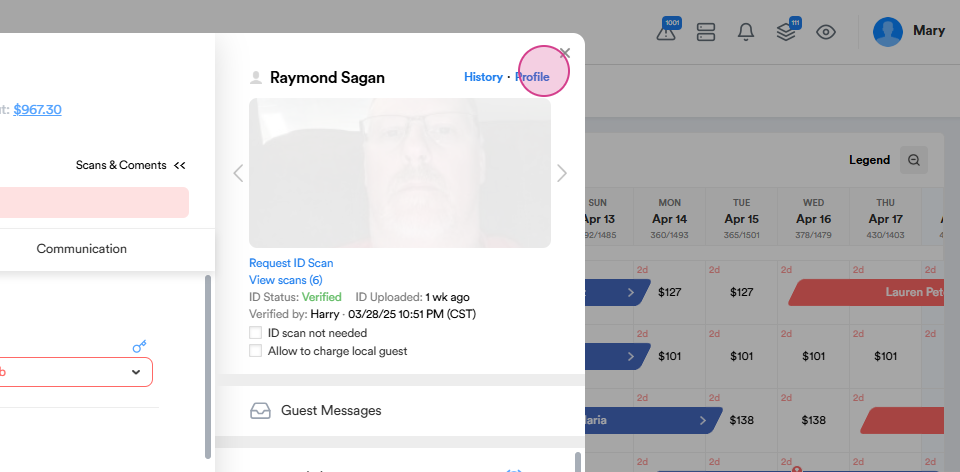
Step 2: Click on the profile option. This action will redirect you to a new page where you'll see a quick summary about the guest.
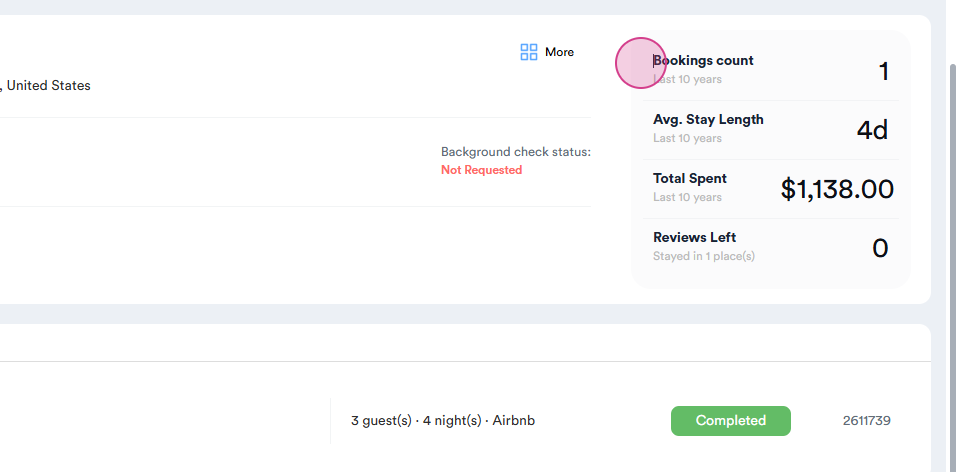
Step 3: On the right side of this page, you'll find the booking count. This section shows the number of bookings the guest has with us, the duration of their stay, and the total amount they've spent. Here, you'll also find out if the guest has left any reviews.
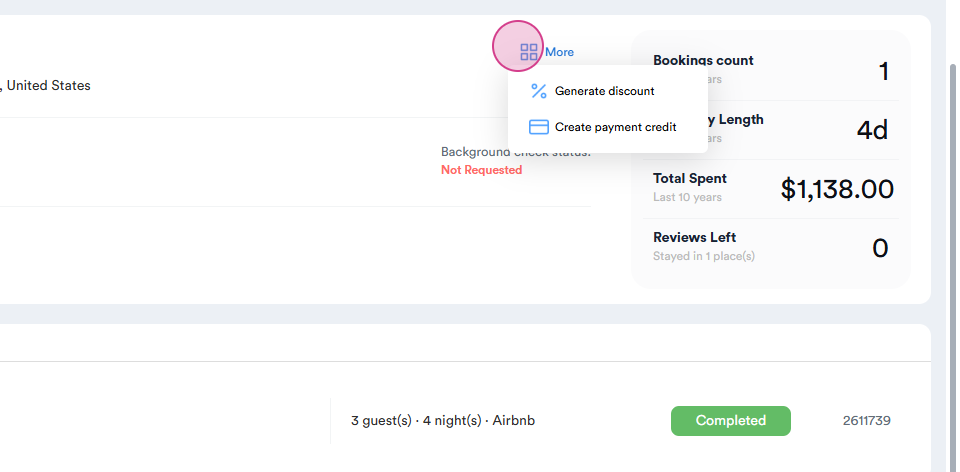
Step 4: Click on the more button to generate discounts for the guest or create a Hosteeva voucher if necessary.
Step 5: Scroll down to see the ID verification status, the date the ID was uploaded, and who verified the IDs.
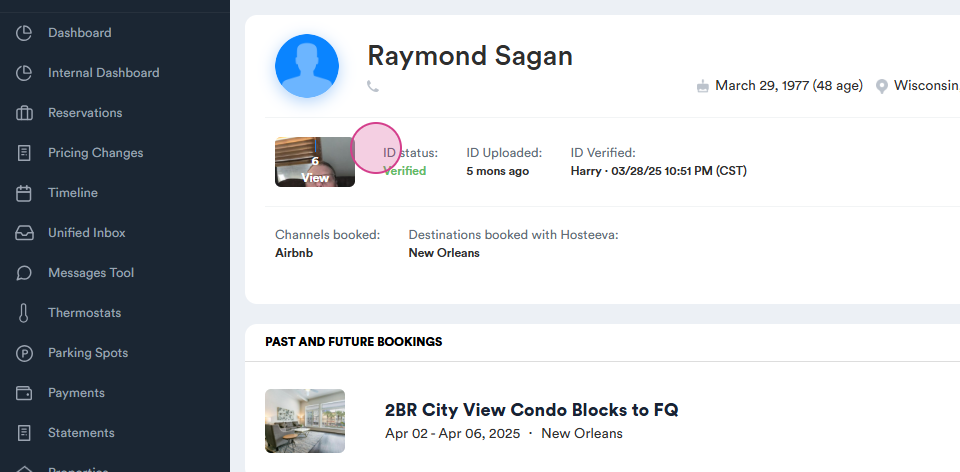
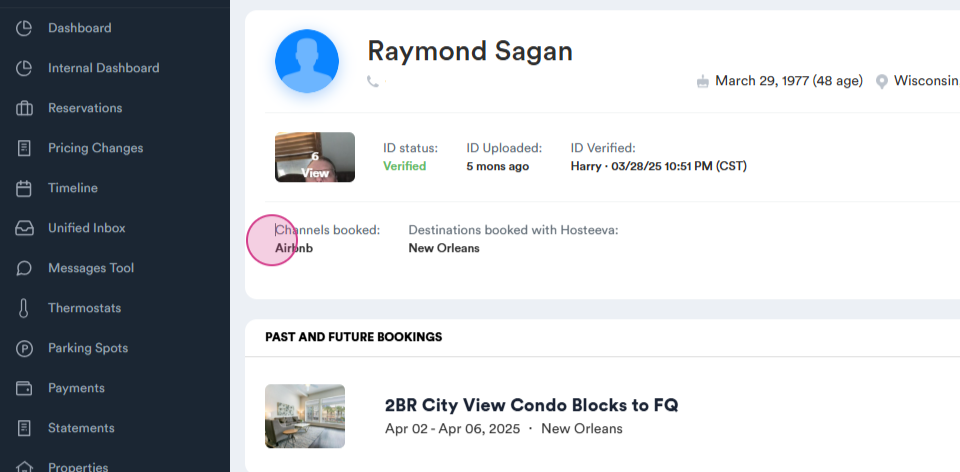
Step 6: You'll also find the website from which we received the reservation.
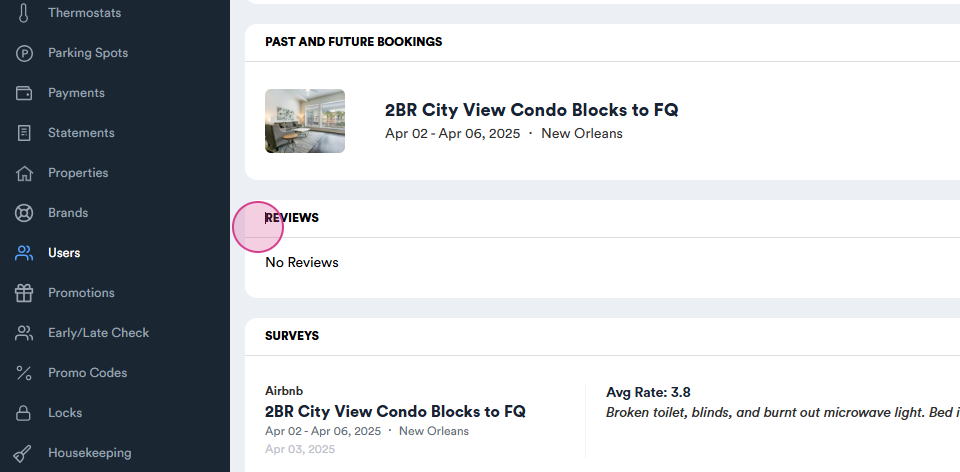
Step 7: Scroll further down to see the property name, whether the guest has left any reviews or filled any surveys.
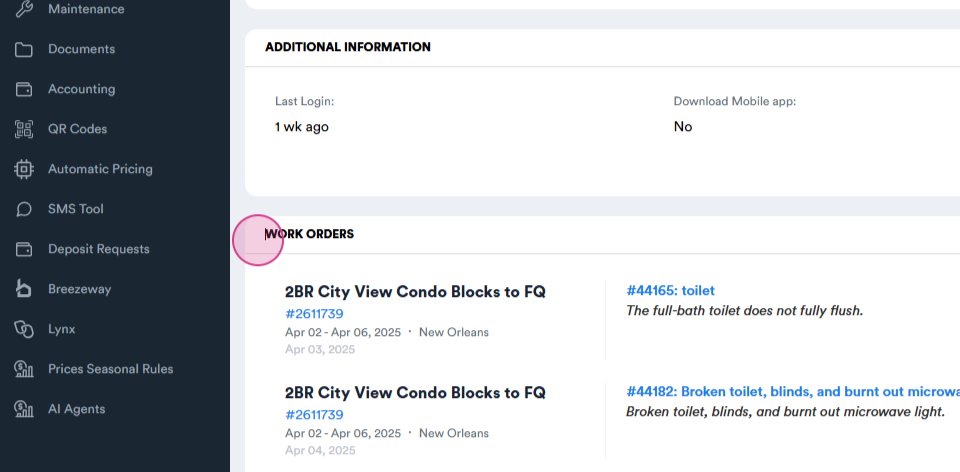
Step 8: At the bottom of the page, you'll find information about the work order.
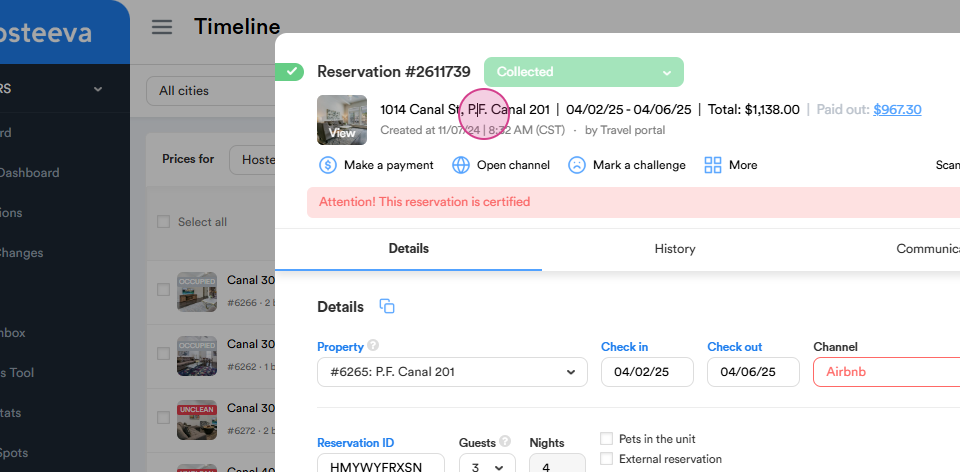
Step 9: To go back to the timeline, navigate to the history section.
Step 10: Here, you'll see all the reservations. You can open a reservation on the timeline by clicking on the three dots.
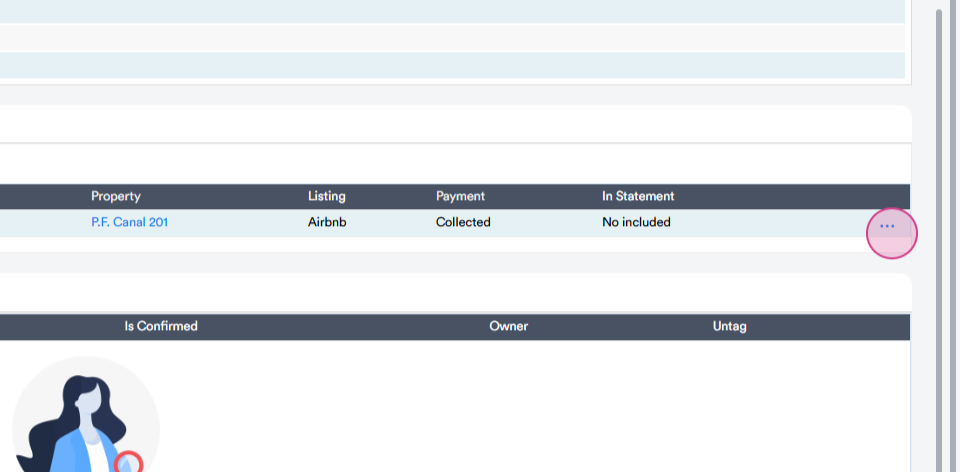
Step 13: Hover your mouse over the property name to see the owner's name of the property.
That's it! You've now learned how to use the new history and profile features in the reservation dialect.