This article will guide you through the Hosteeva platform, highlighting its key features and functionalities. By the end of this tutorial, you'll have a solid understanding of how to navigate and utilize the platform effectively.
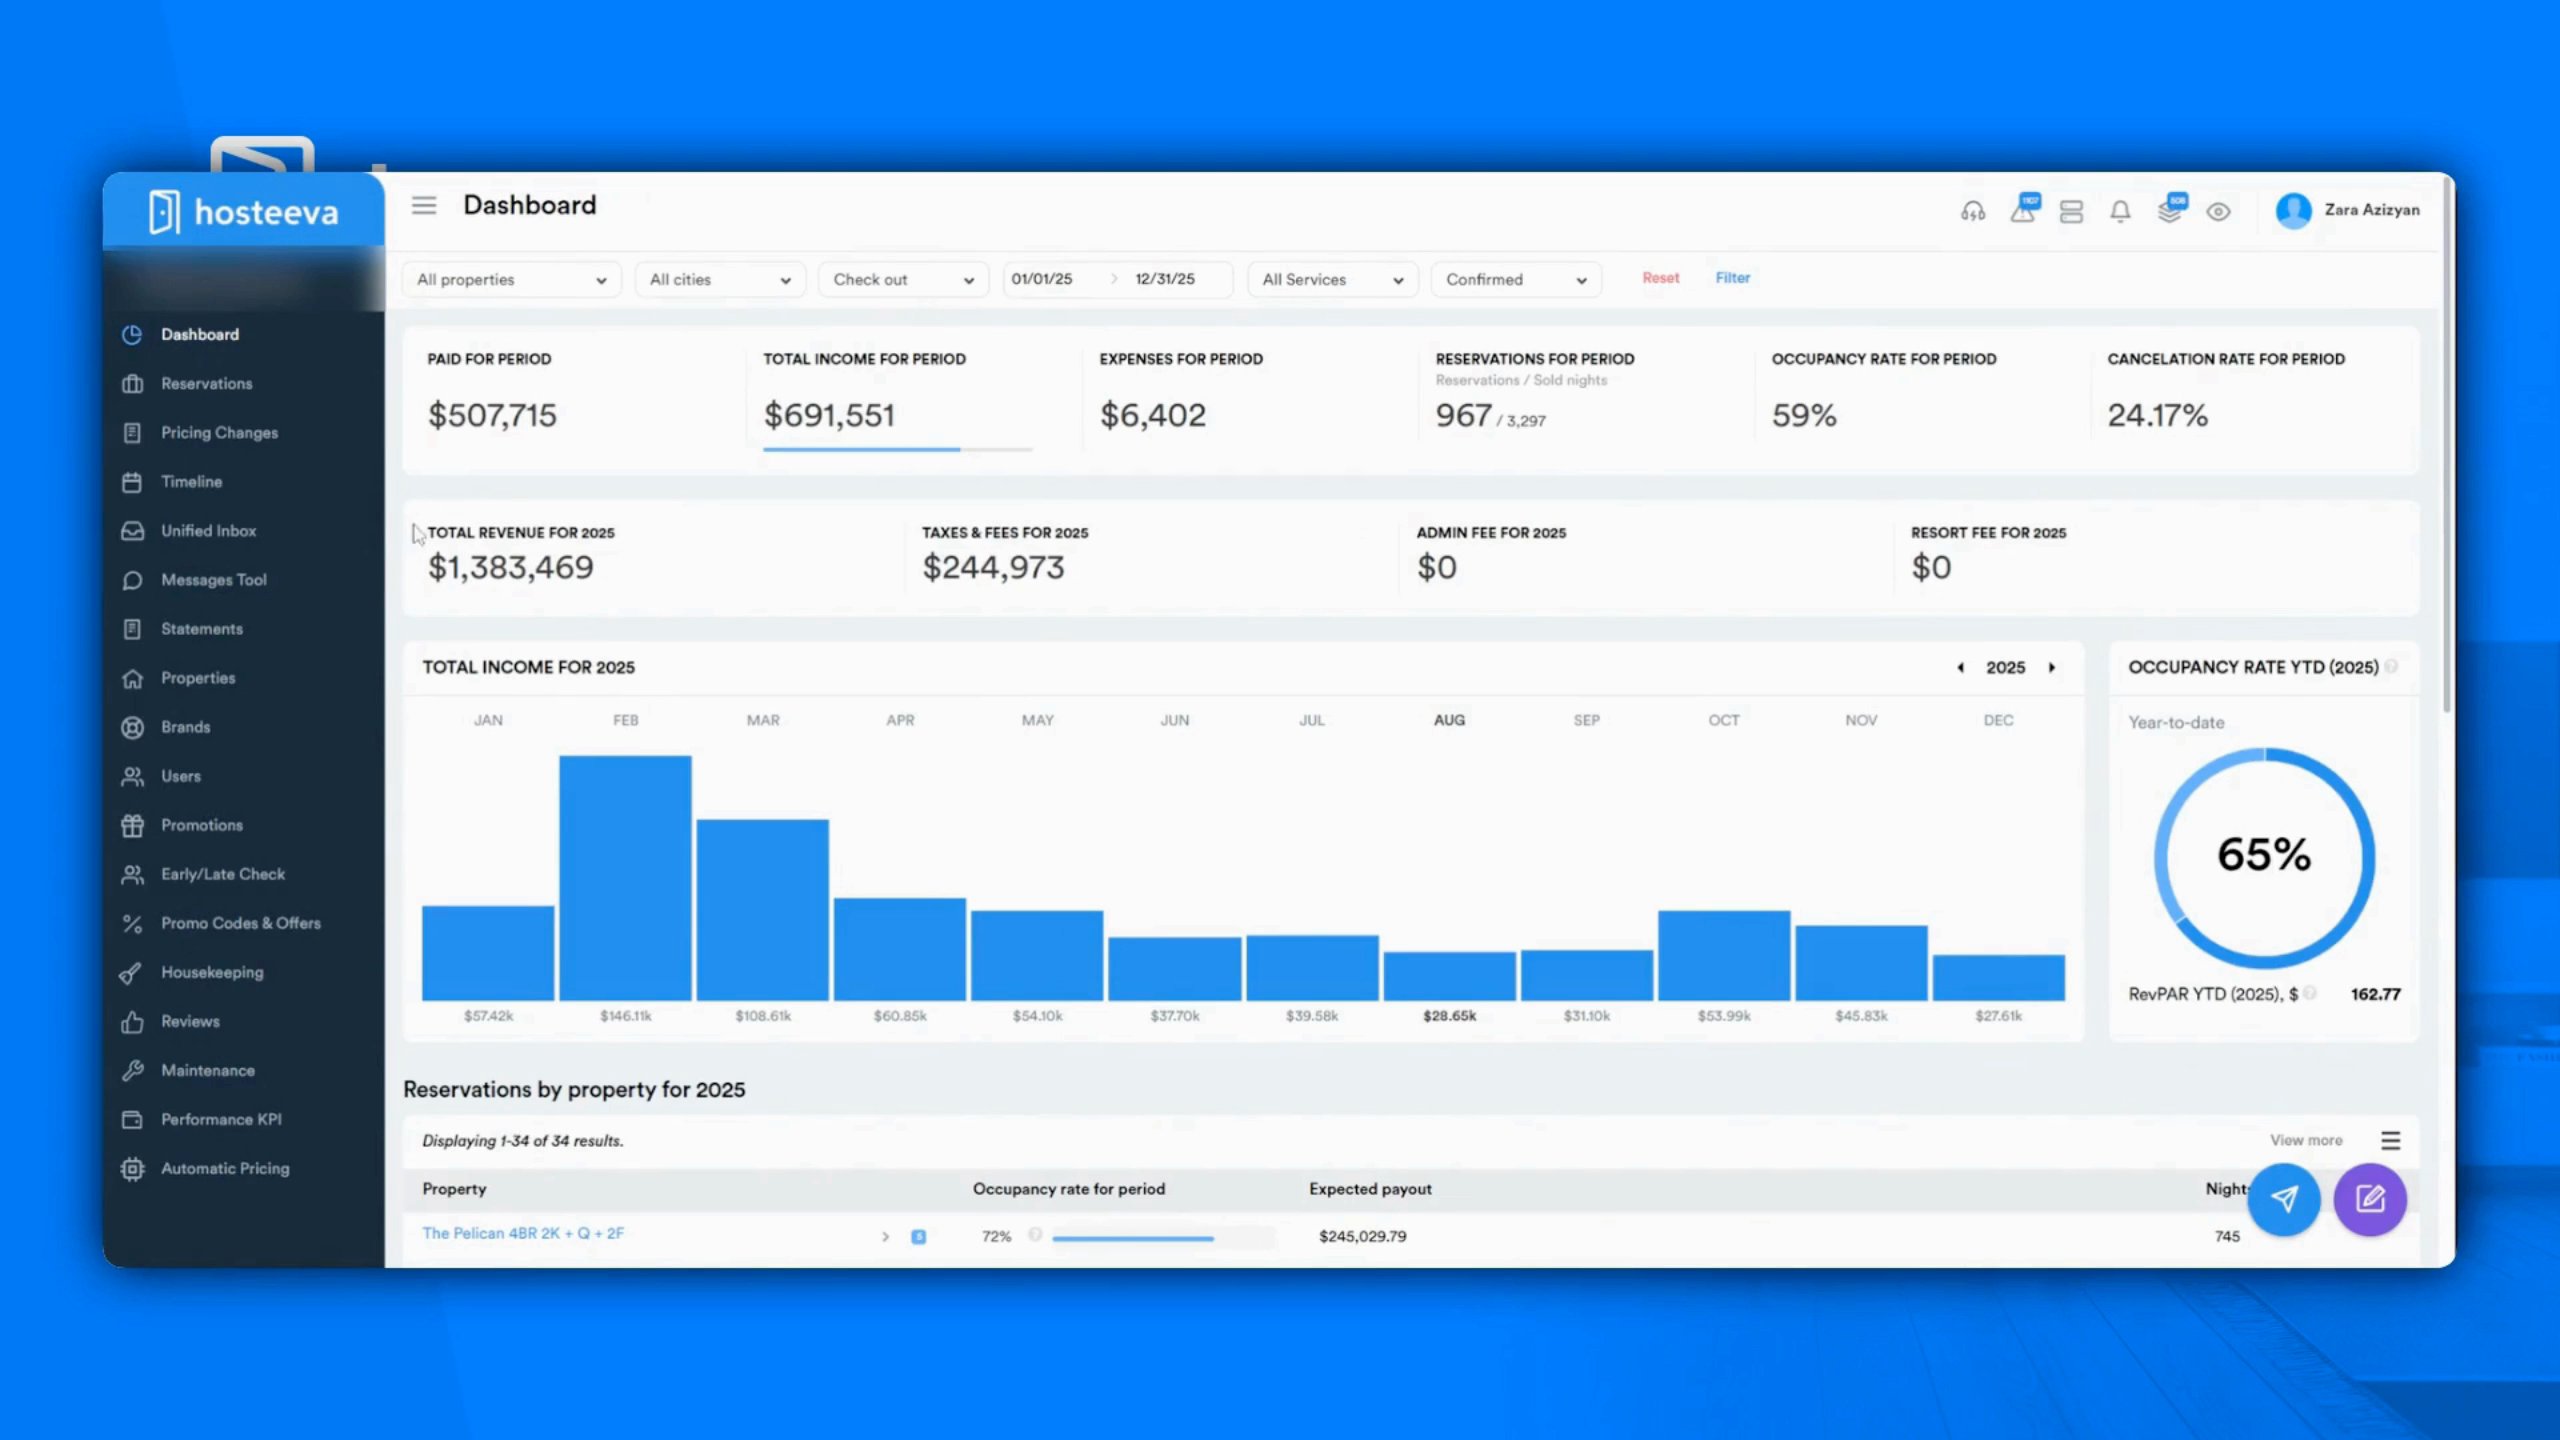
Step 1: Start with the Dashboard. This is your primary page, displaying crucial performance indicators for your properties, such as income and occupancy rates.
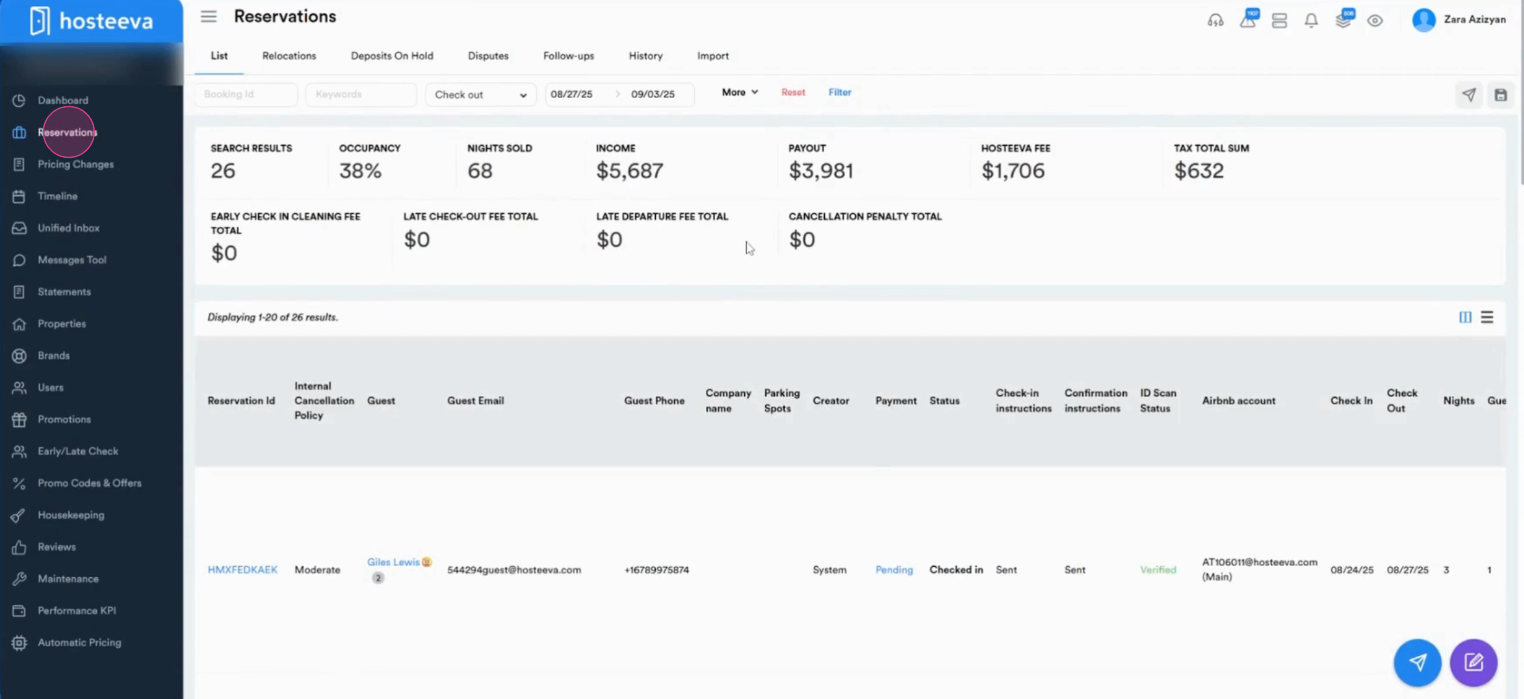
Step 2: Move to the Reservations tab. Here, view all reservations, their details, and generate reservation reports if needed.
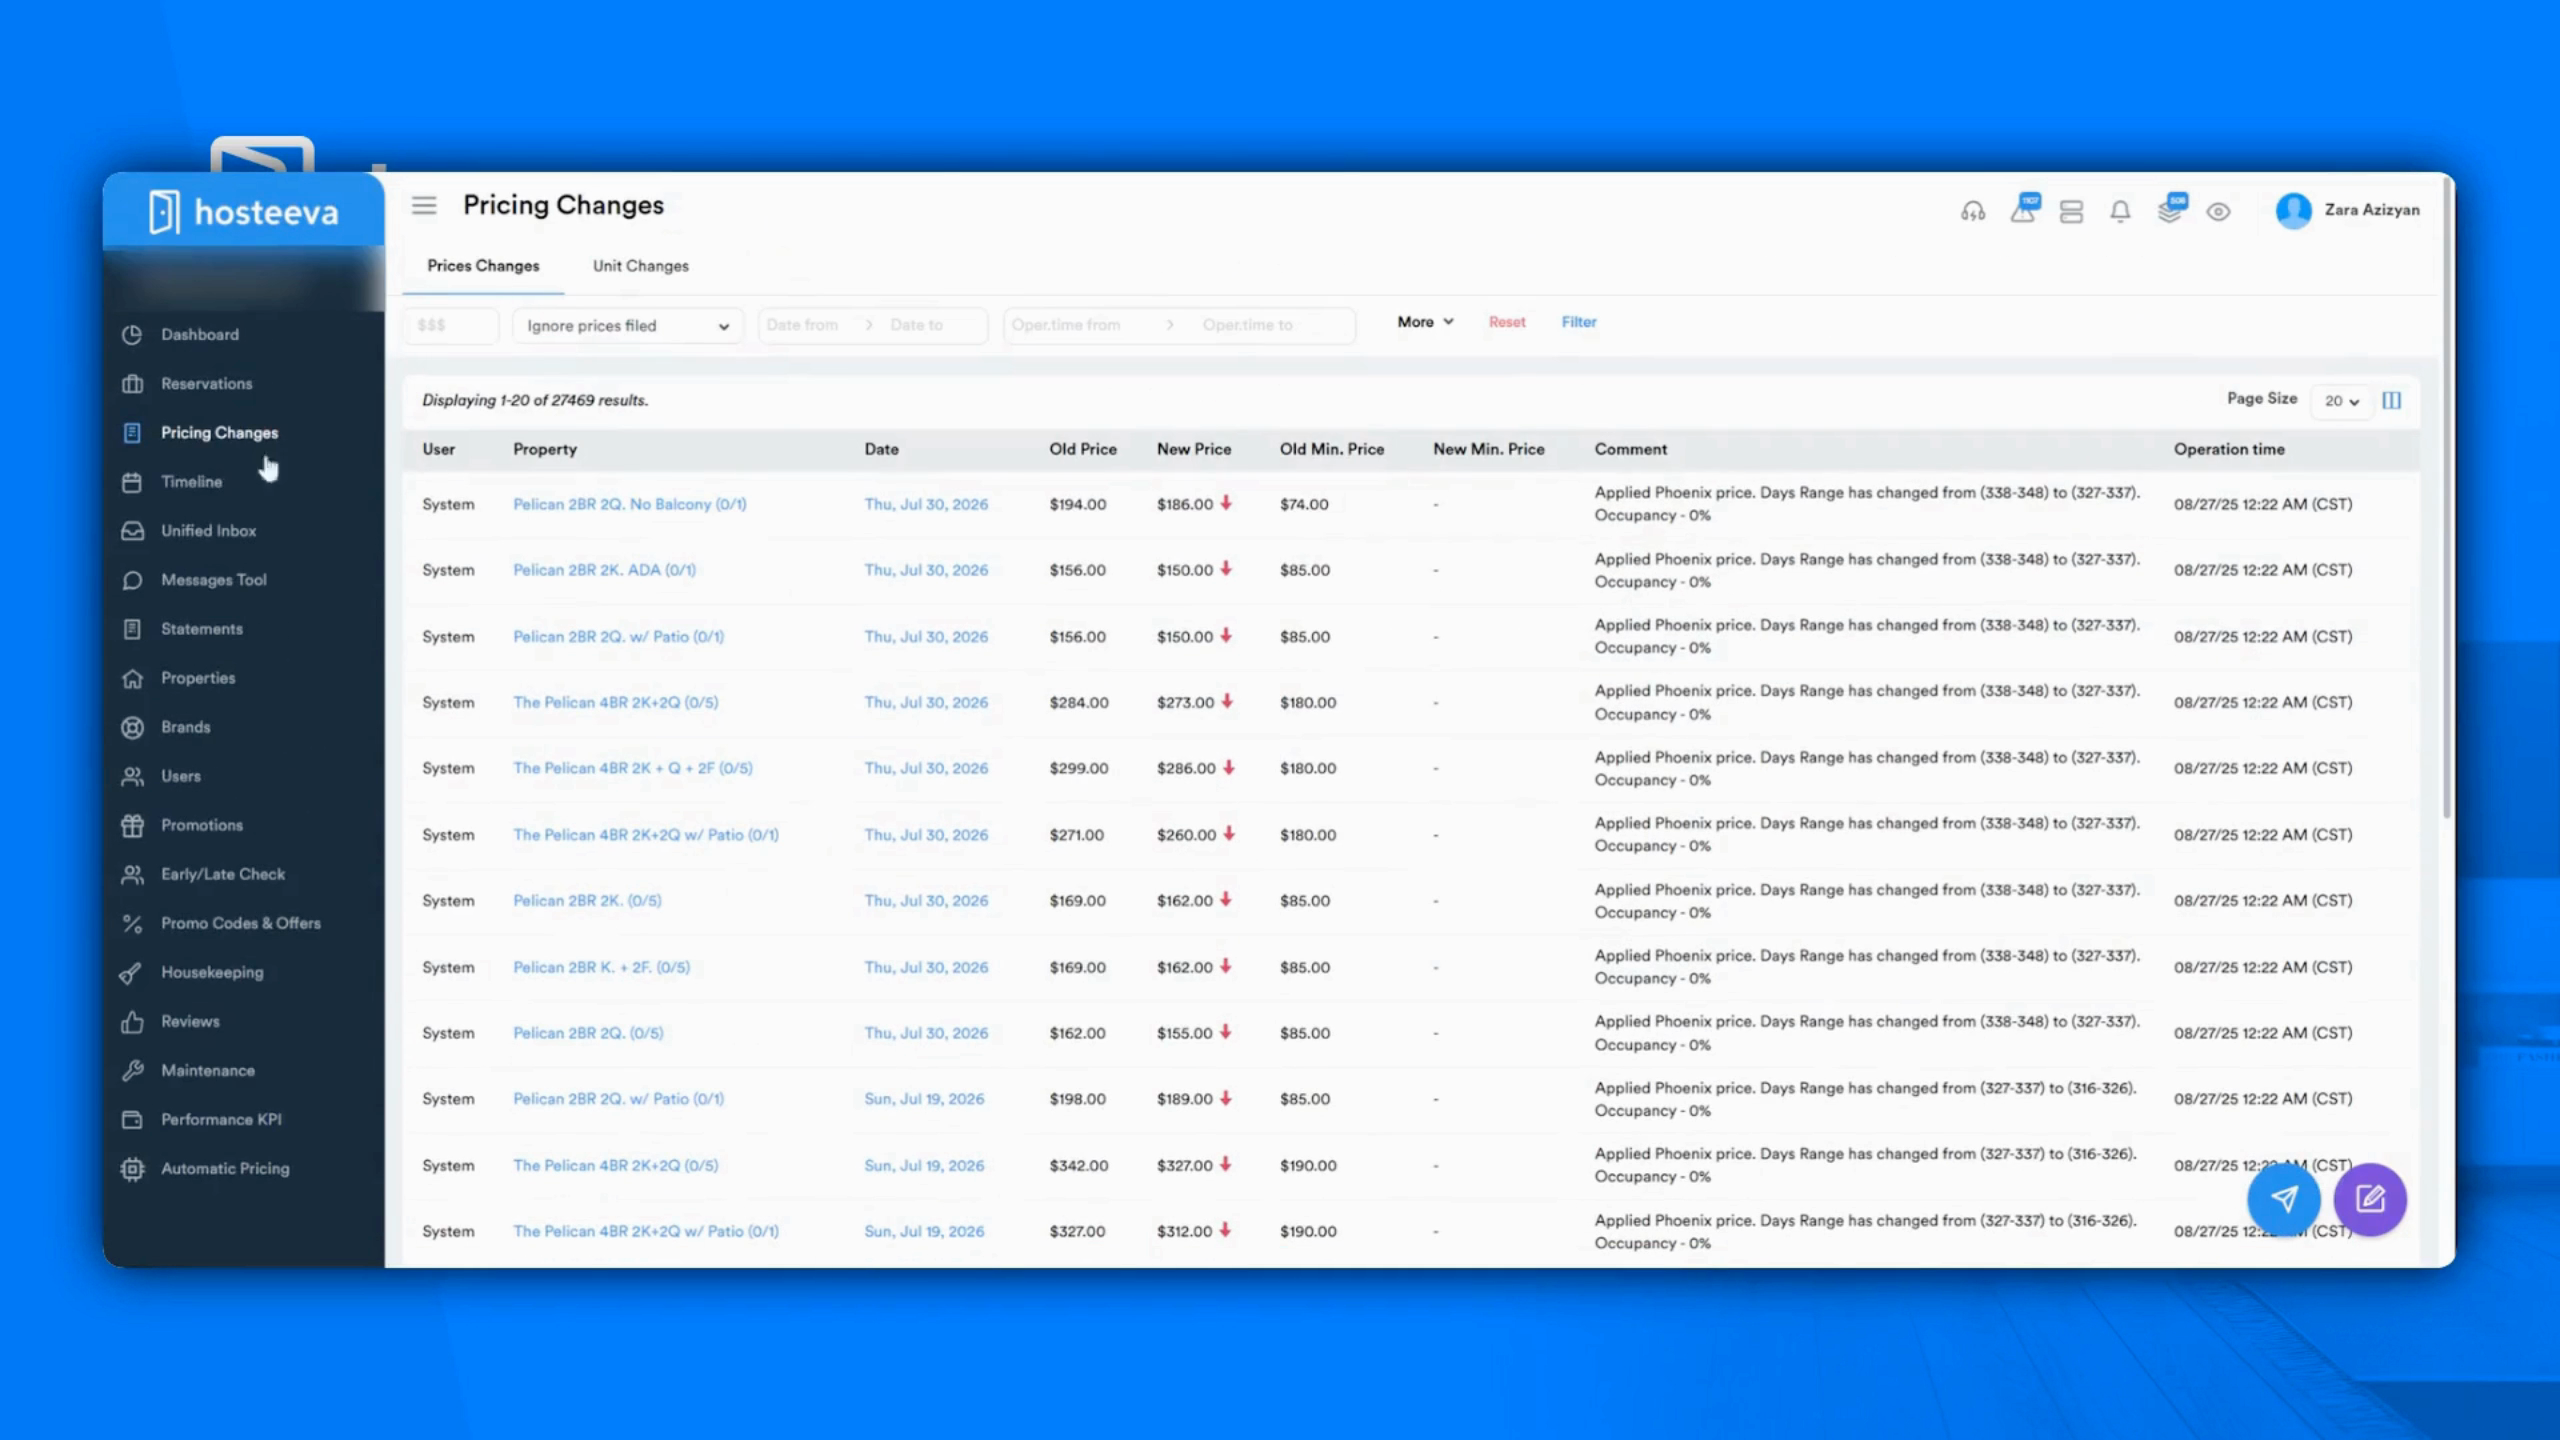
Step 3: Check out the Pricing Changes section. This provides a history of all your rate updates.
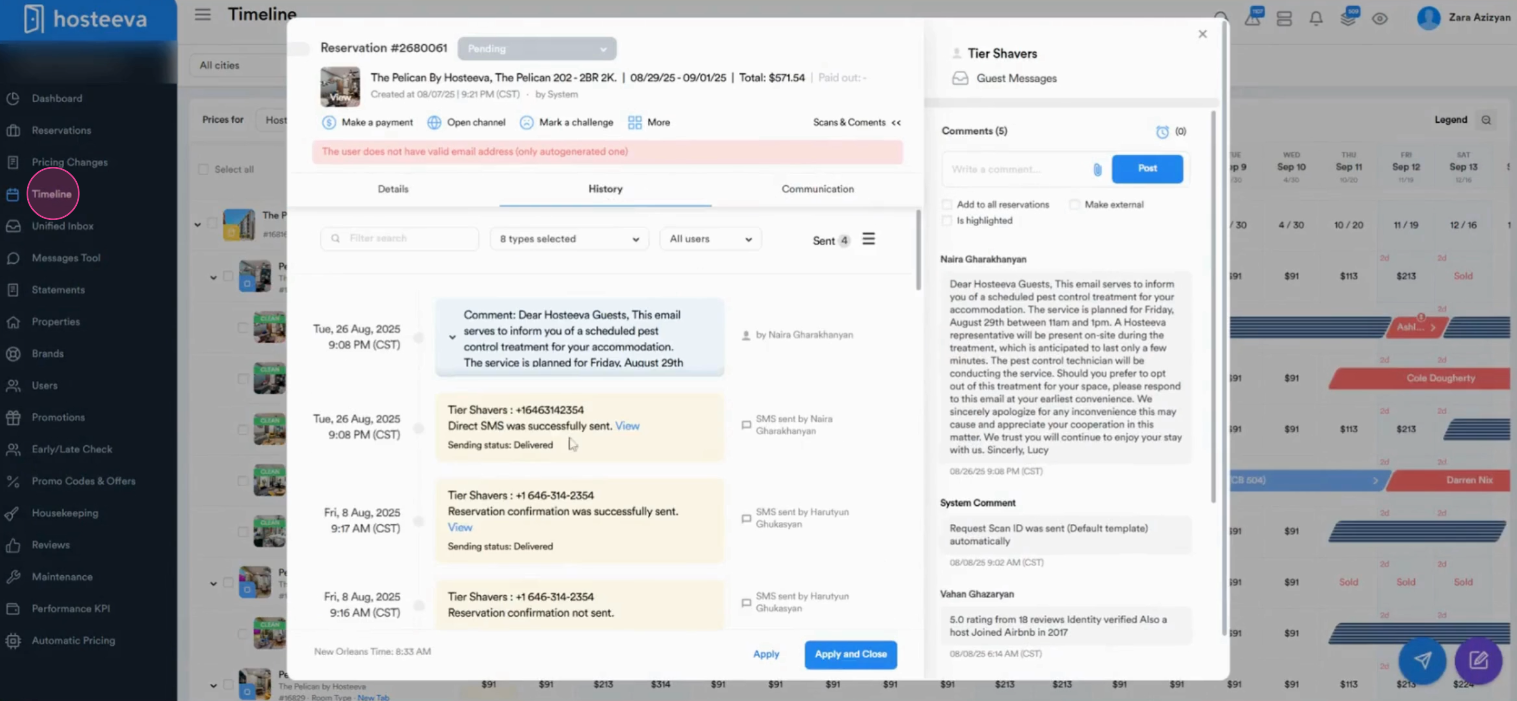
Step 4: Explore the Timeline. It gives you a glance at all reservations. Click on each for more details and to update pricing and availability easily.
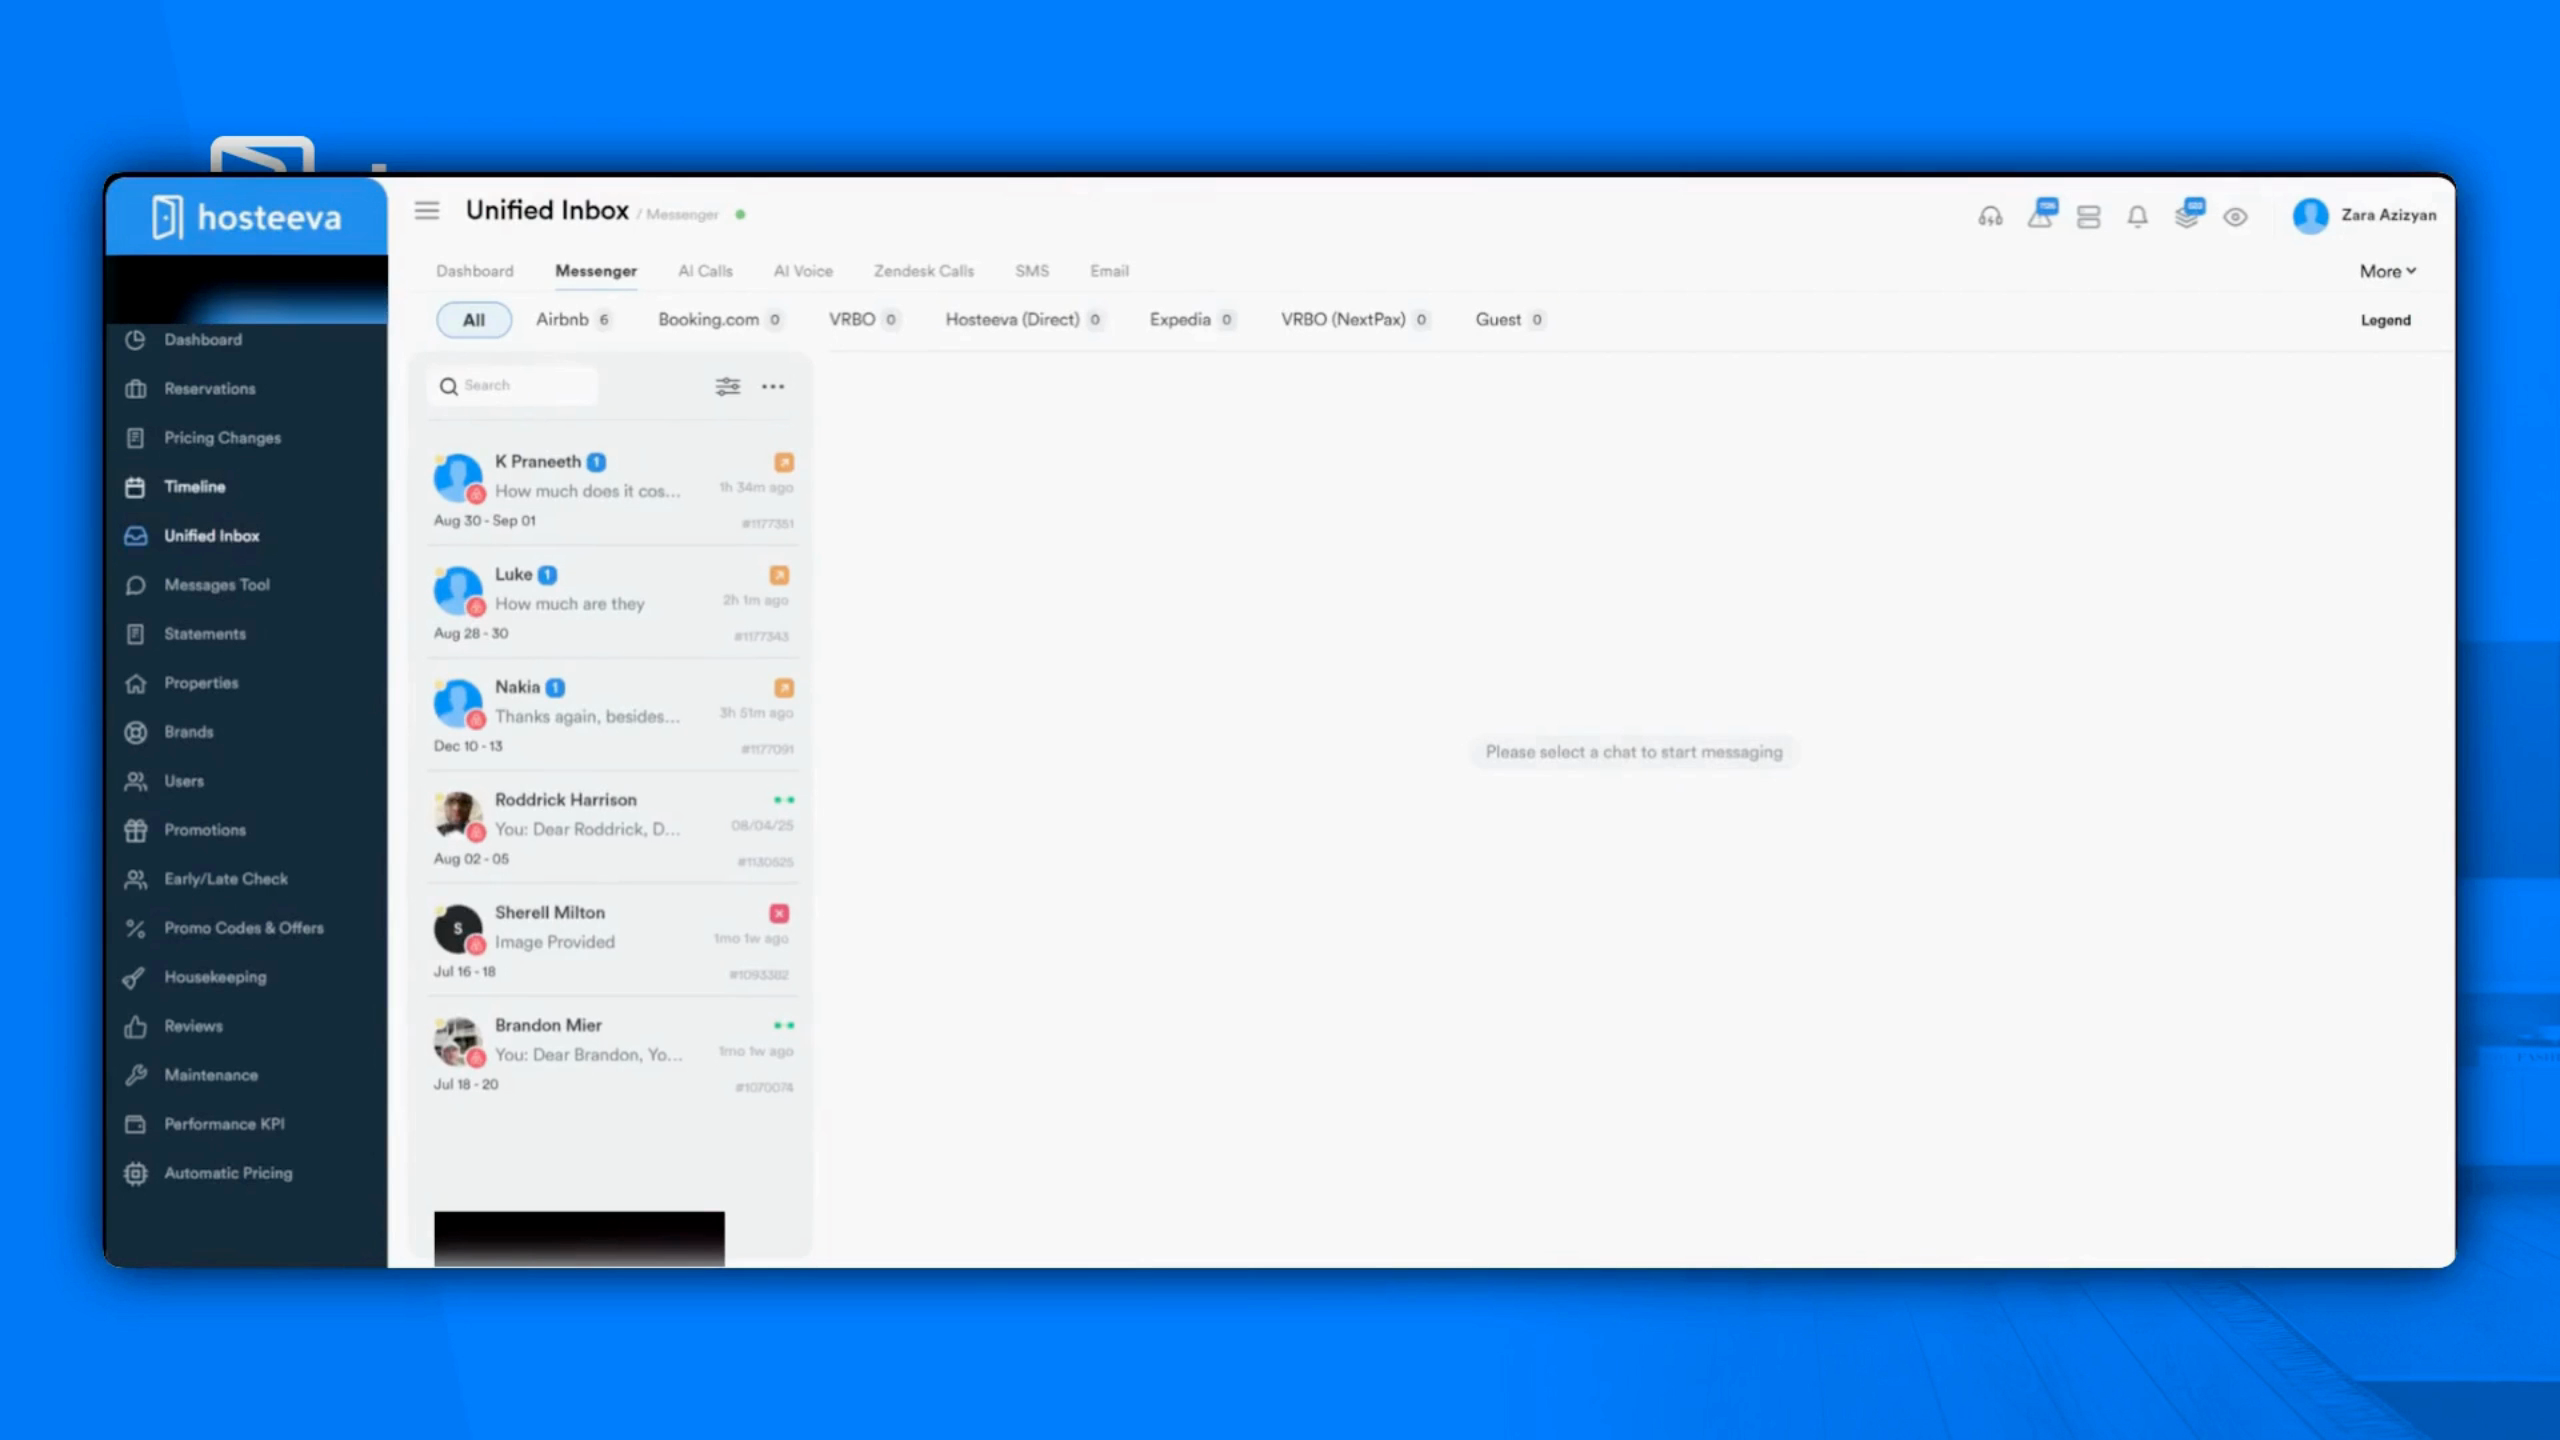
Step 5: Use the Unified Inbox. It consolidates all guest messages from every channel into one central location, making communication easy and efficient.
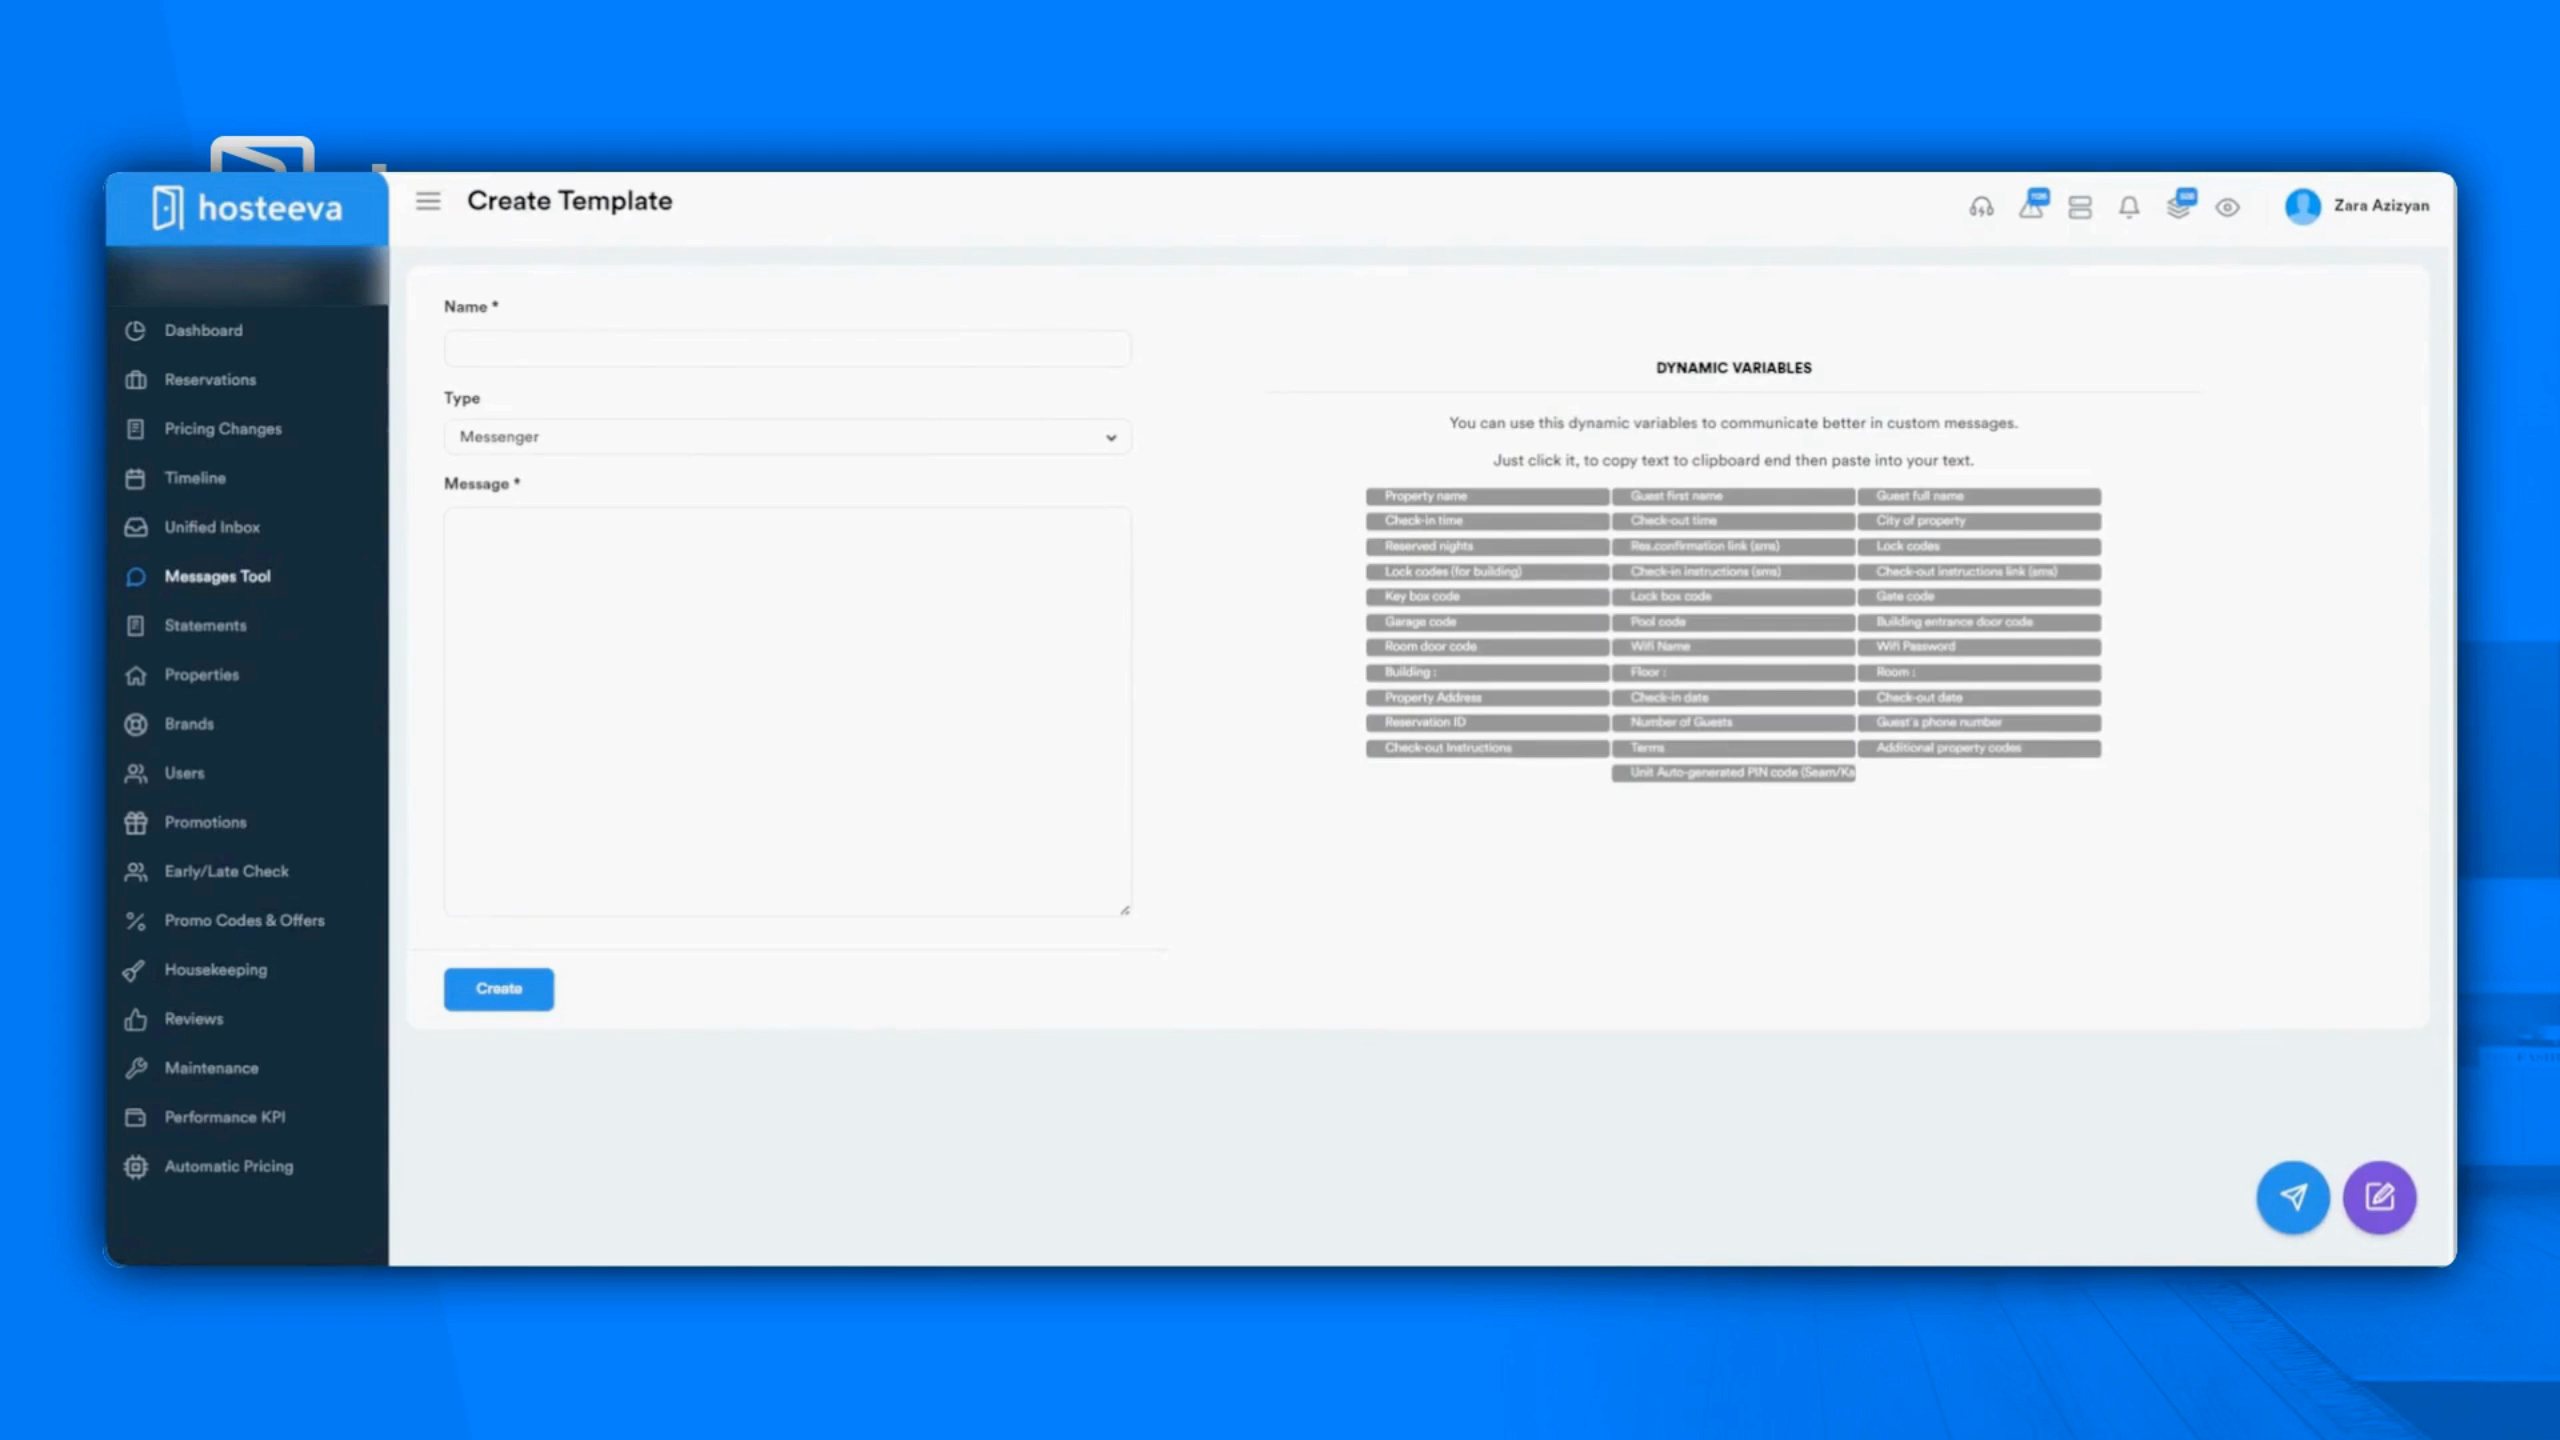
Step 6: Utilize the Messages tool. It lets you create and send custom or automated messages to your guests.
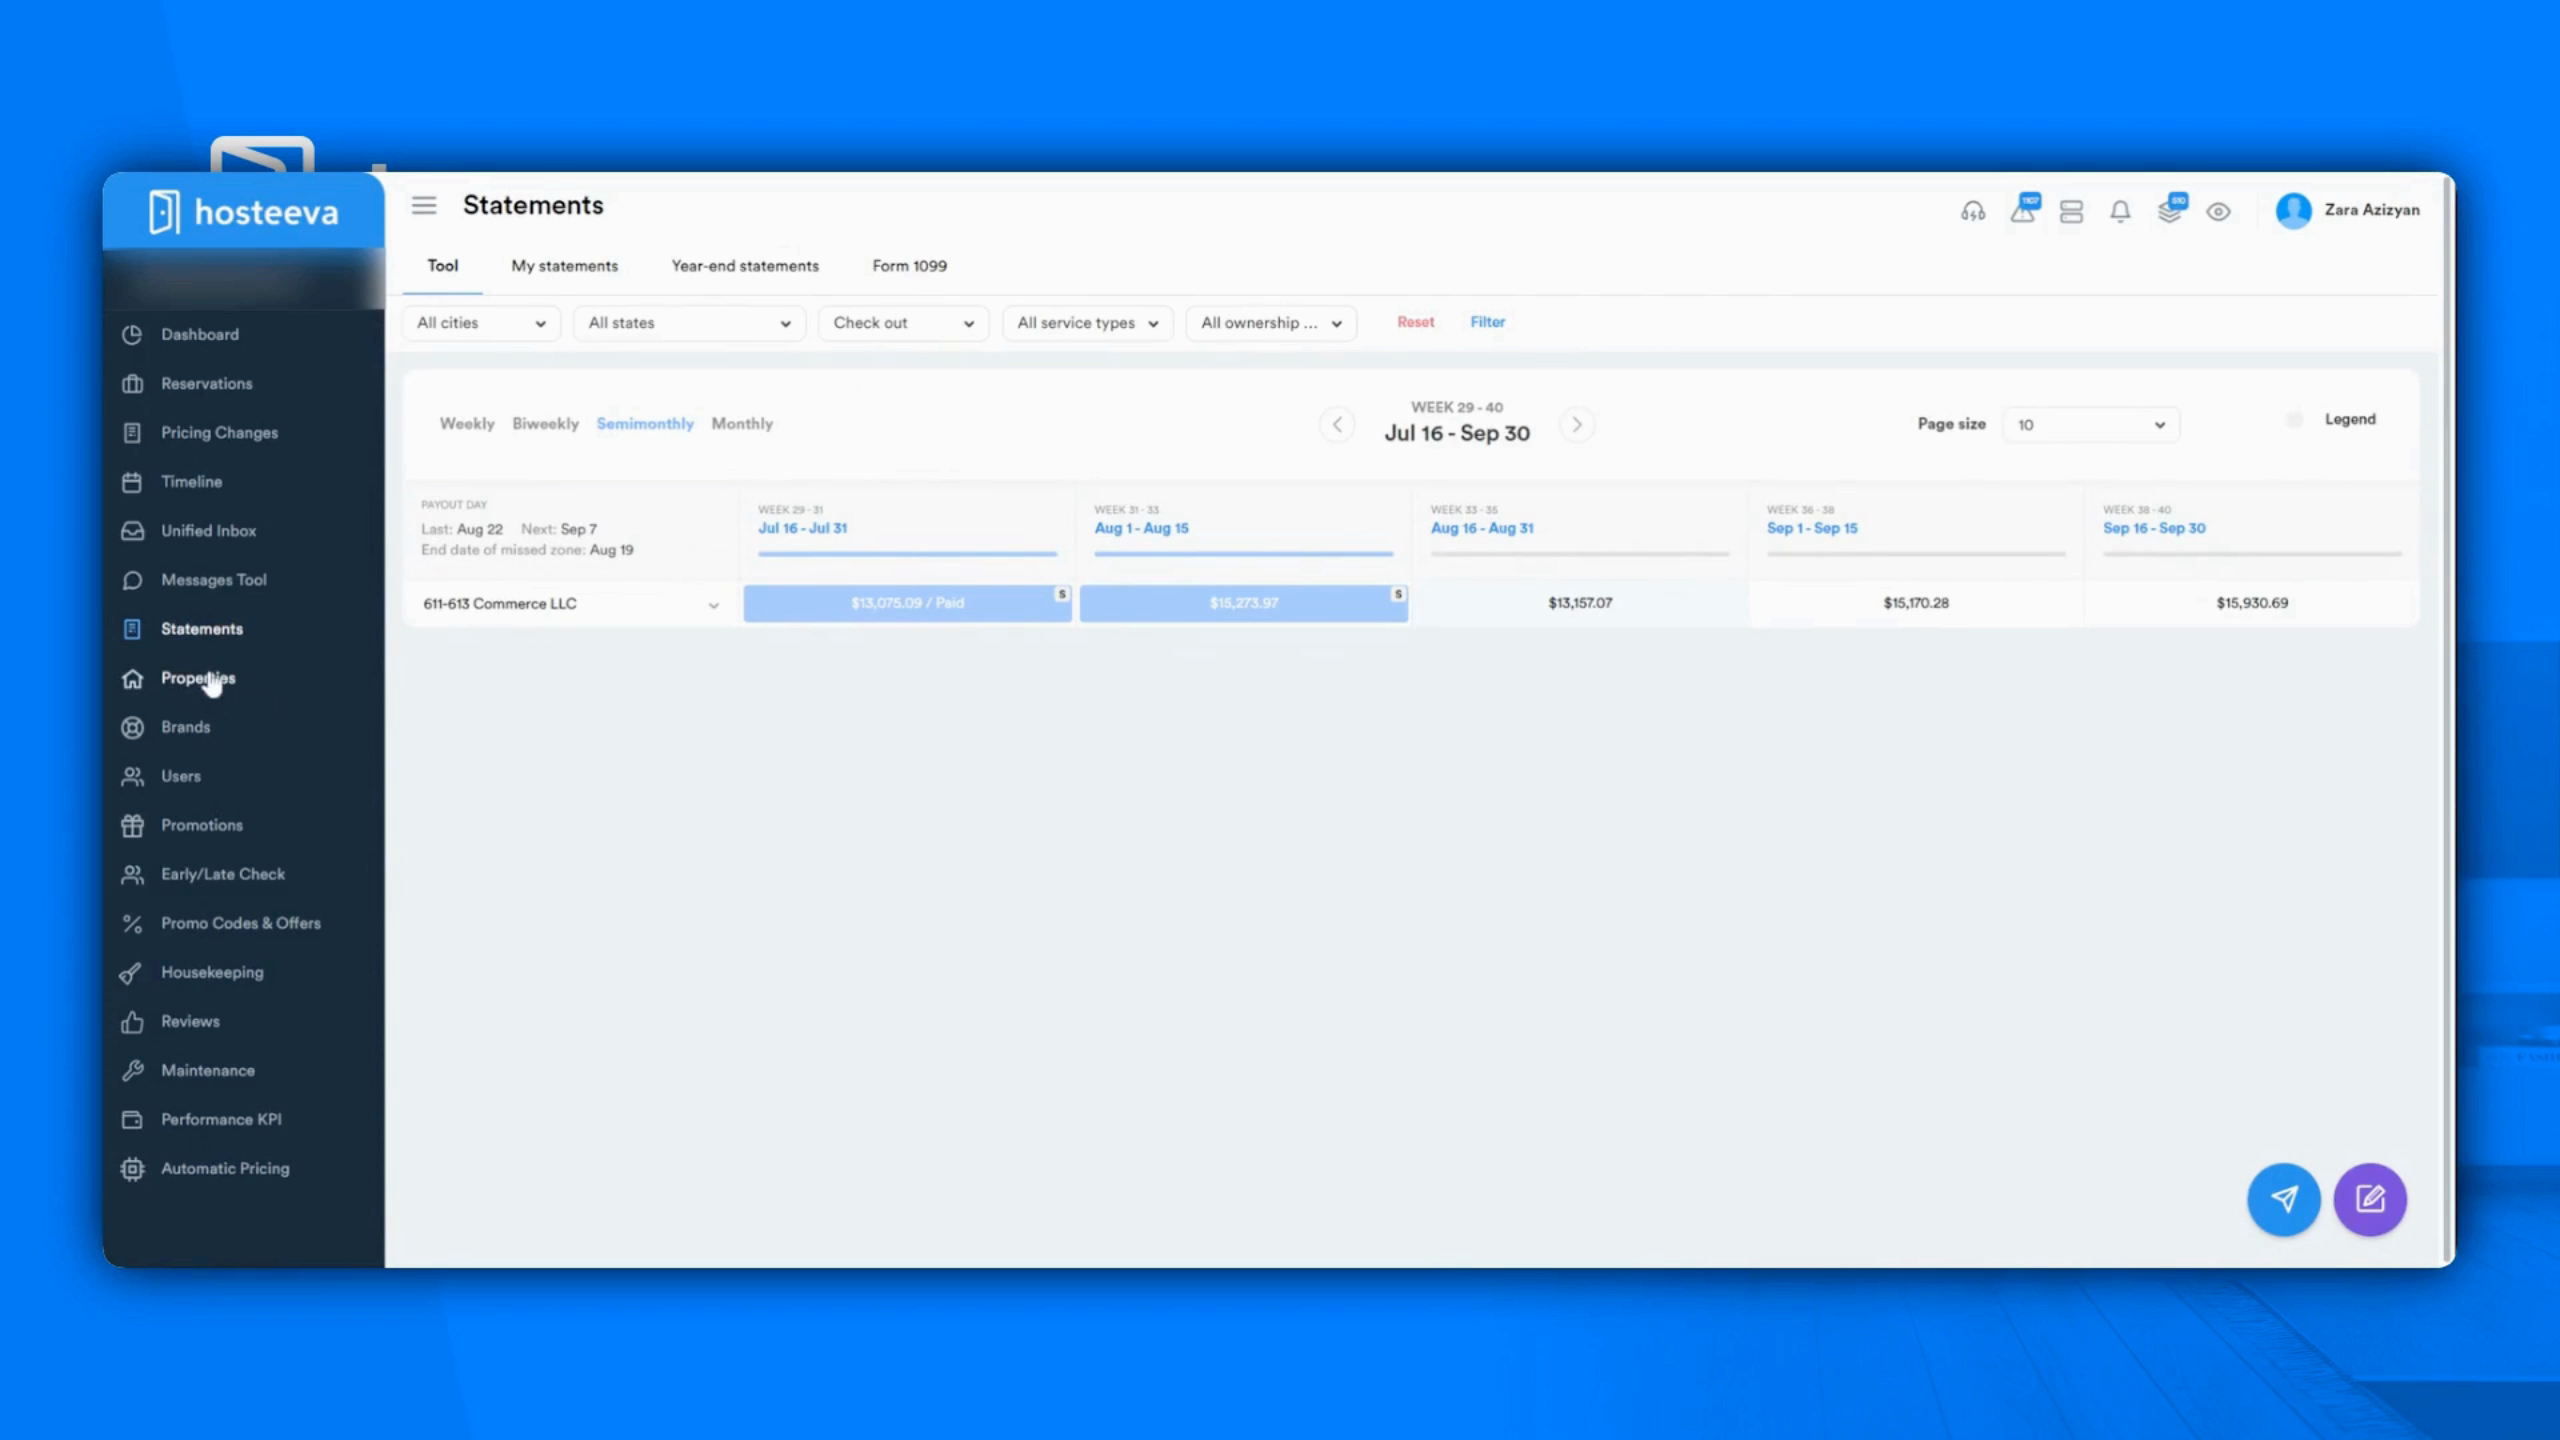
Step 7: Navigate to the Statements section. Here, view and download statements, generate customized owner statements, and maintain clear financial records.
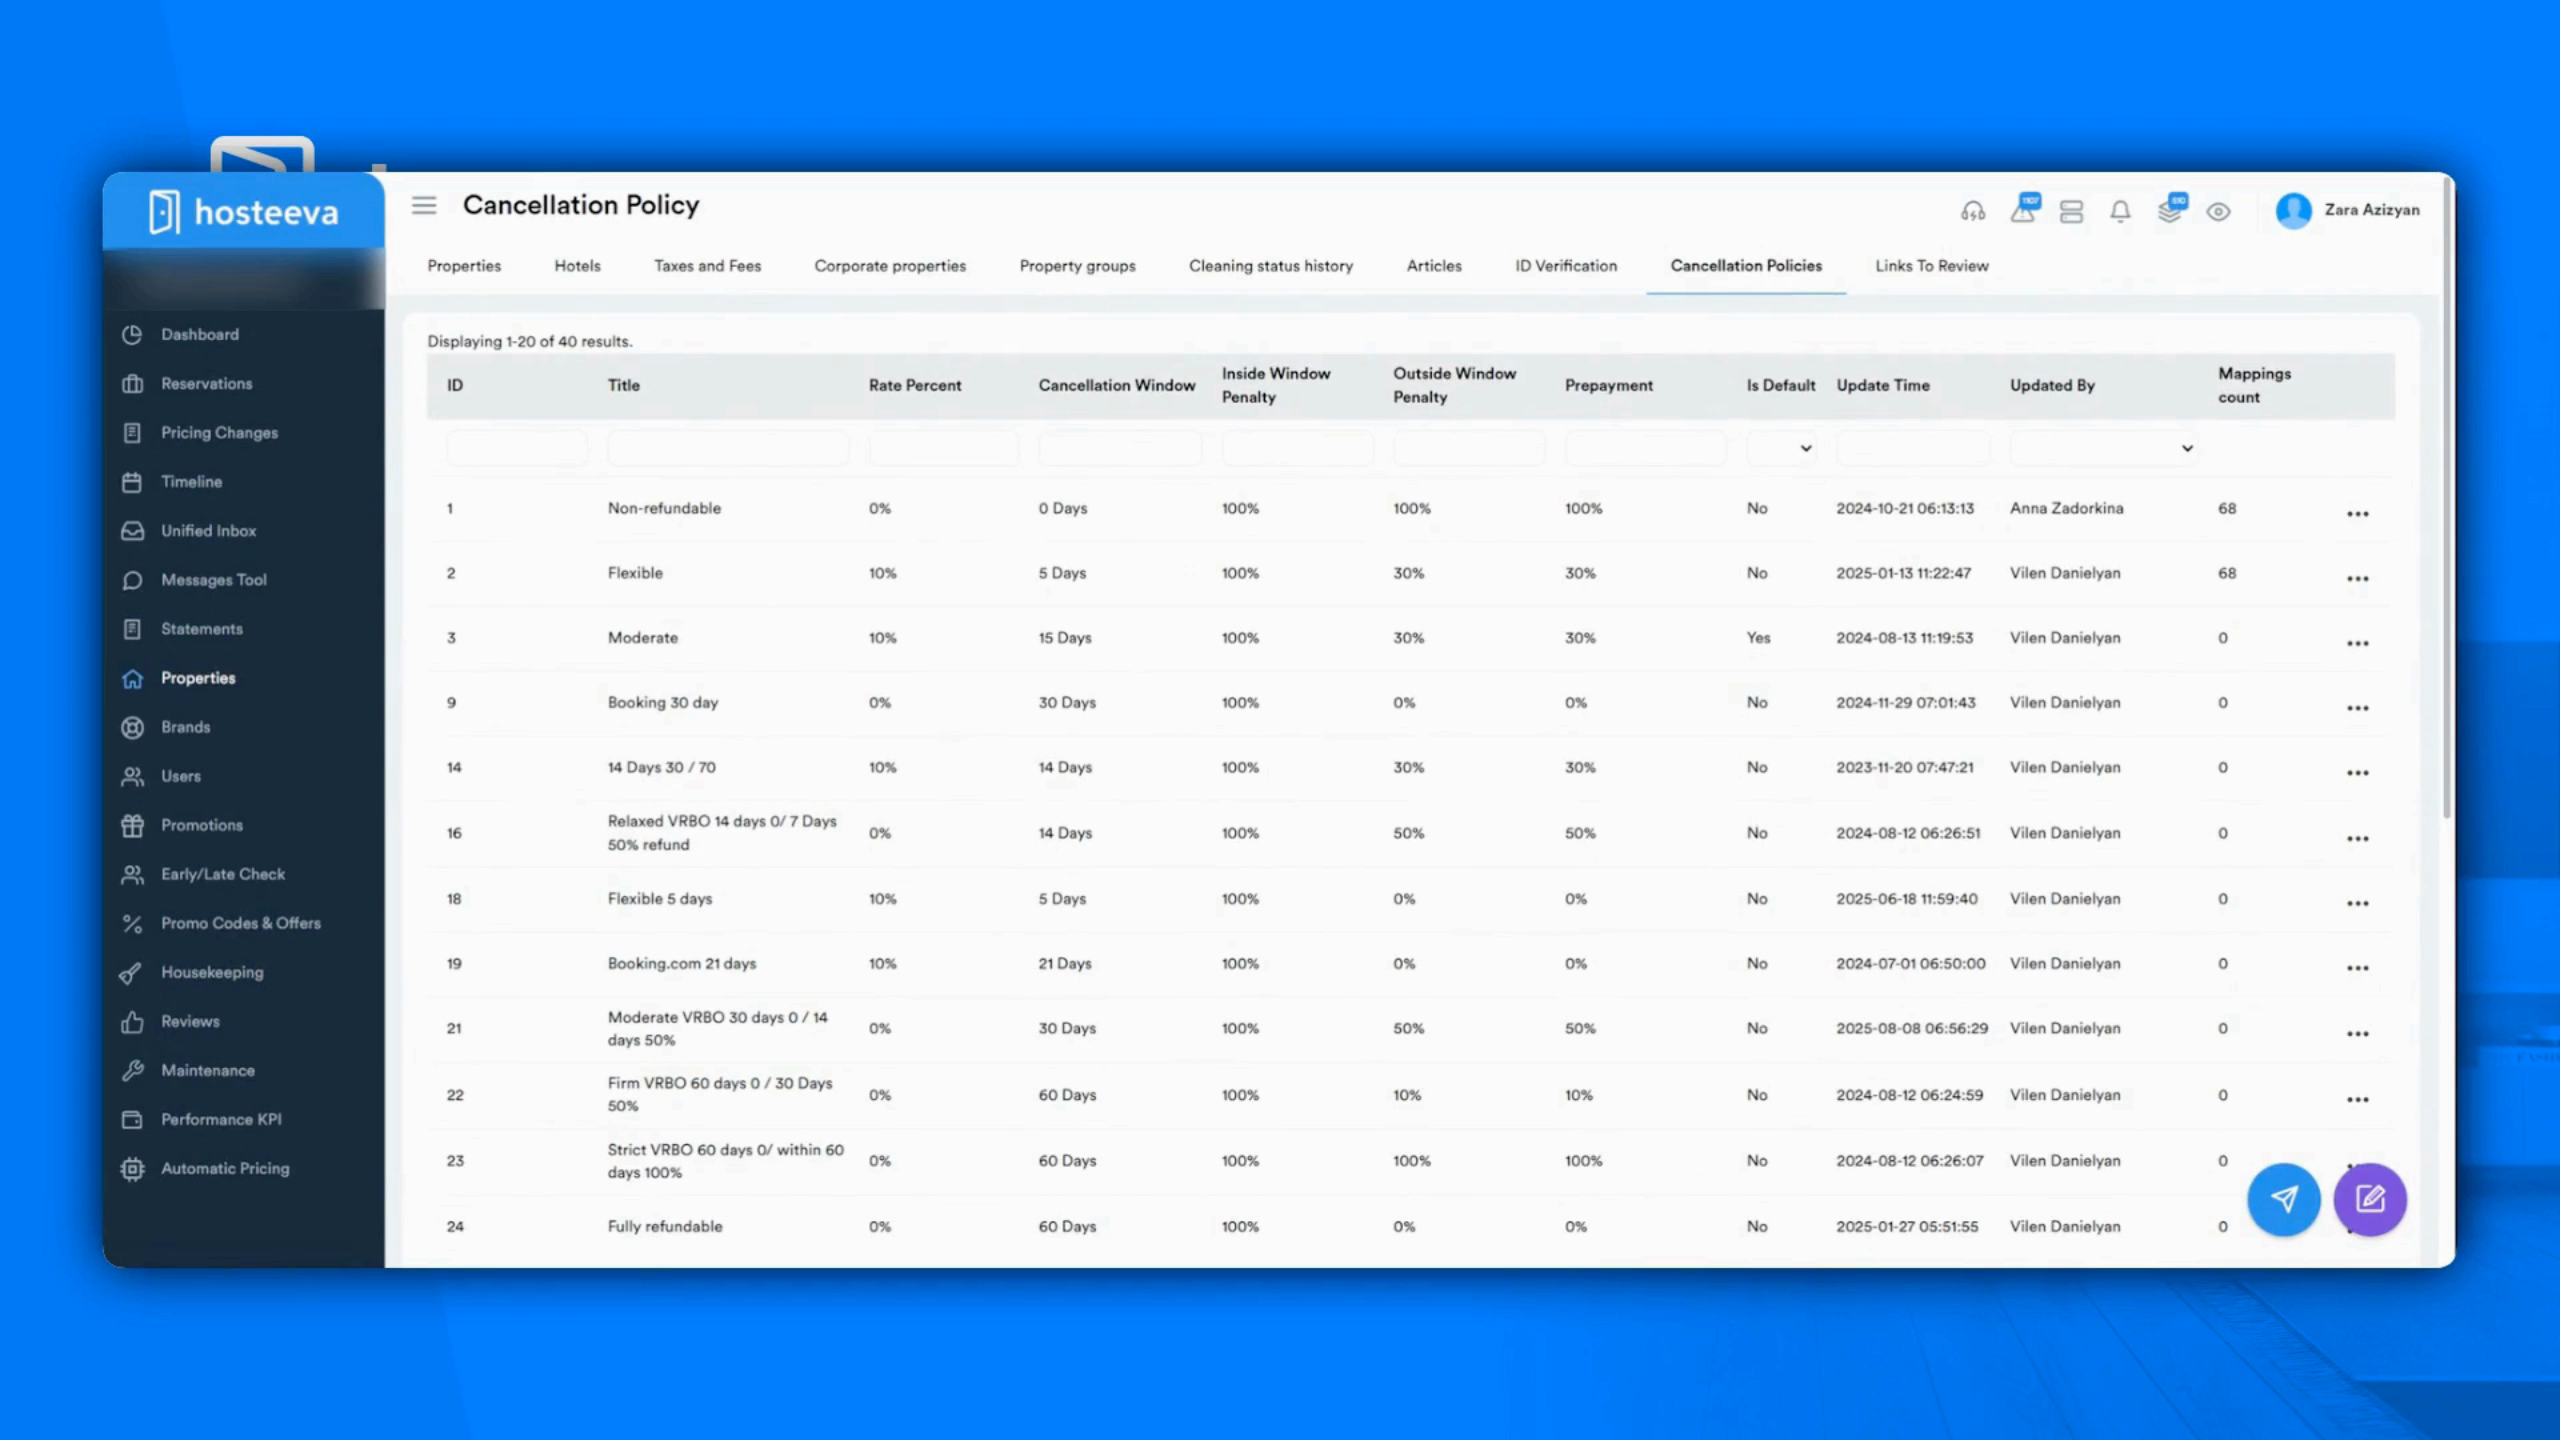
Step 8: Visit the Properties tab. Update listings, add new properties, and manage details like cancellation policies and ID verification here.
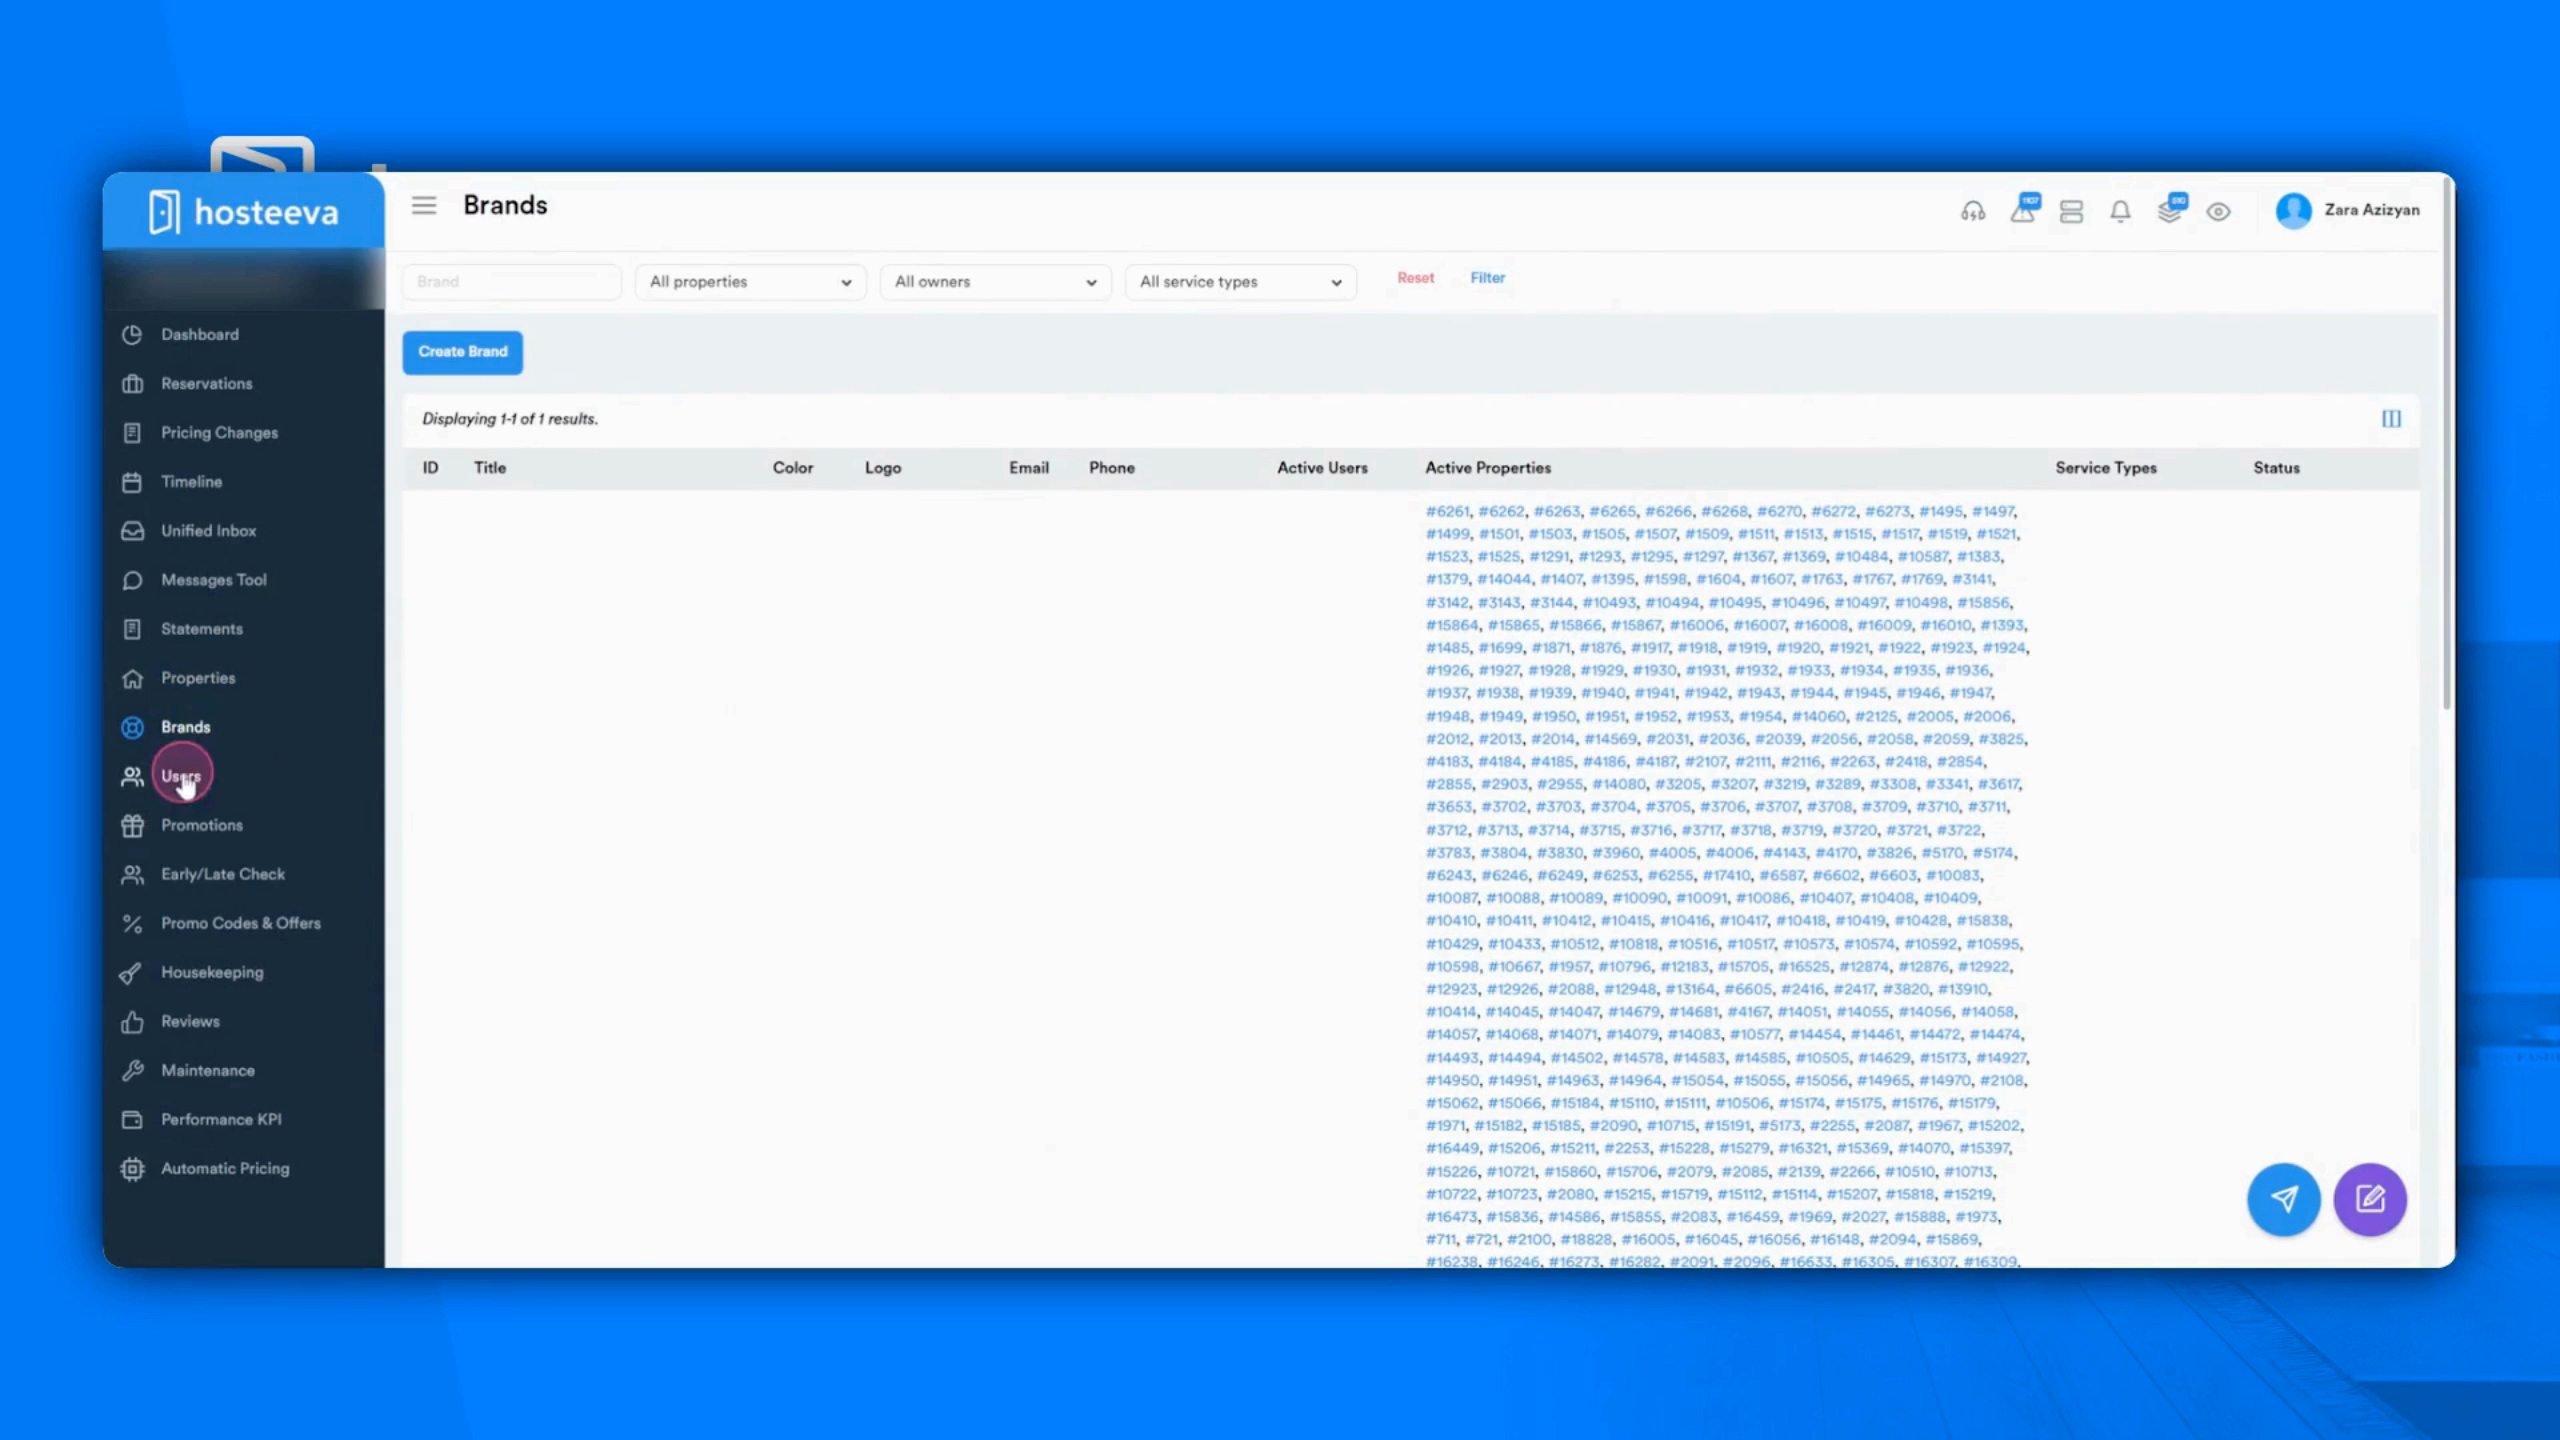
Step 9: Use the Brands feature. Customize your landing page, email templates, and overall branding for a consistent guest experience.
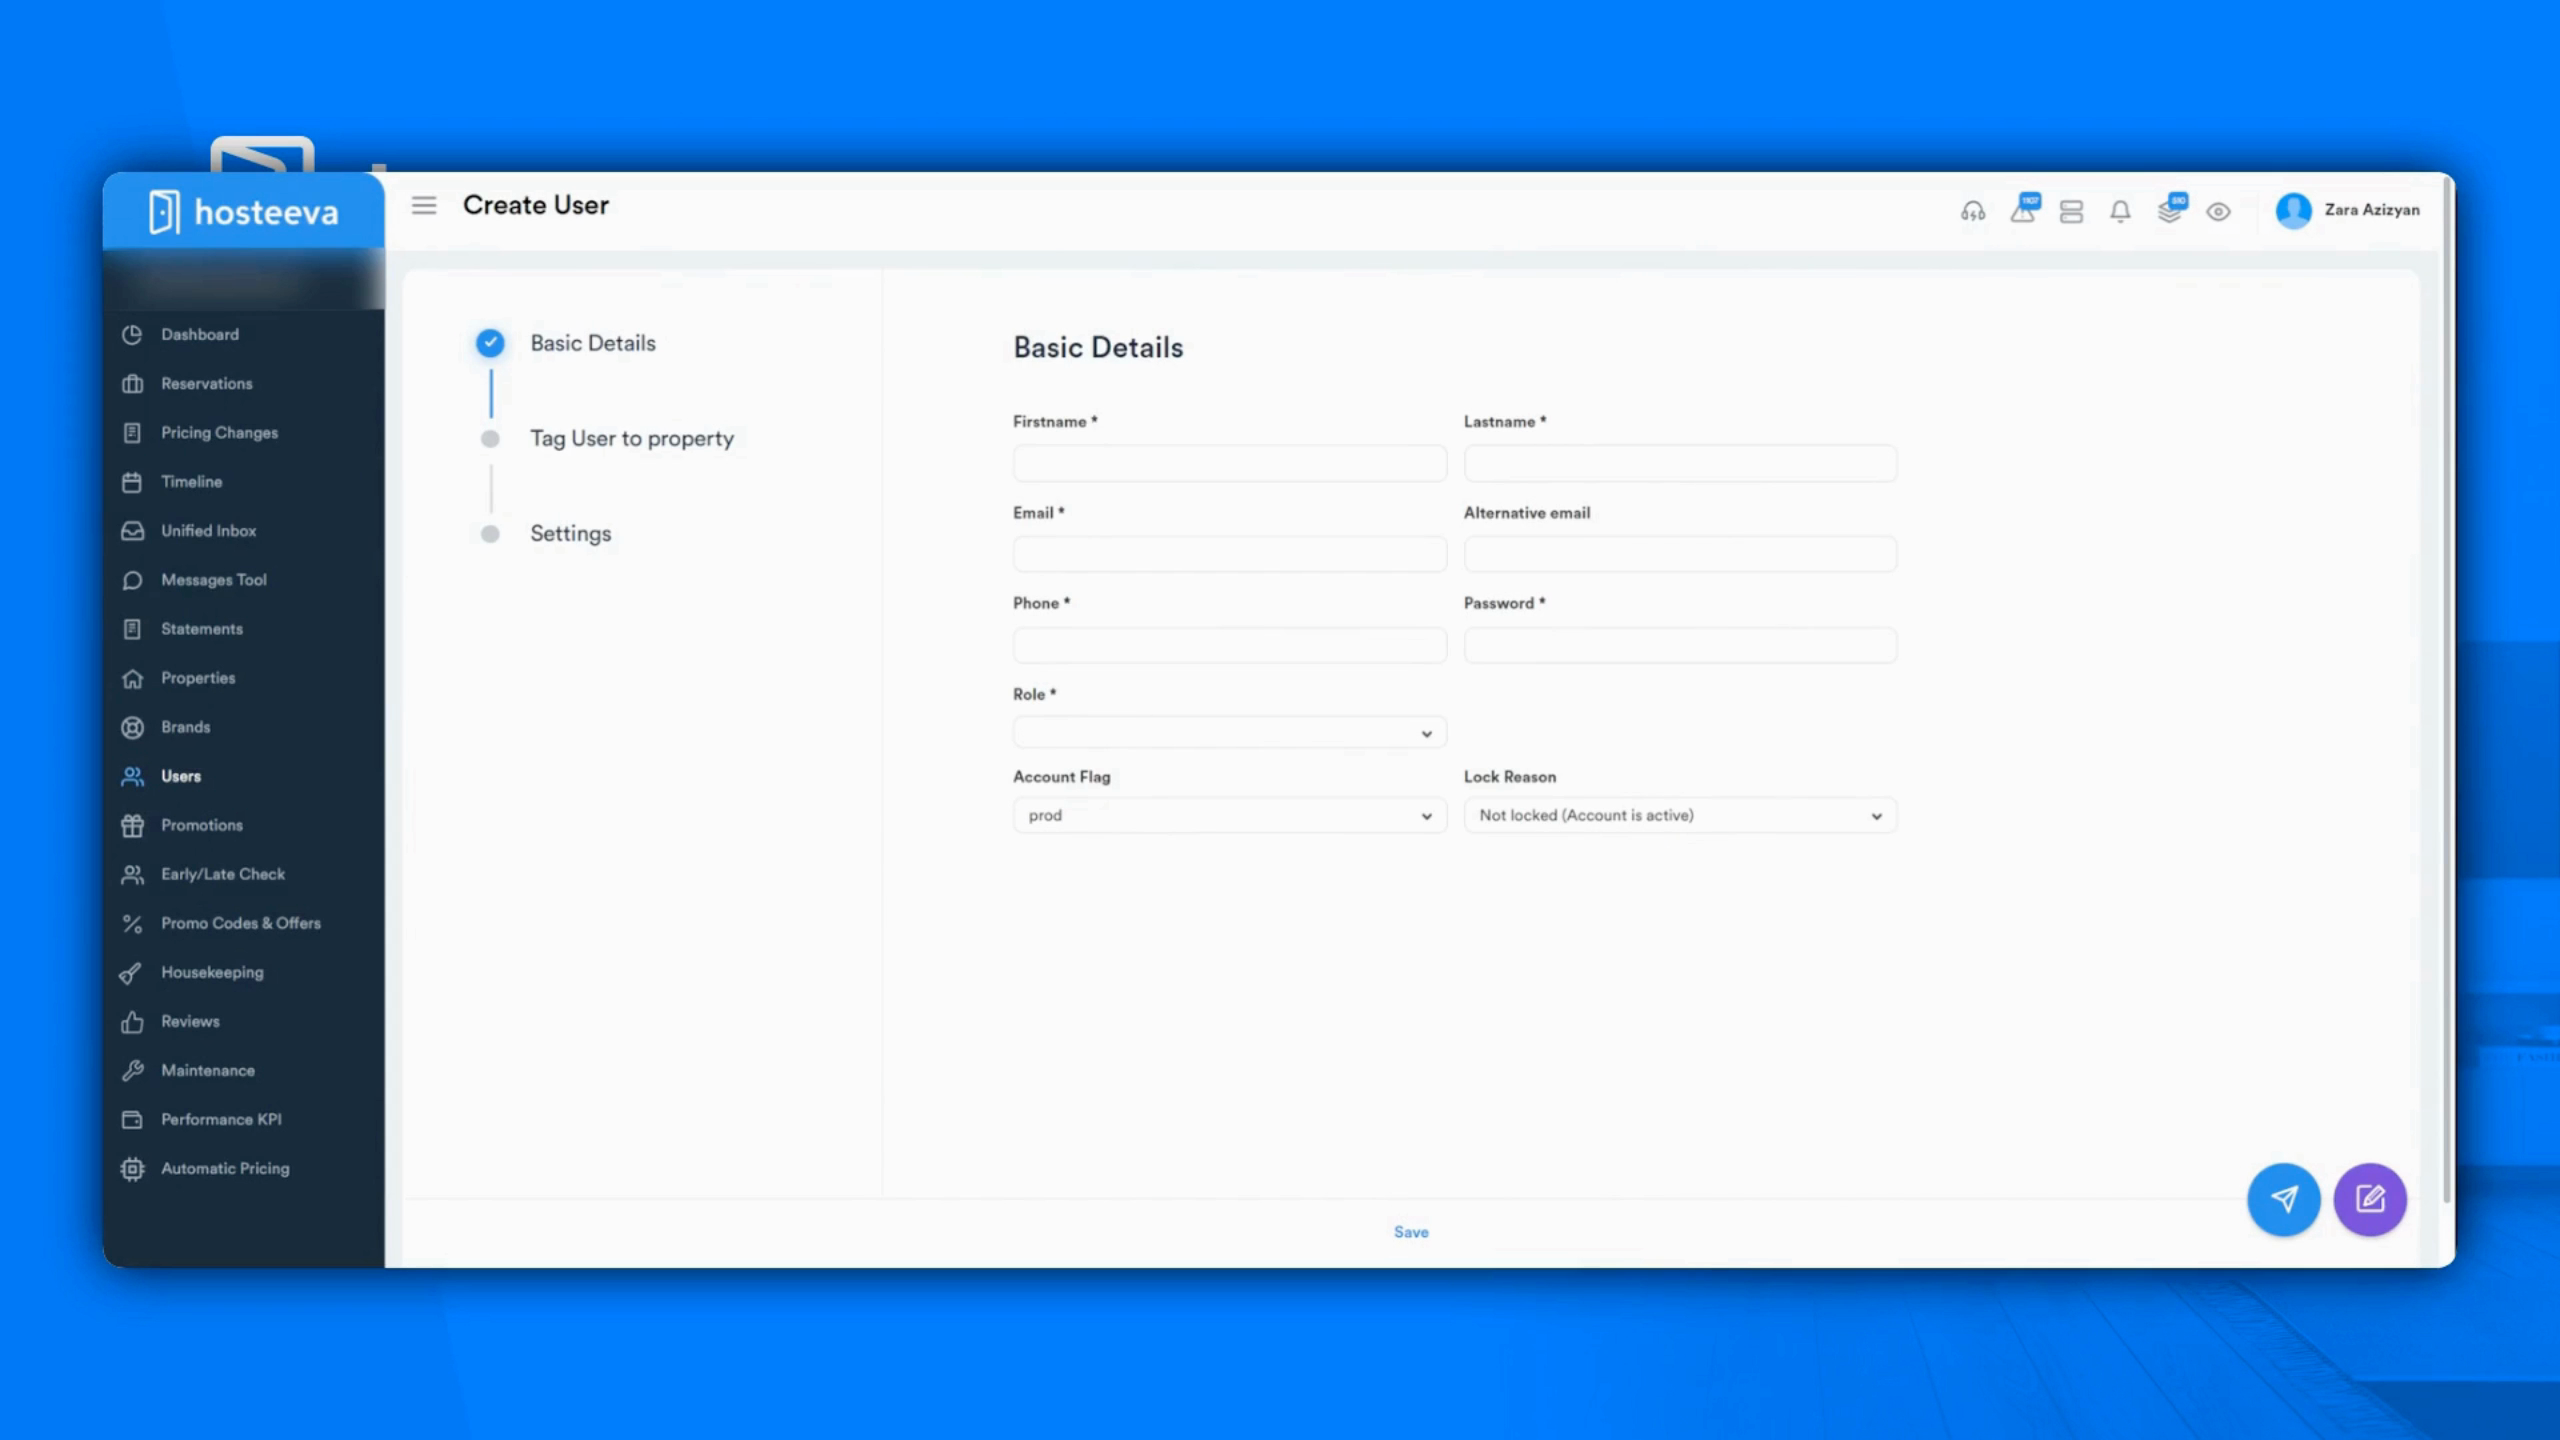
Step 10: Manage your team in the Users section. Create and manage team members, set permissions, and adjust user settings.
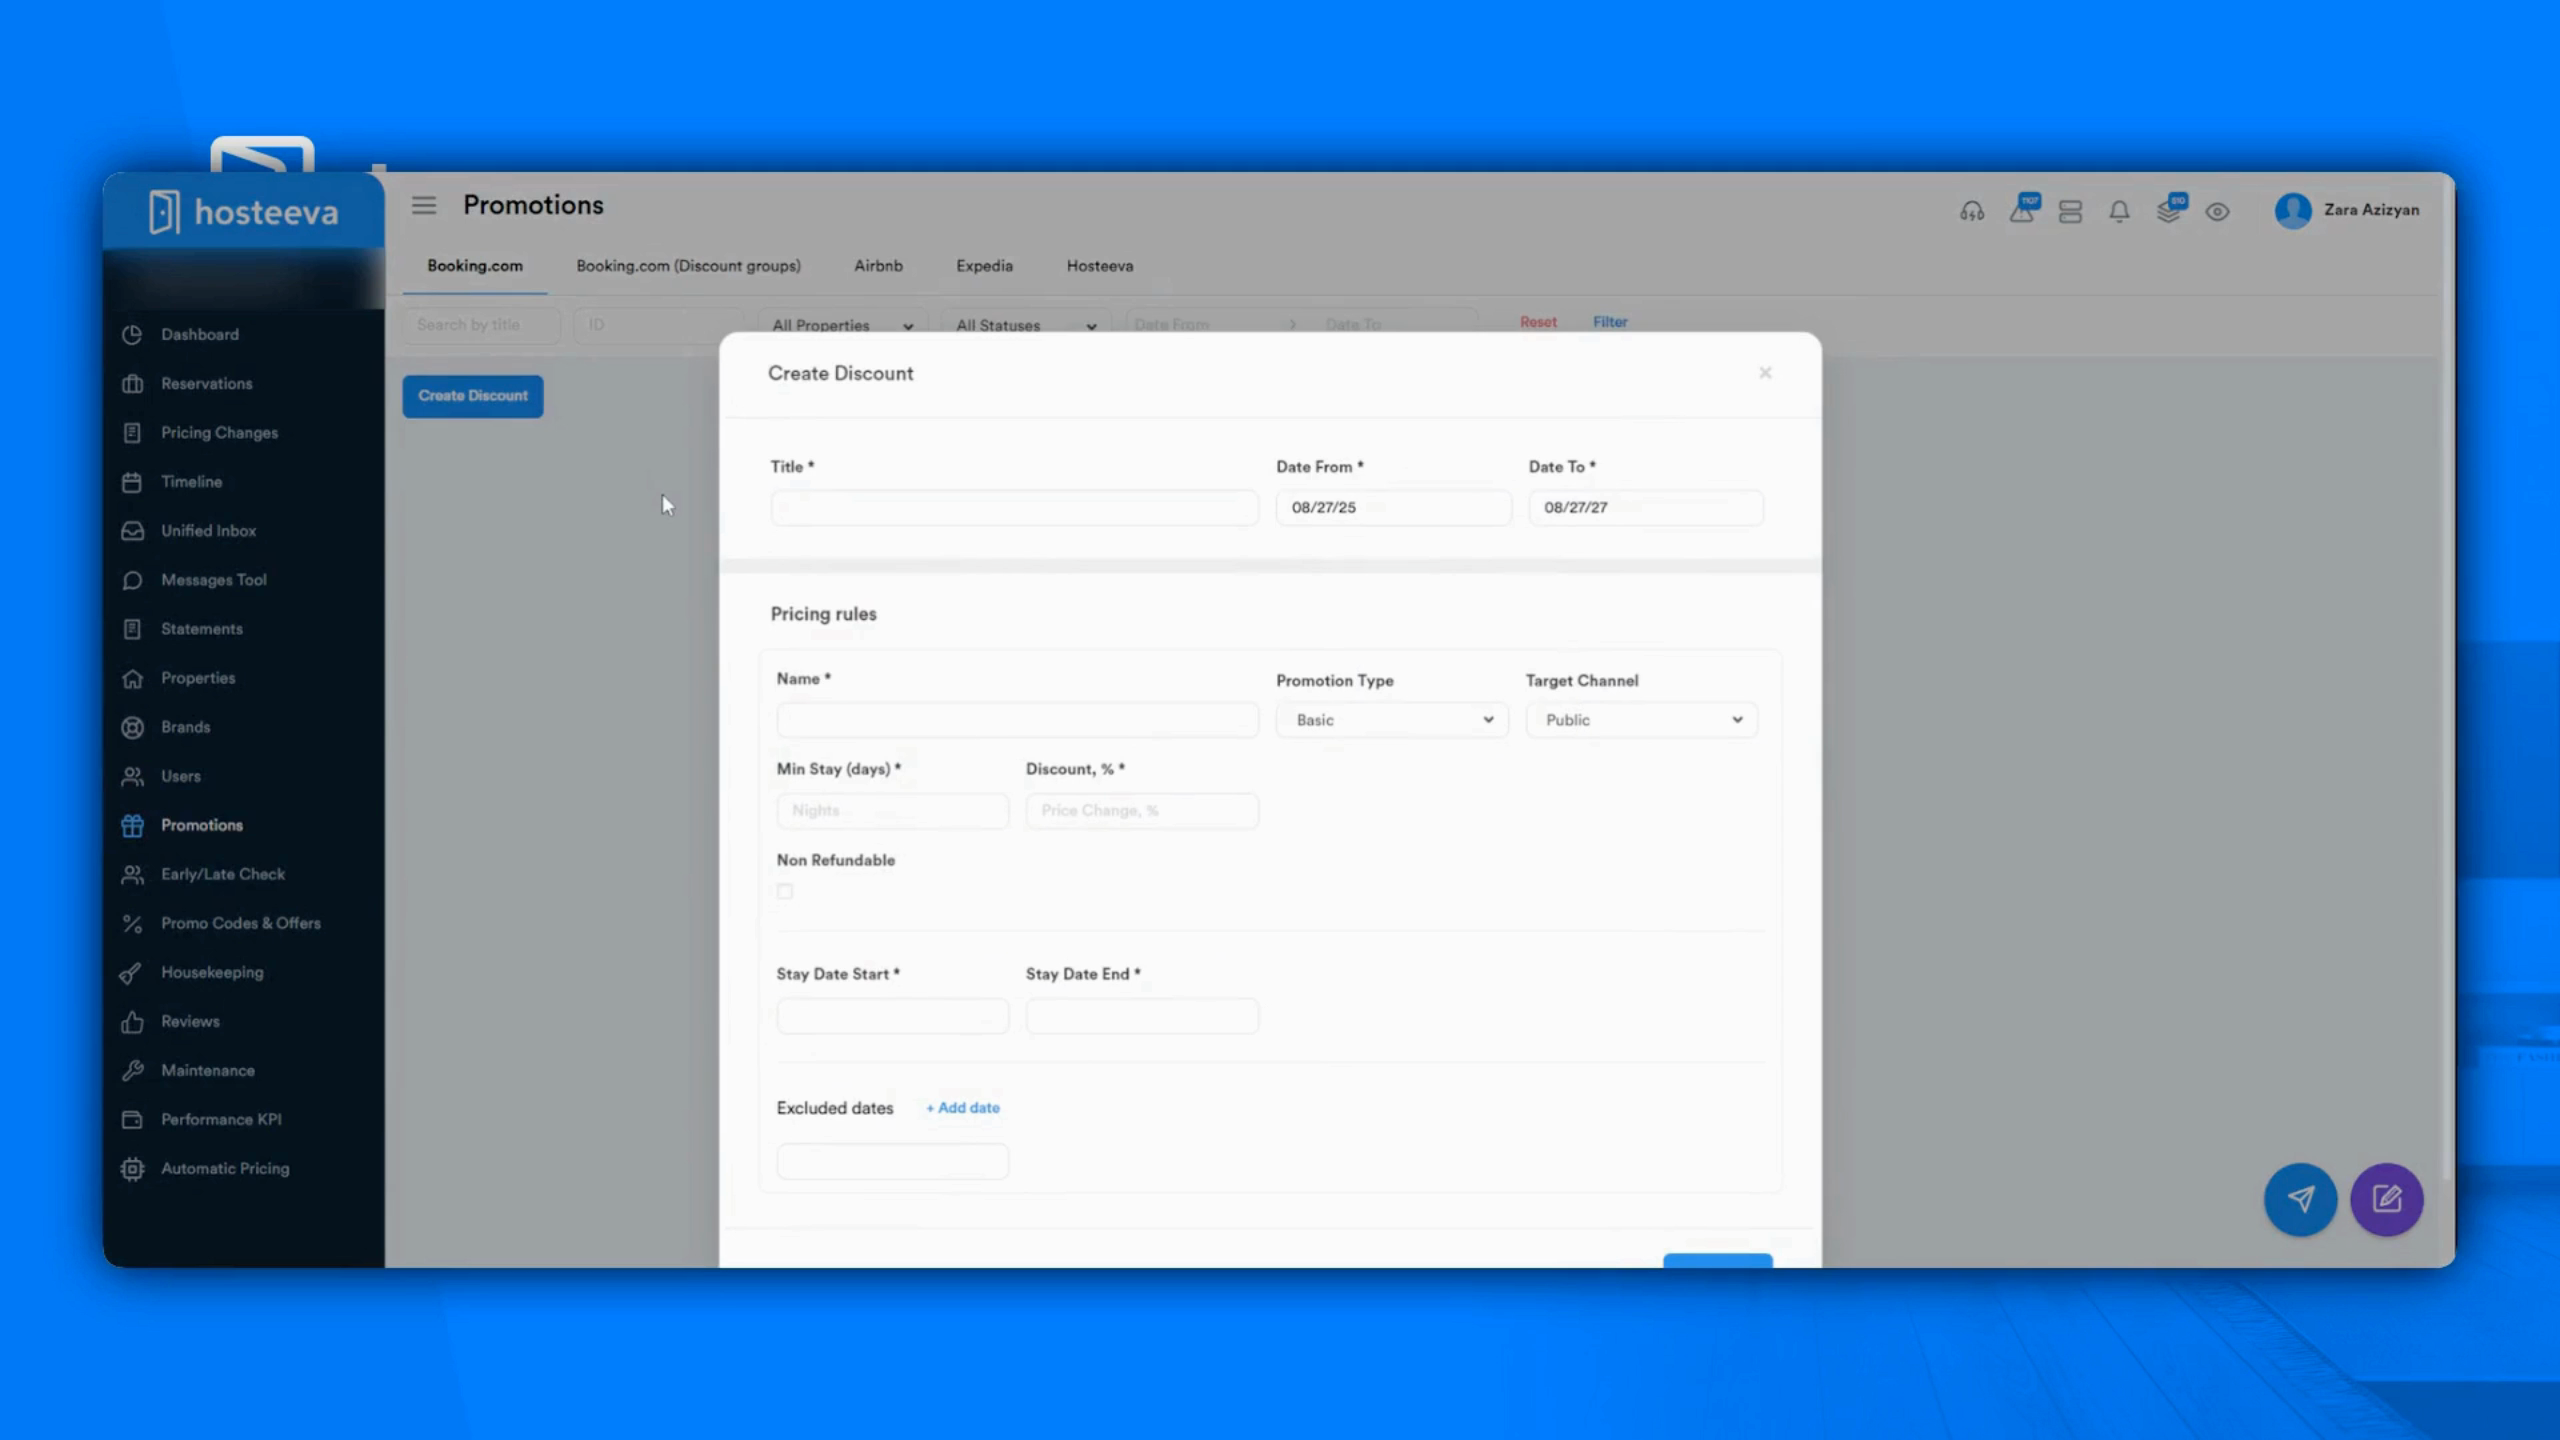
Step 11: Take advantage of the Promotions feature. Create promotional or discount codes across all channels.
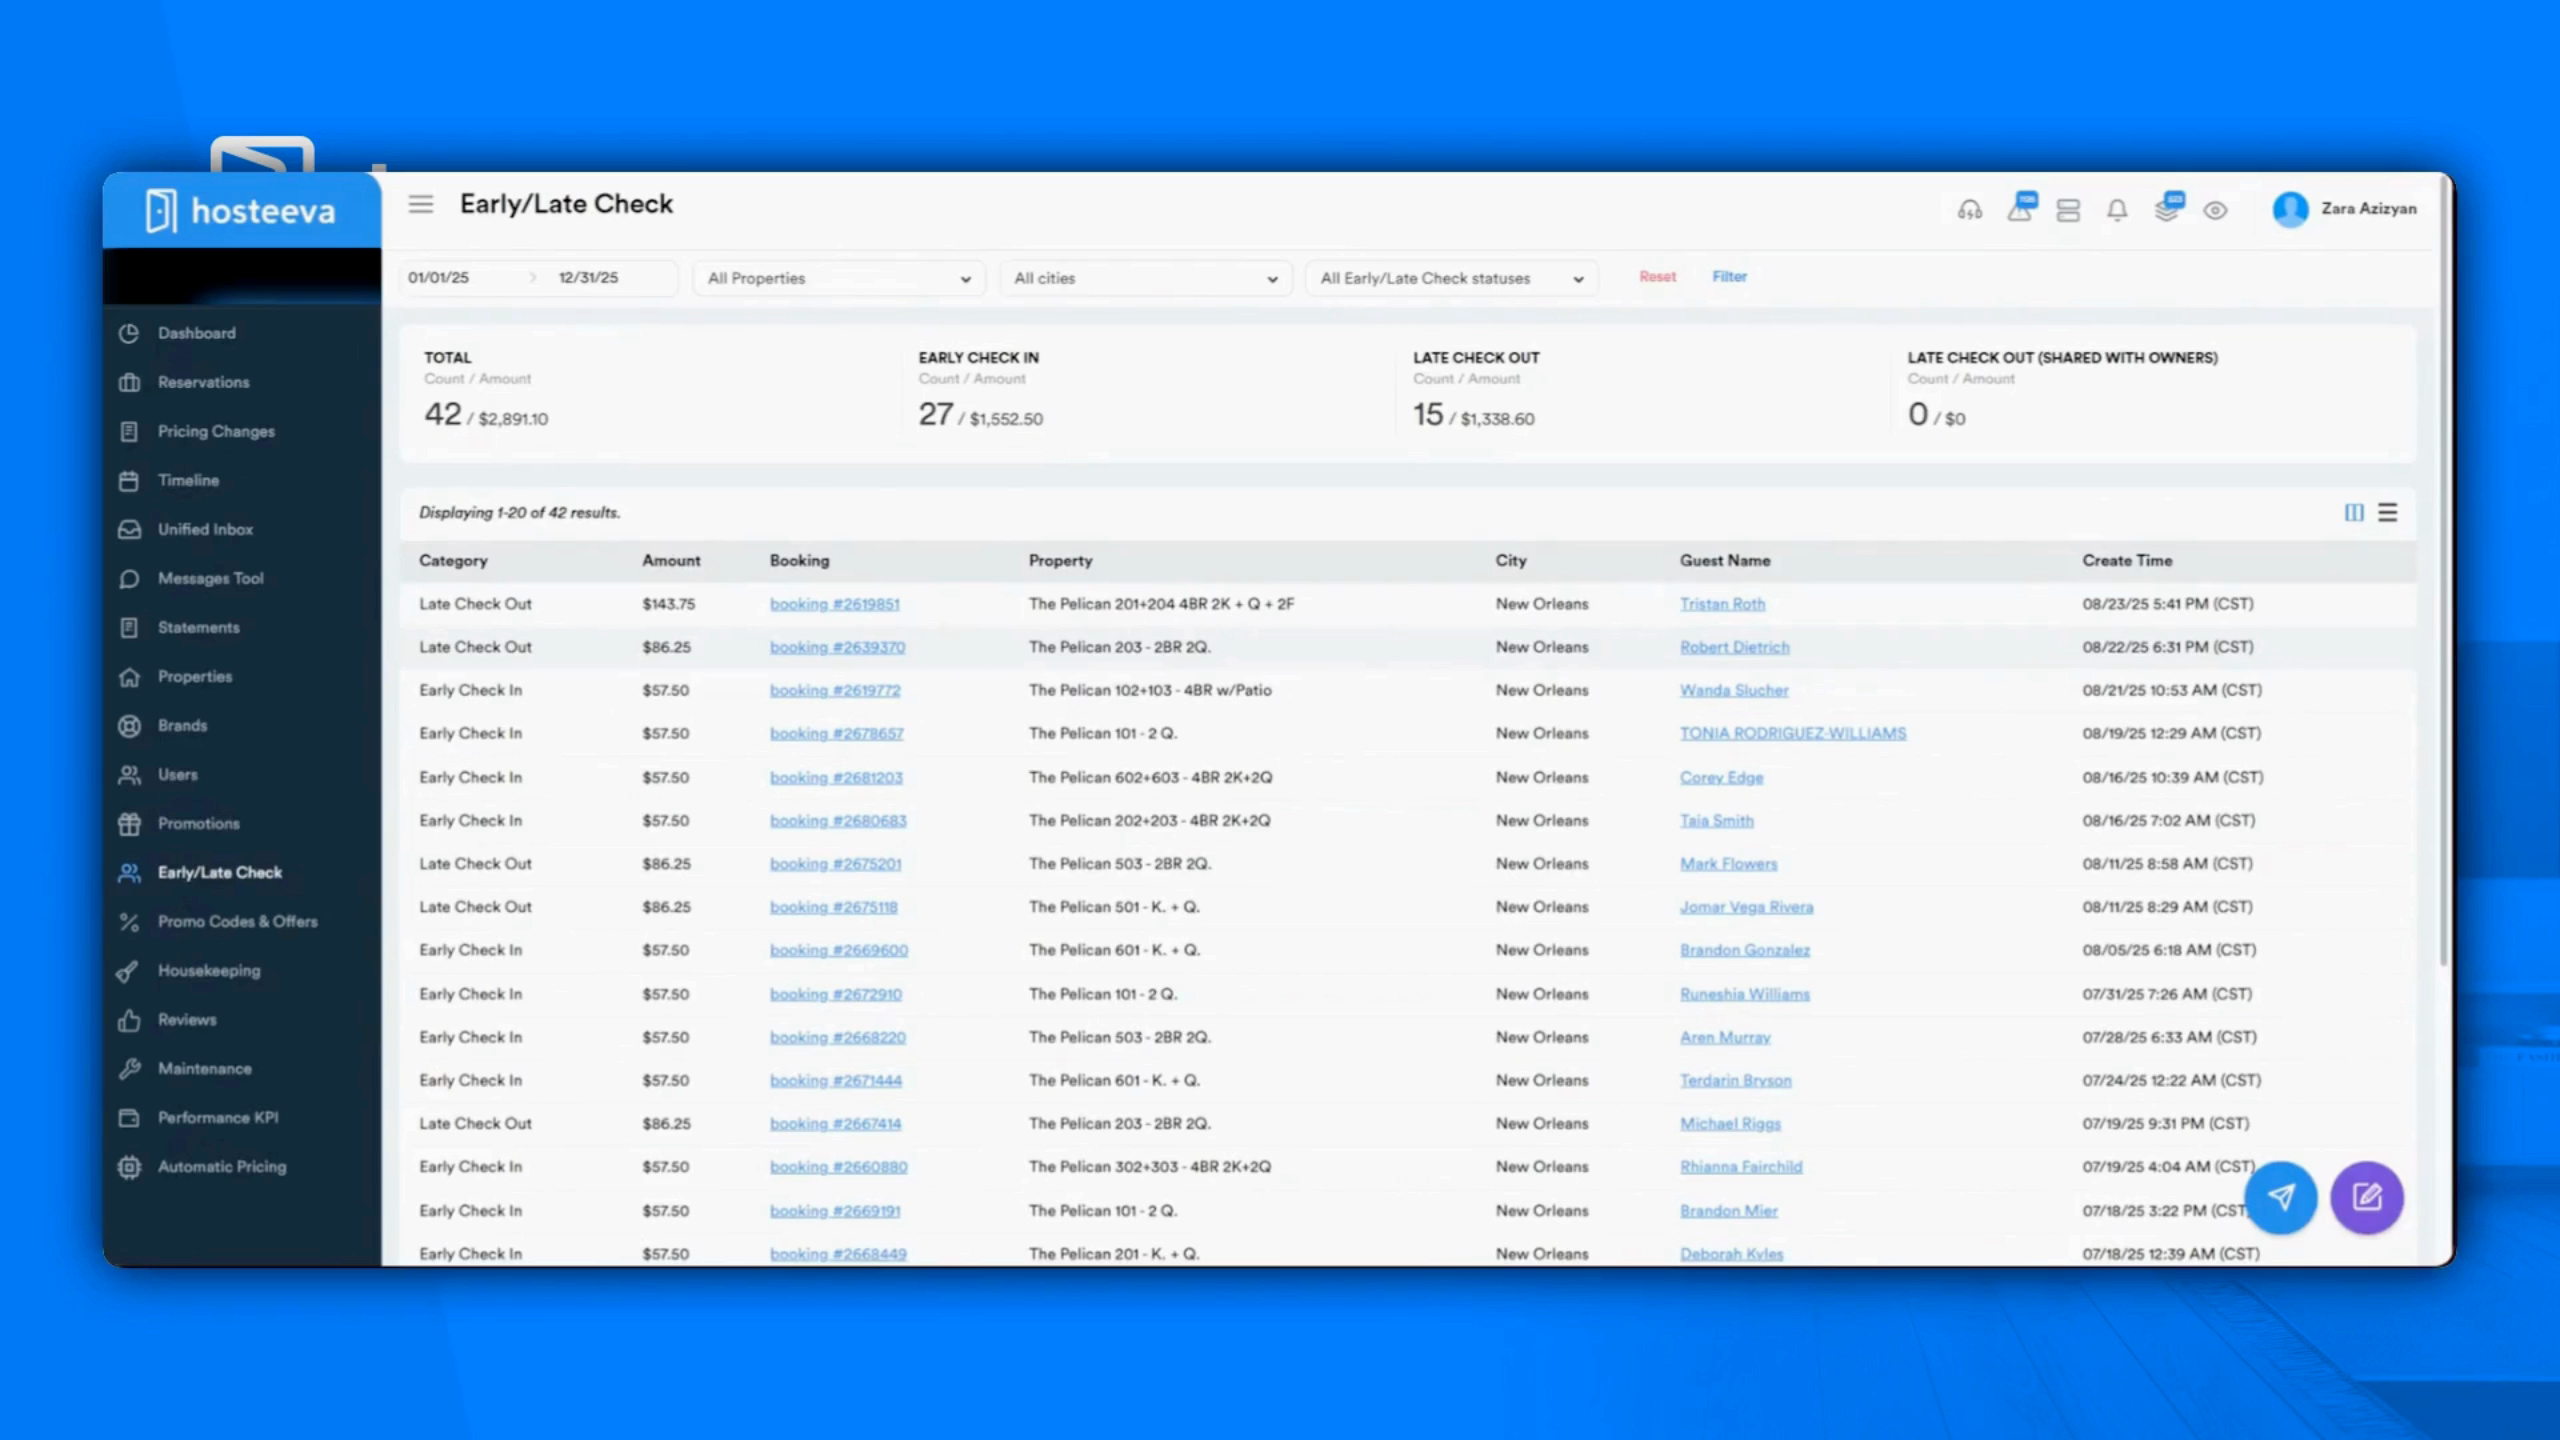
Step 12: Use the Early Late Checkout feature. View the history of early check-ins and late checkouts and download detailed reports.
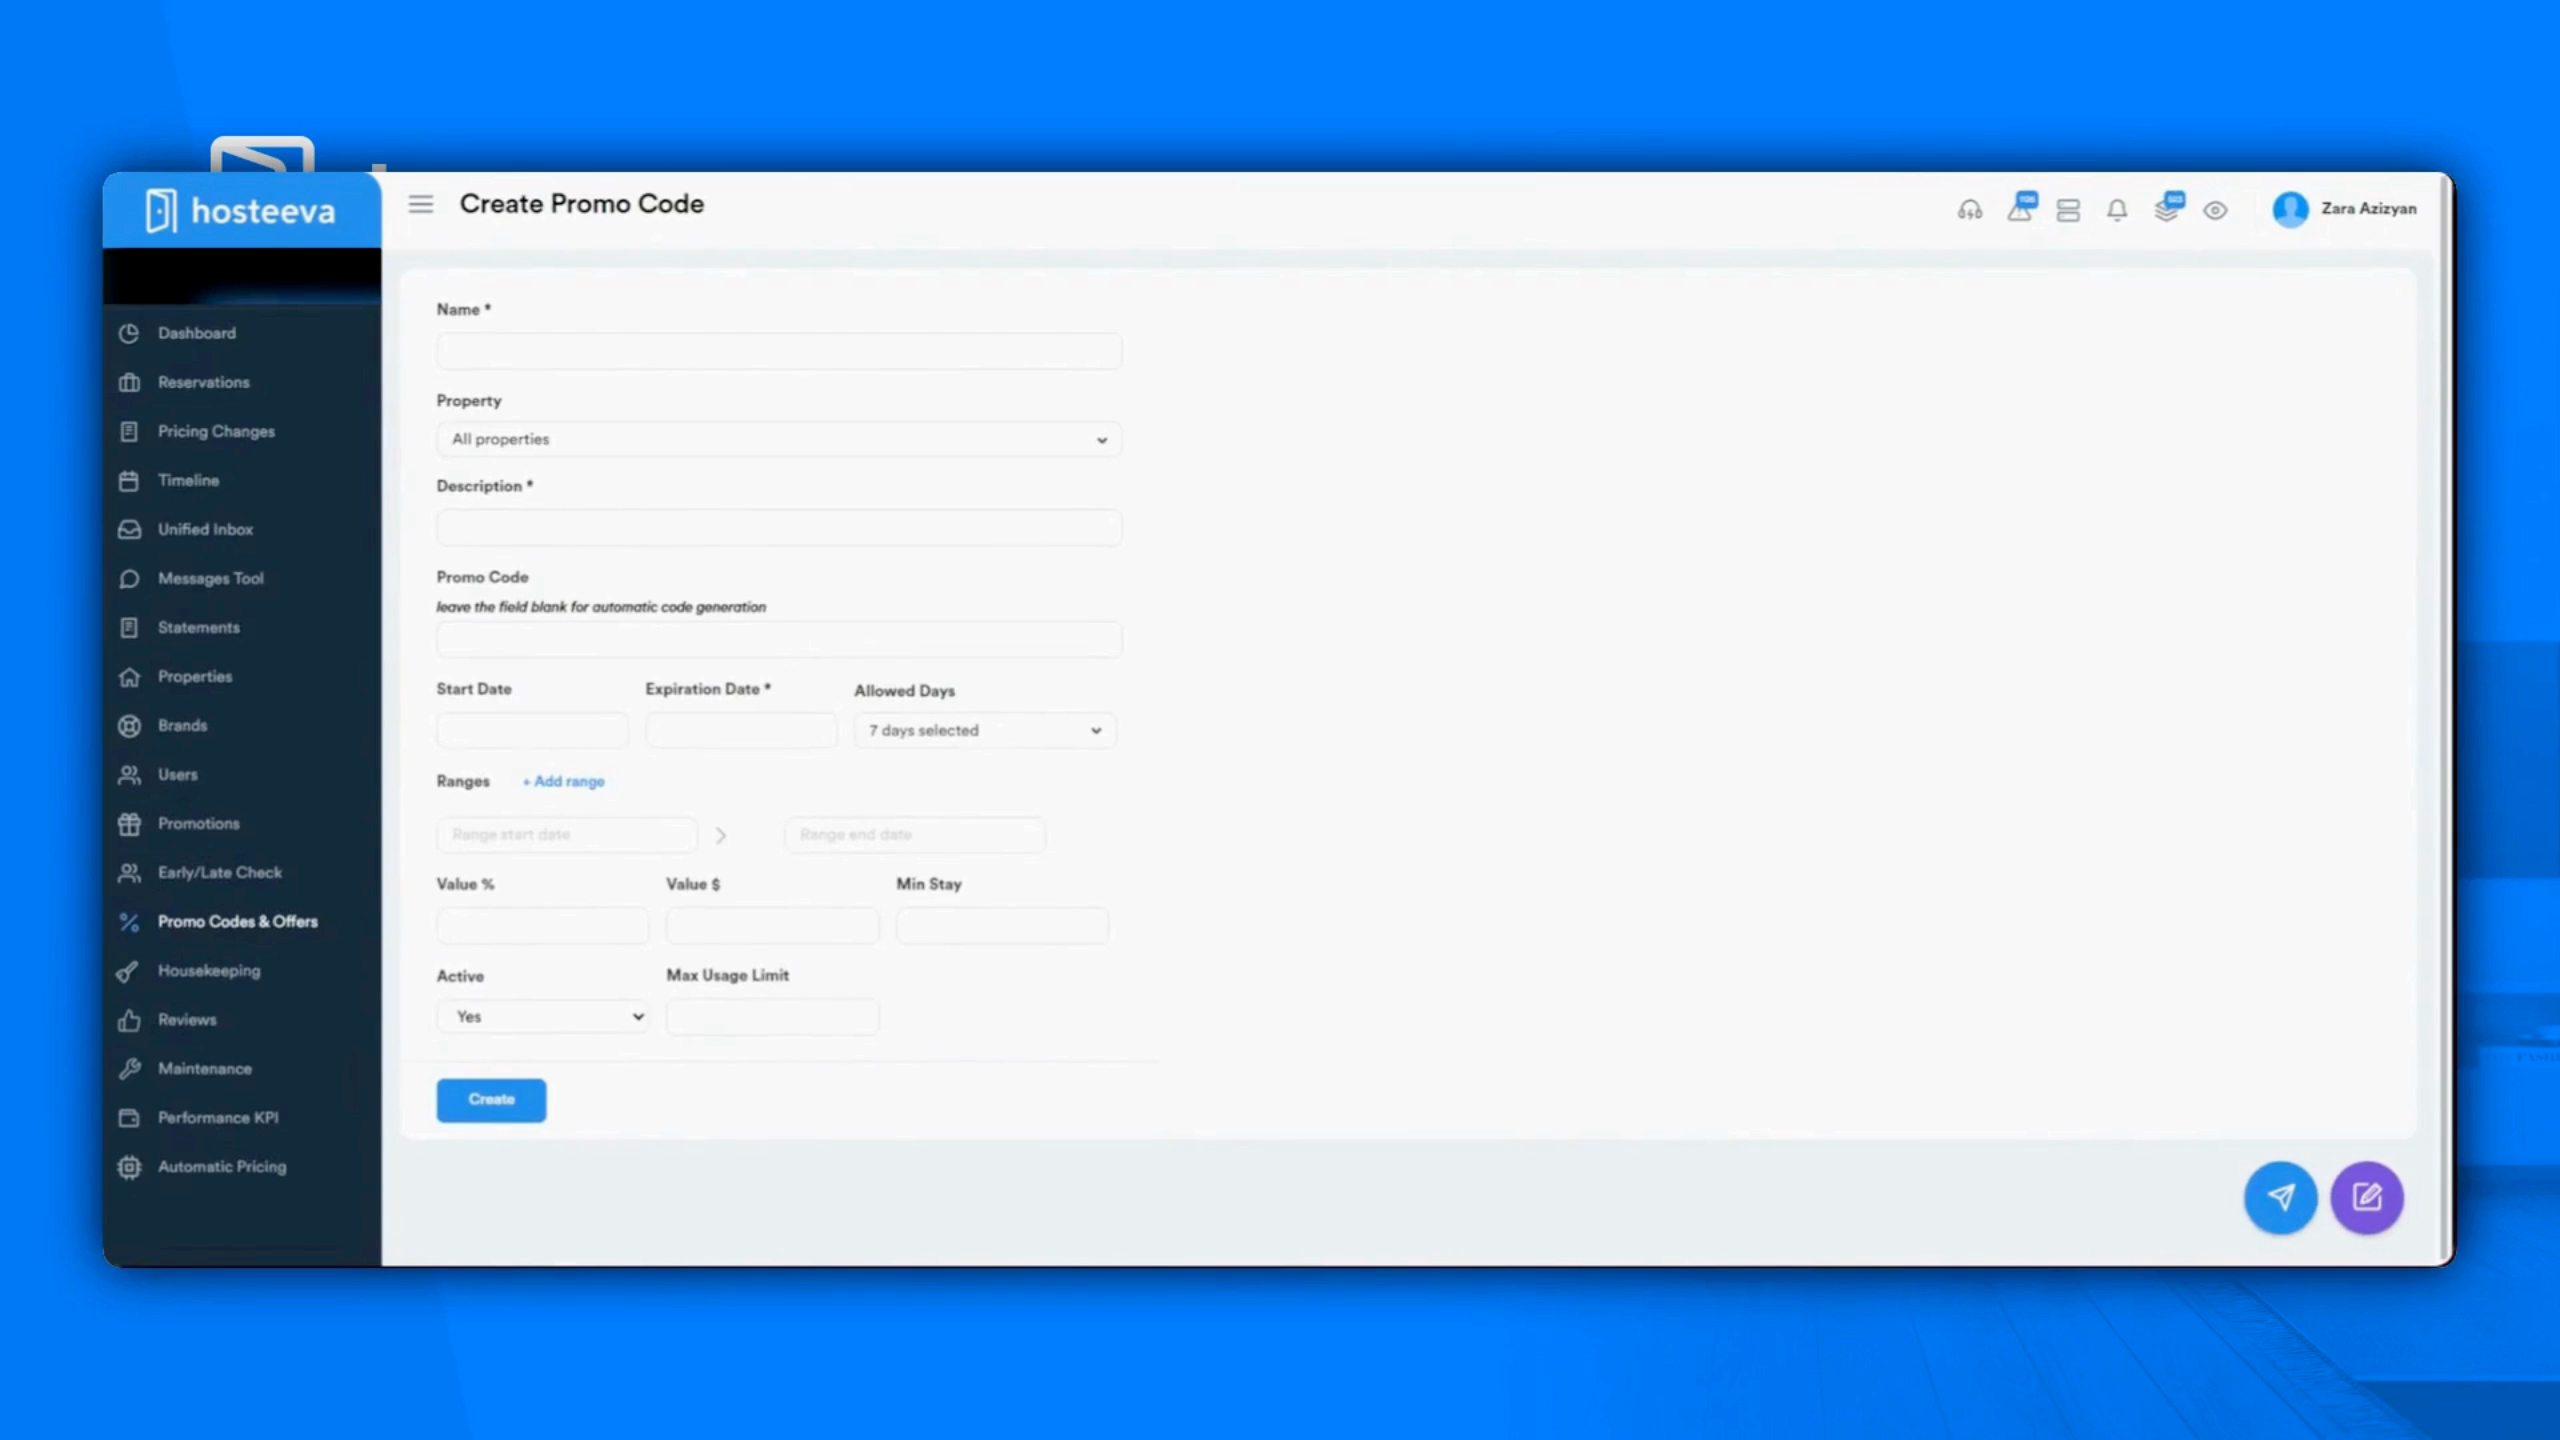
Step 13: Explore the Promo Codes and Offers feature. Create discount codes for your Hostiva Direct website and set up special deals.
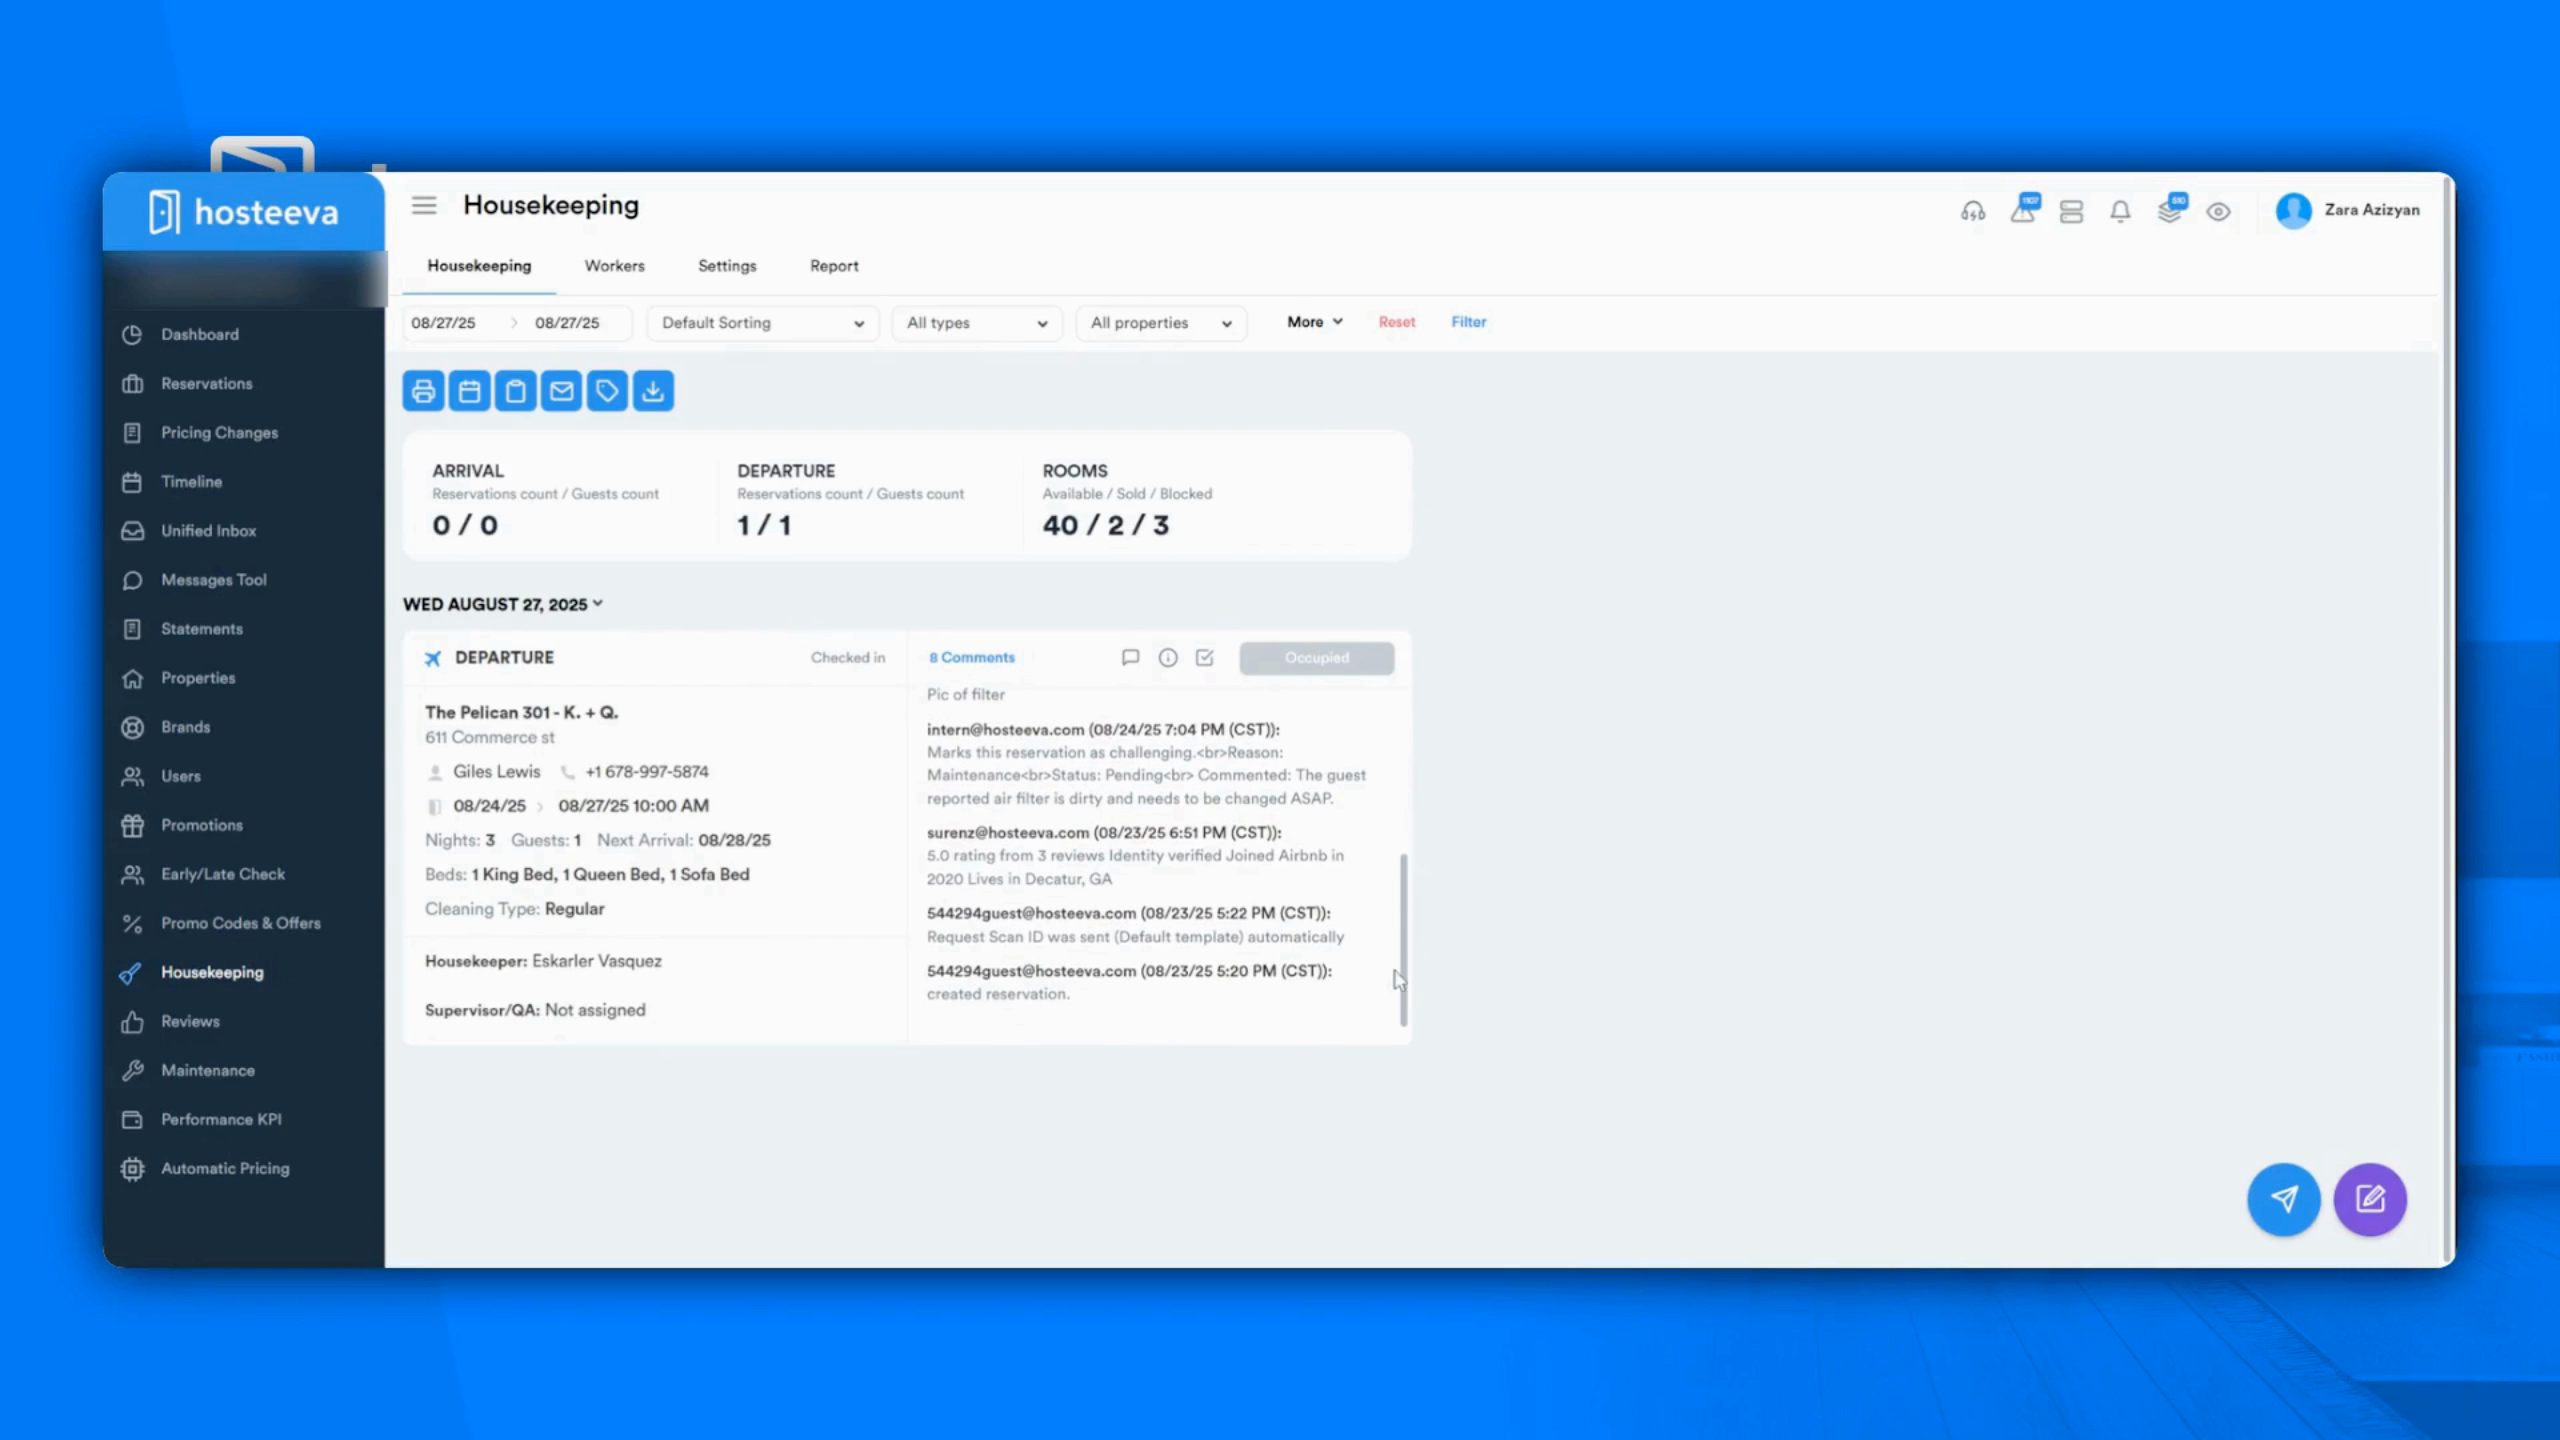
Step 14: Manage your cleaning tasks in the Housekeeping menu. Assign cleaners, track arrivals and departures, and download detailed reports.
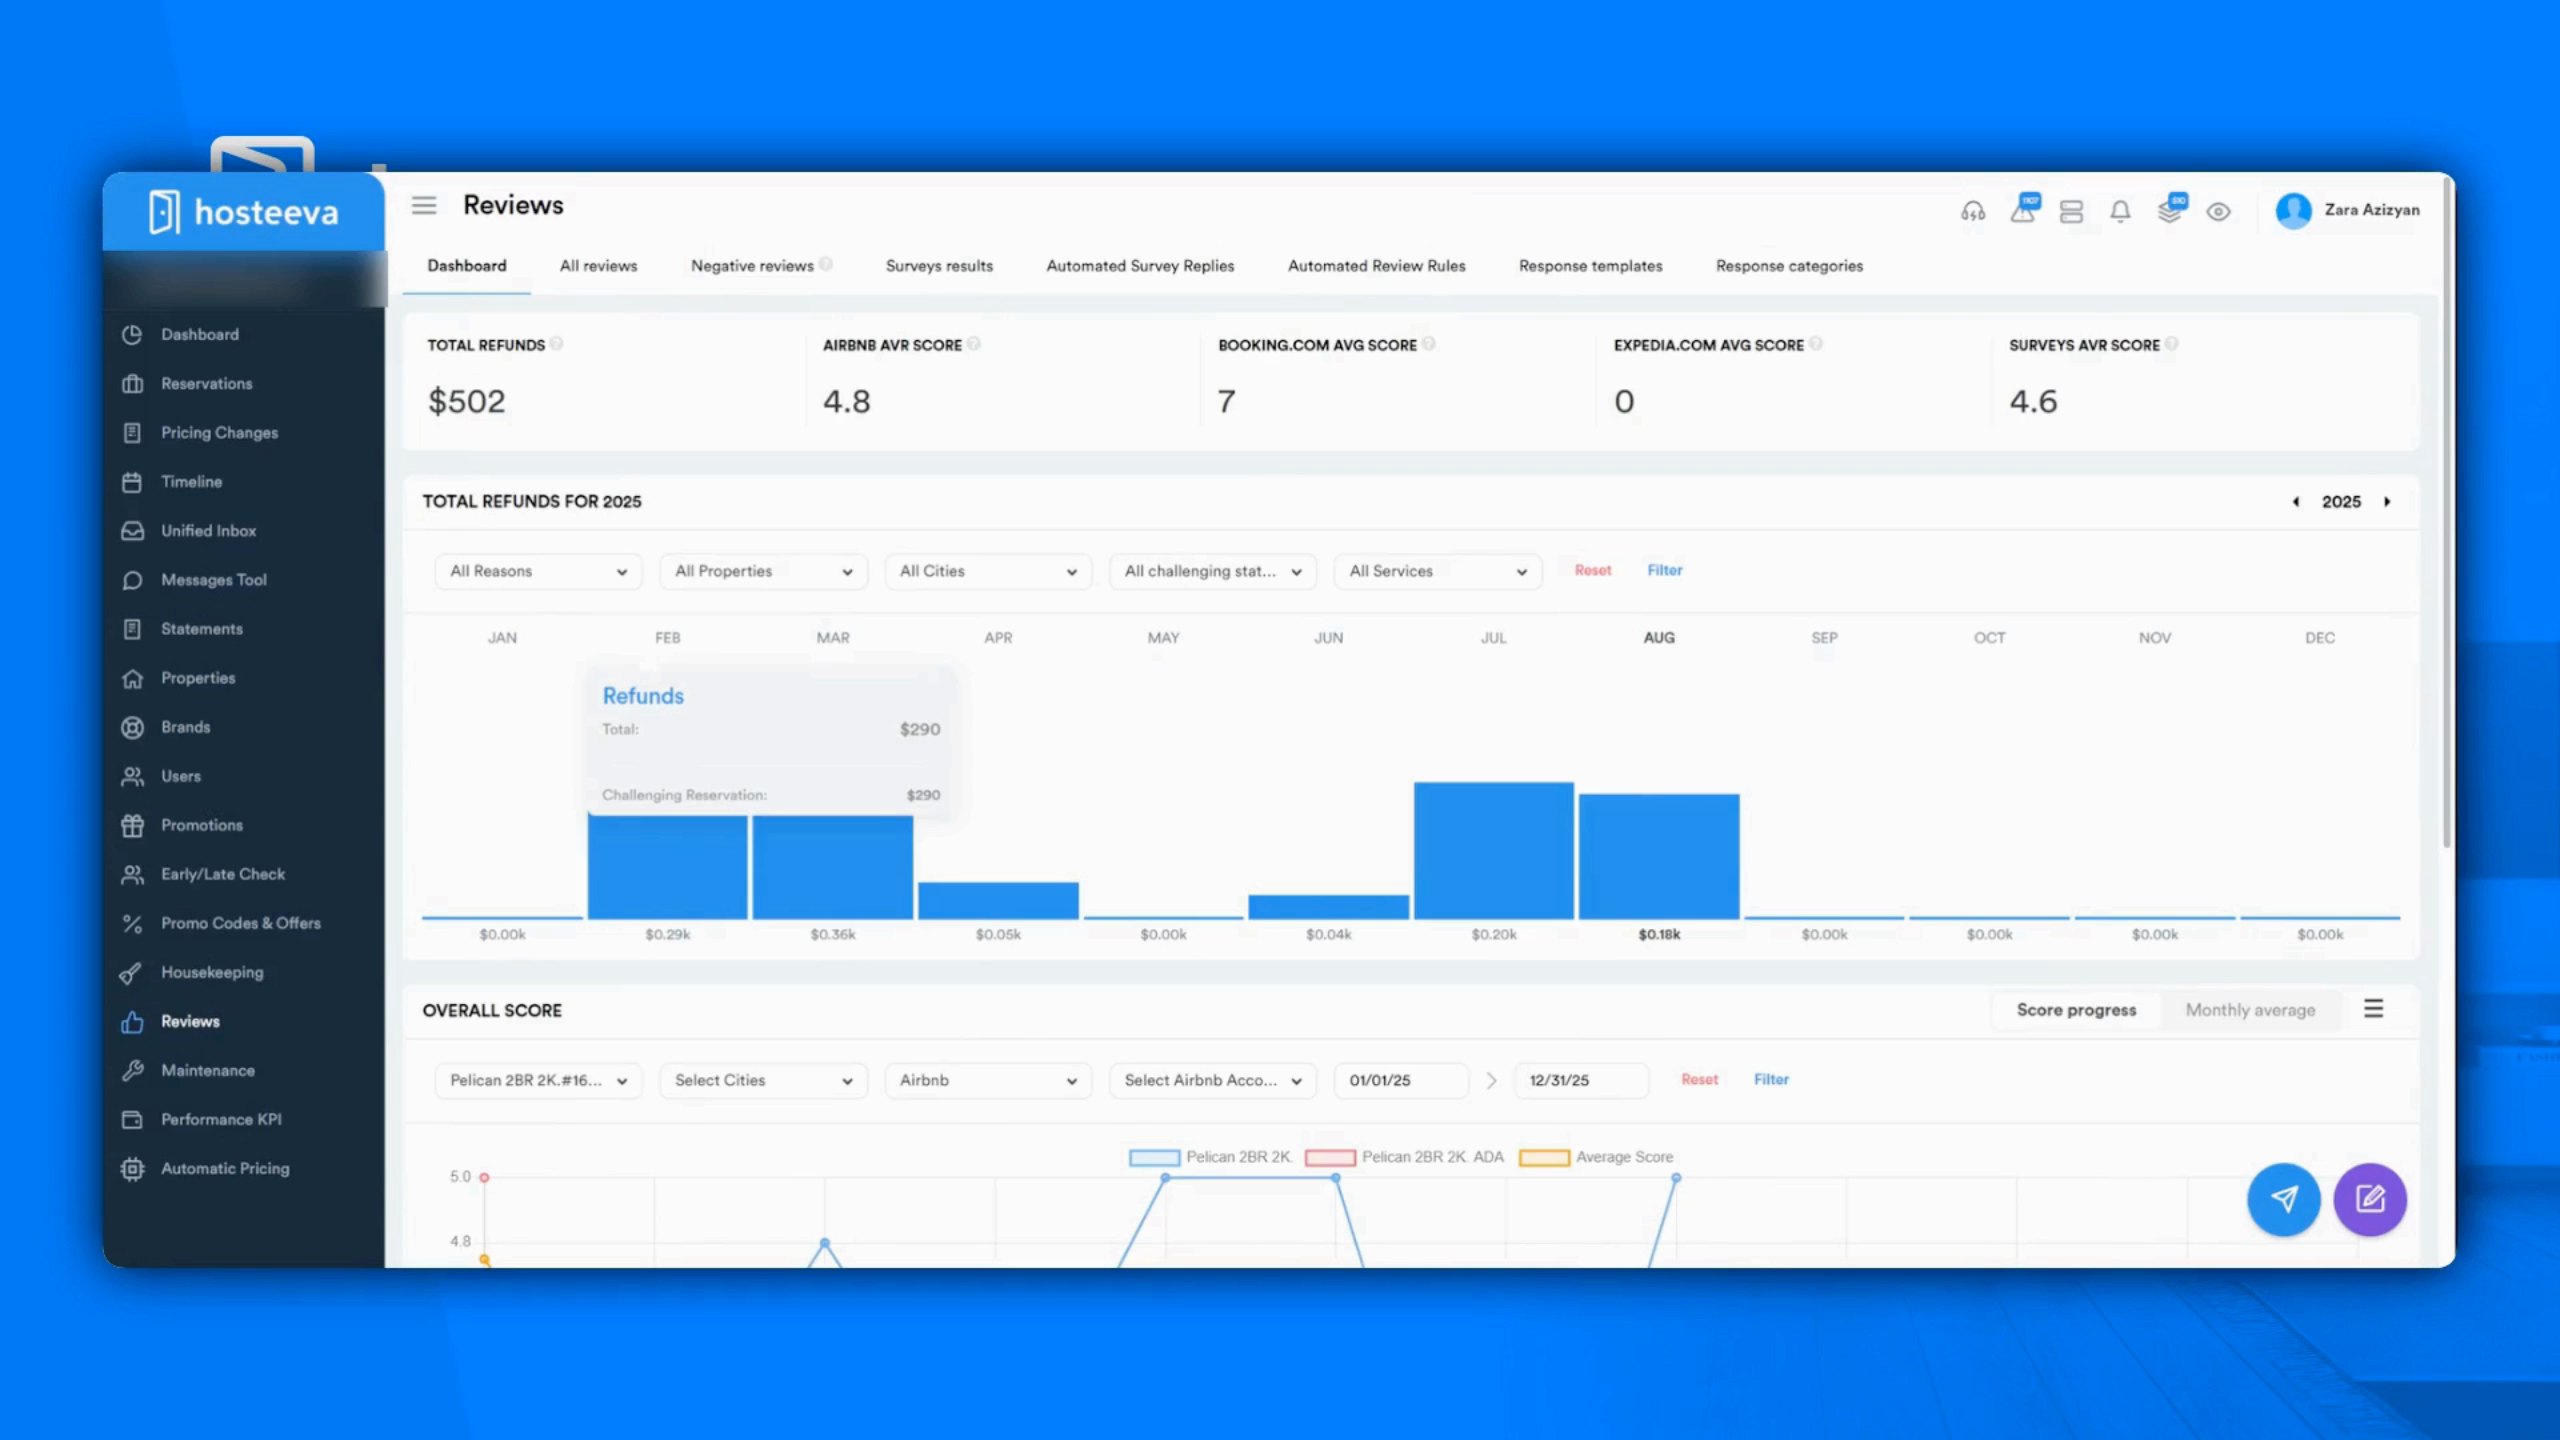
Step 15: Review and manage guest feedback in the Reviews section.
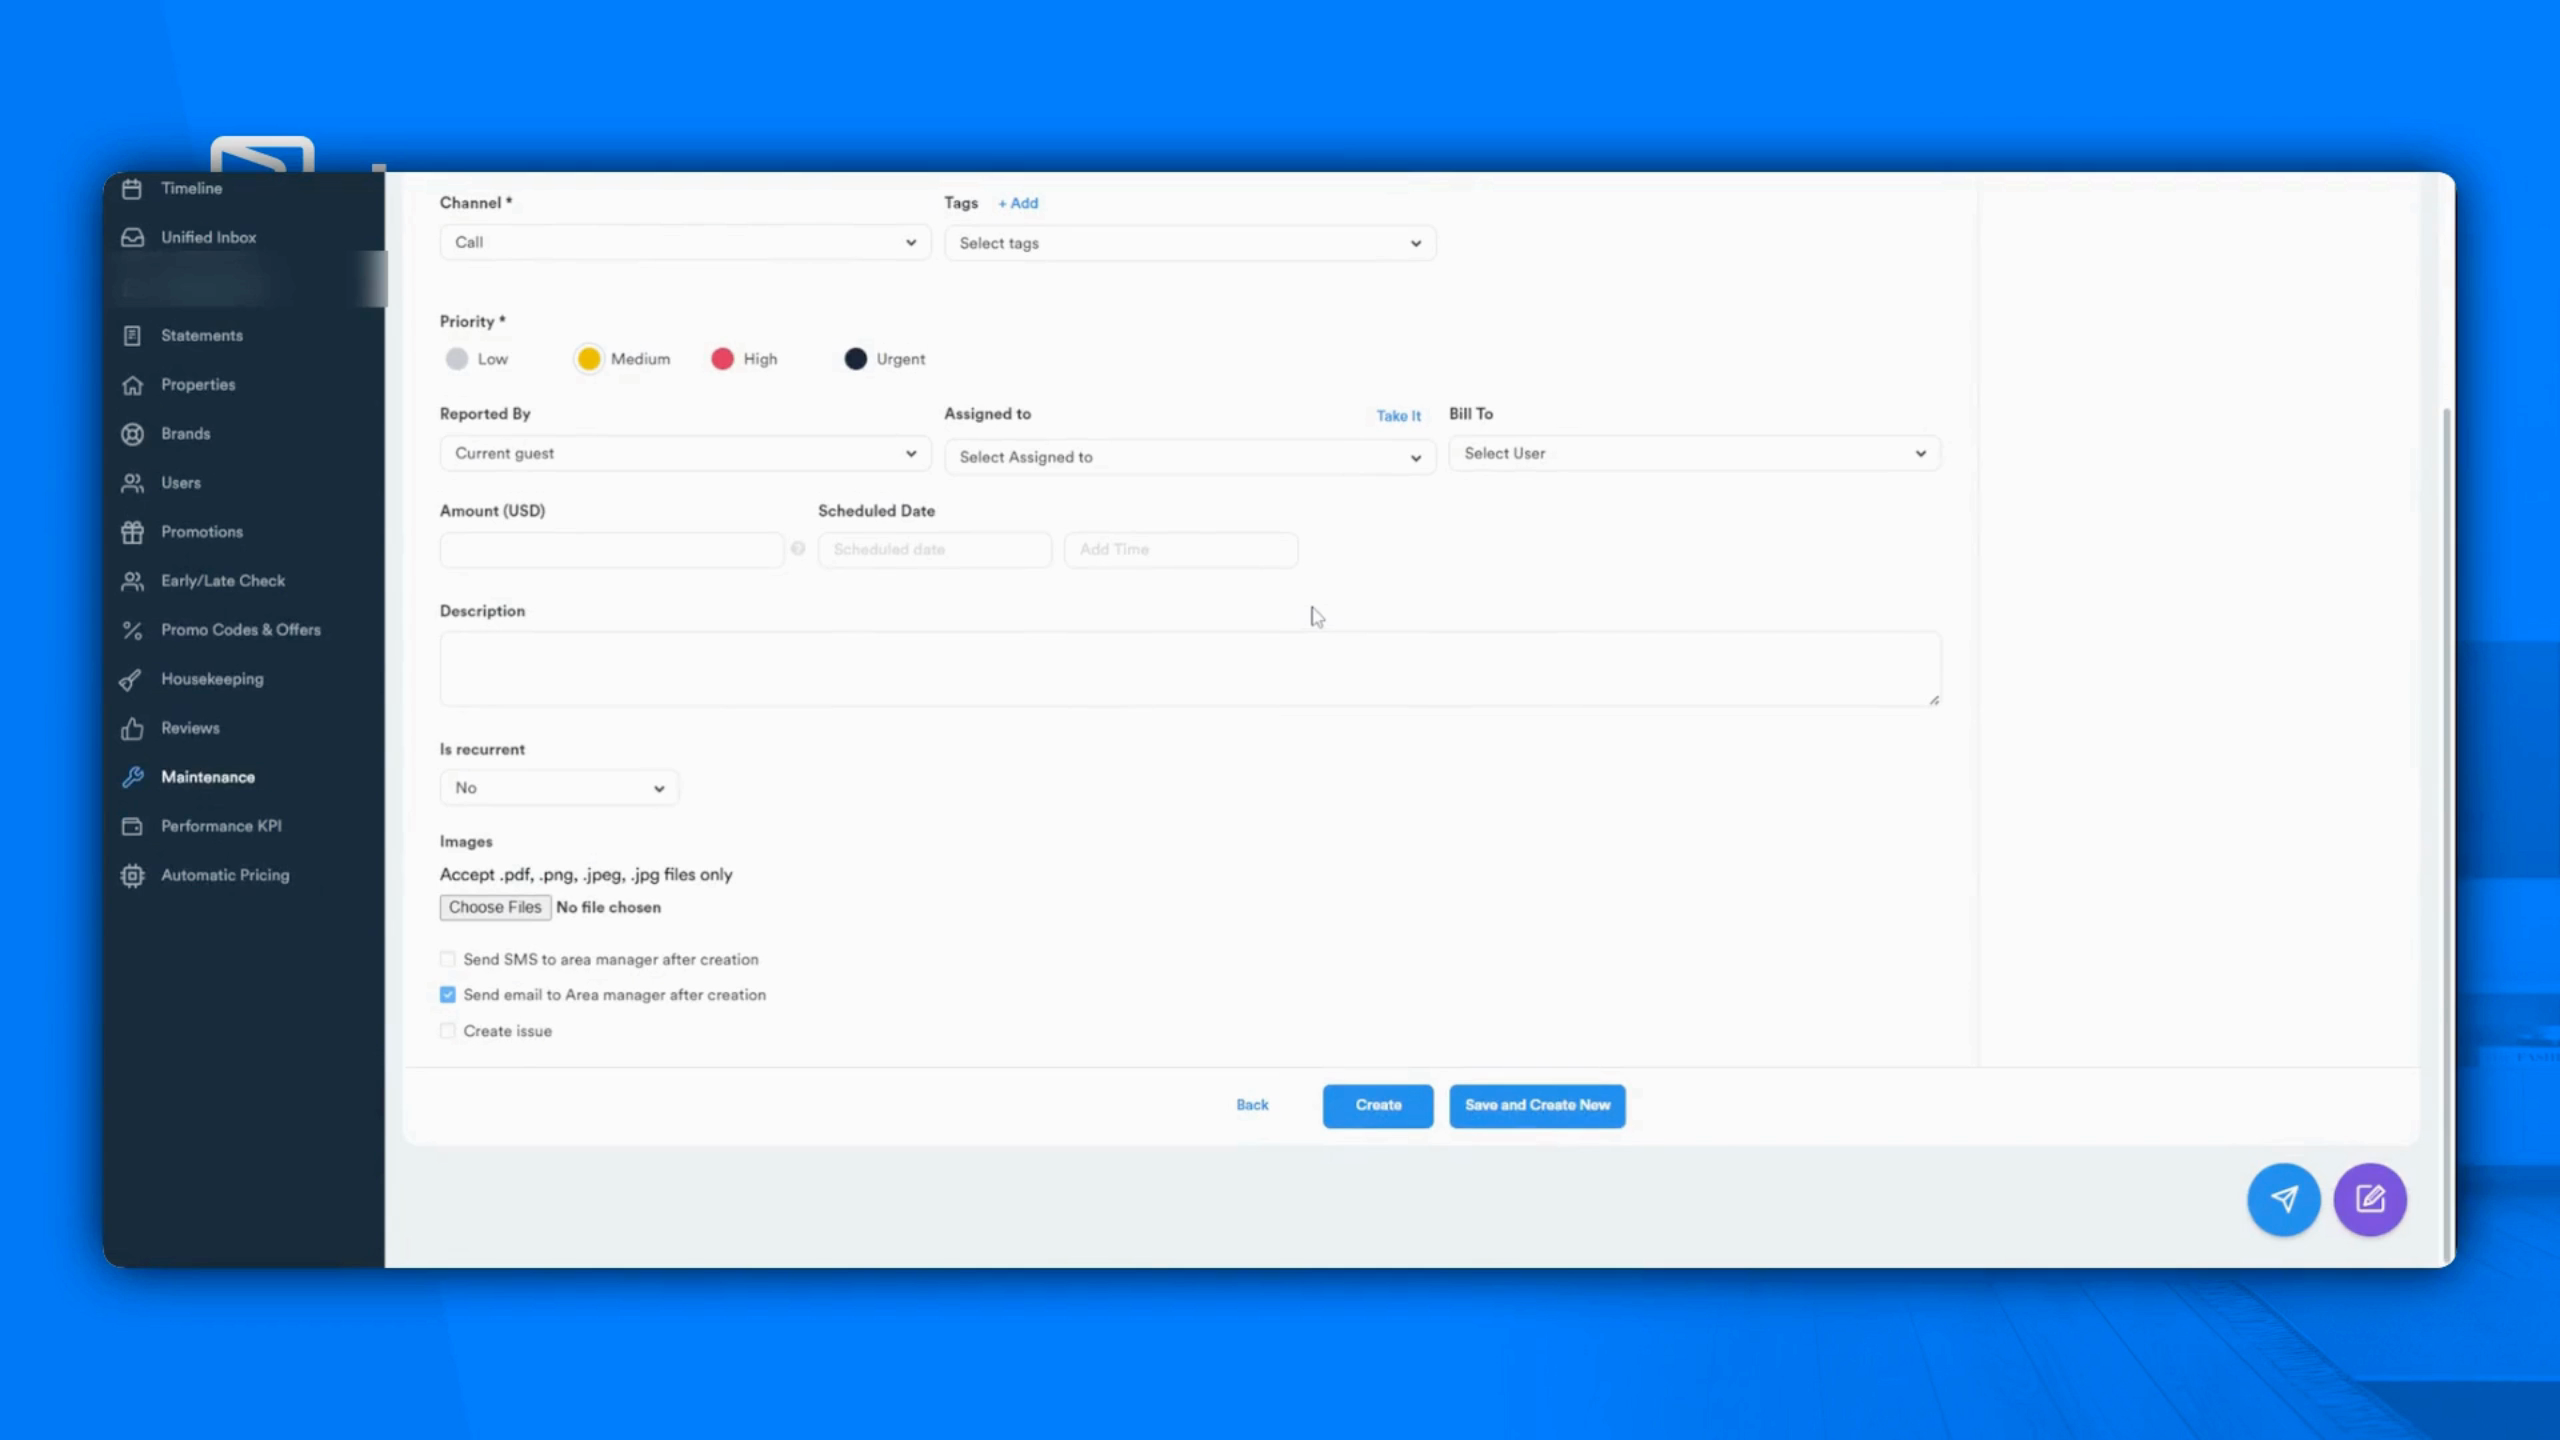
Step 16: Use the Maintenance feature. Create work orders, assign tasks to the team, track progress, and ensure issues are resolved quickly.
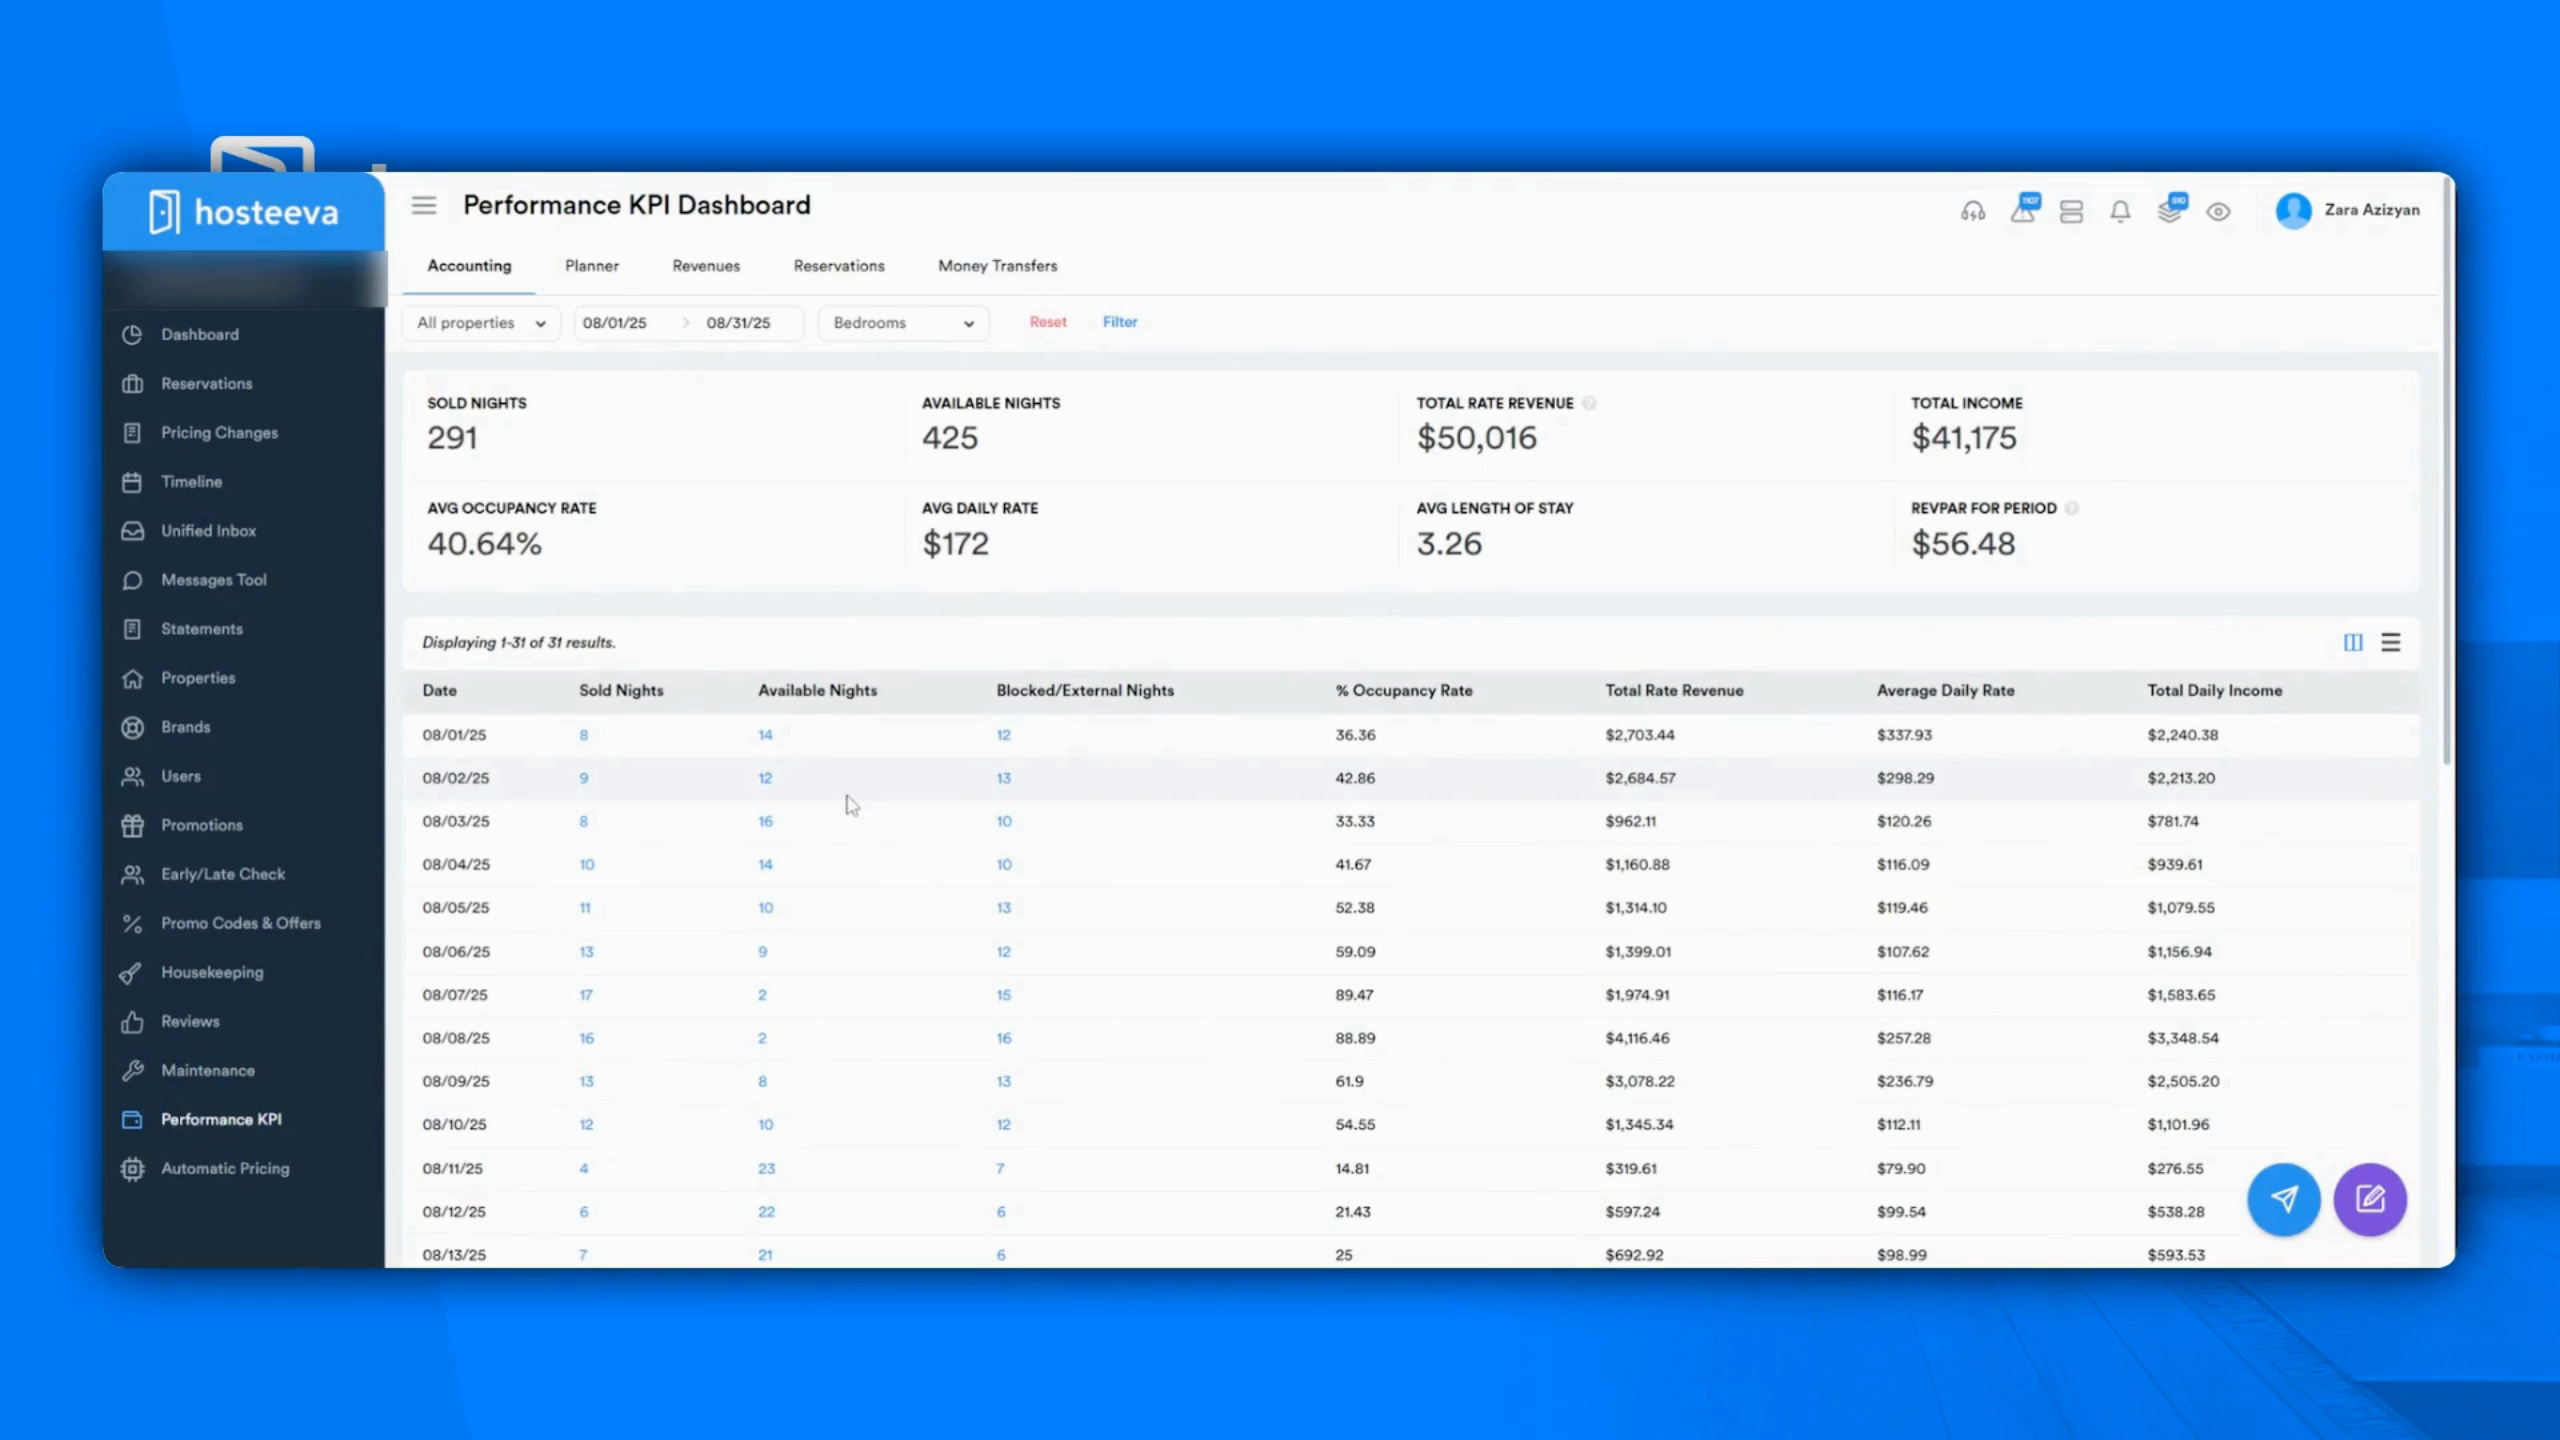
Step 17: The Performance KPI dashboard gives you key metrics on occupancy, revenue, and overall property performance.
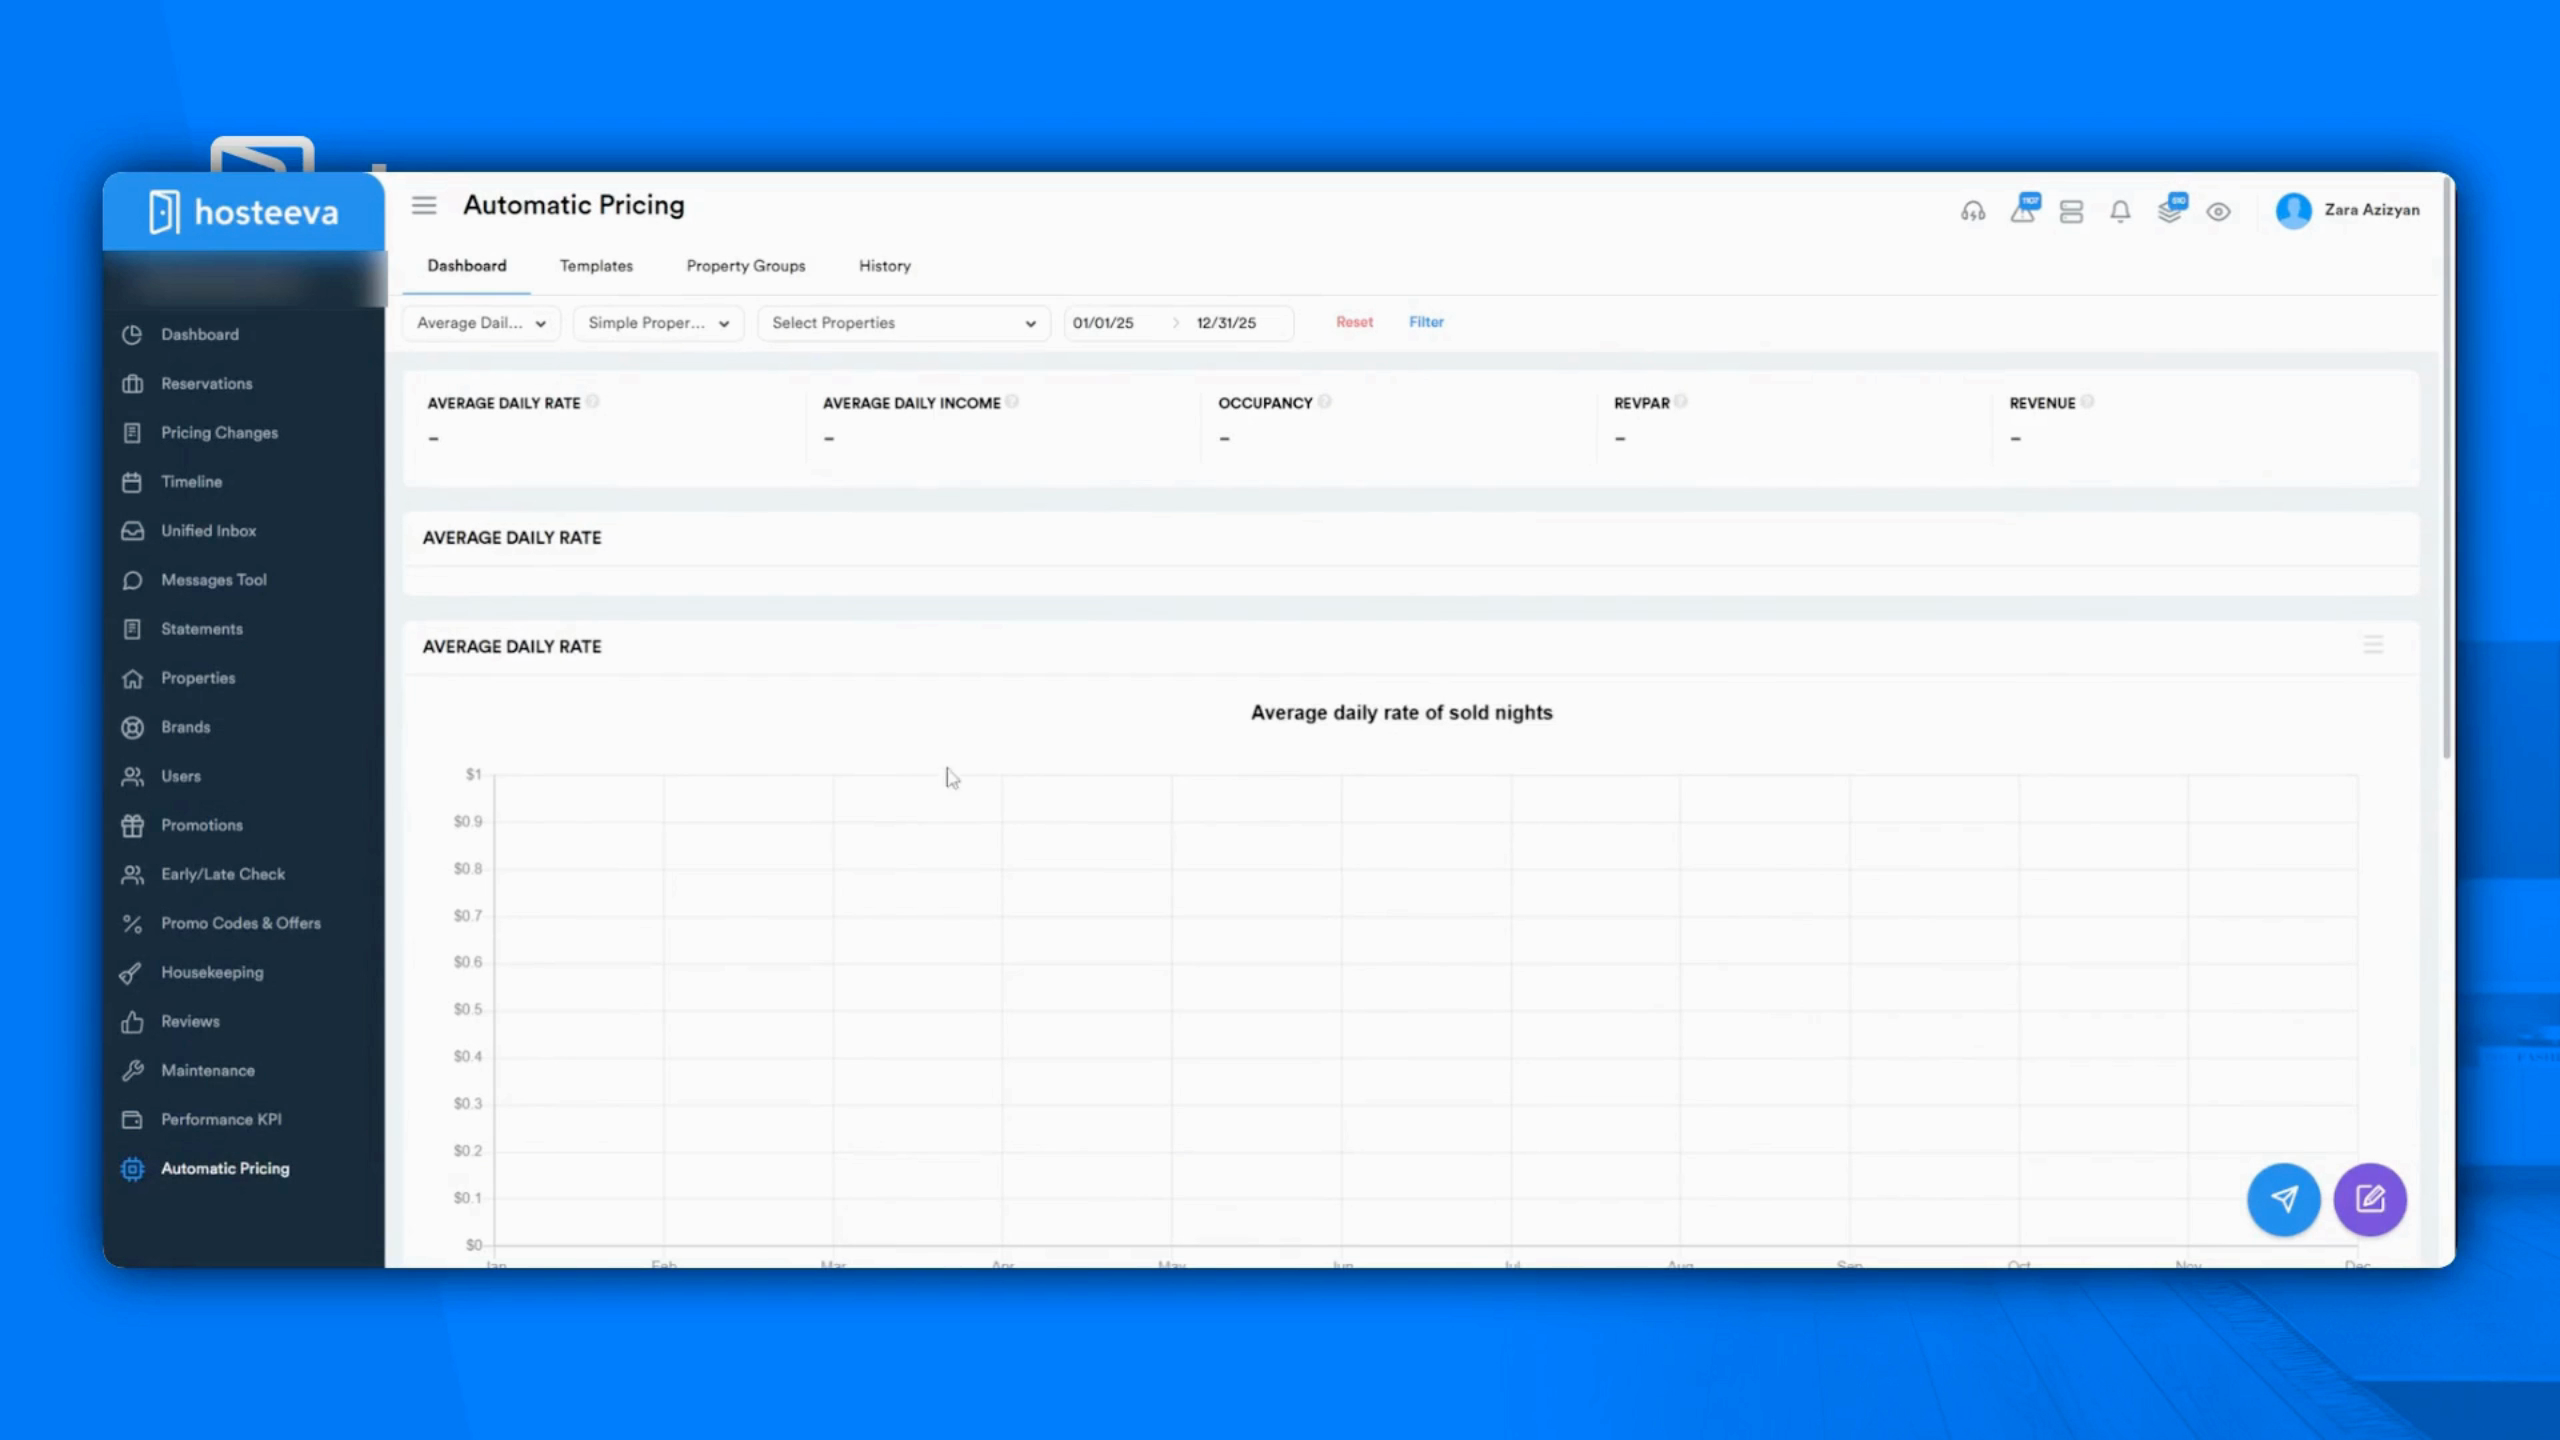
Step 18: Lastly, use the Automatic Pricing feature. Use preset templates or create your own for dynamic pricing.
Thank you!