In this tutorial, you'll learn how to add an article on Hosteeva. Let's dive into the steps.
Step 1: Log into your Hosteeva dashboard and navigate to the Properties tab.
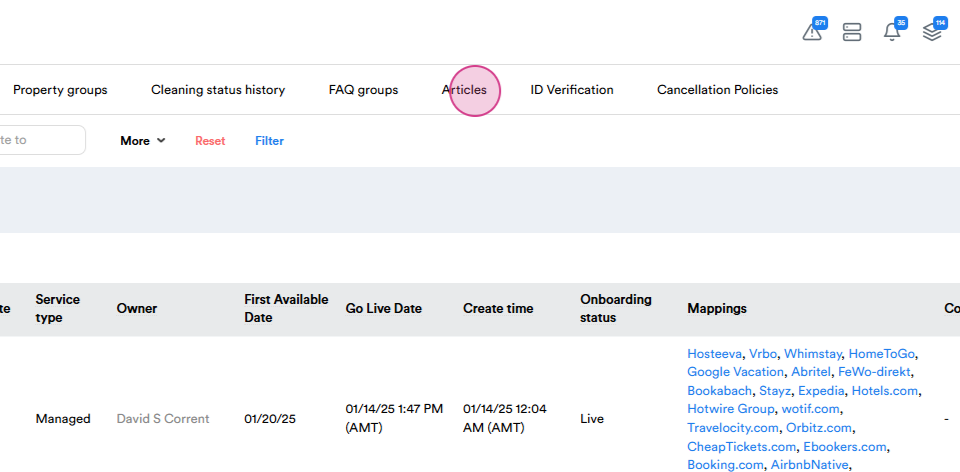
Step 2: Find and click on Articles within the Properties tab.
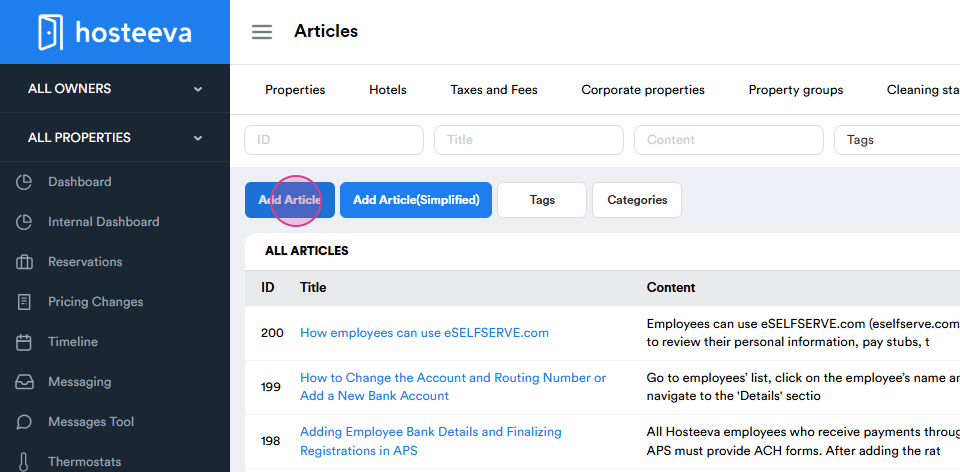
Step 3: Click on the Add Article button in the Articles tab.
Step 4: Enter the title of your article in the first line.
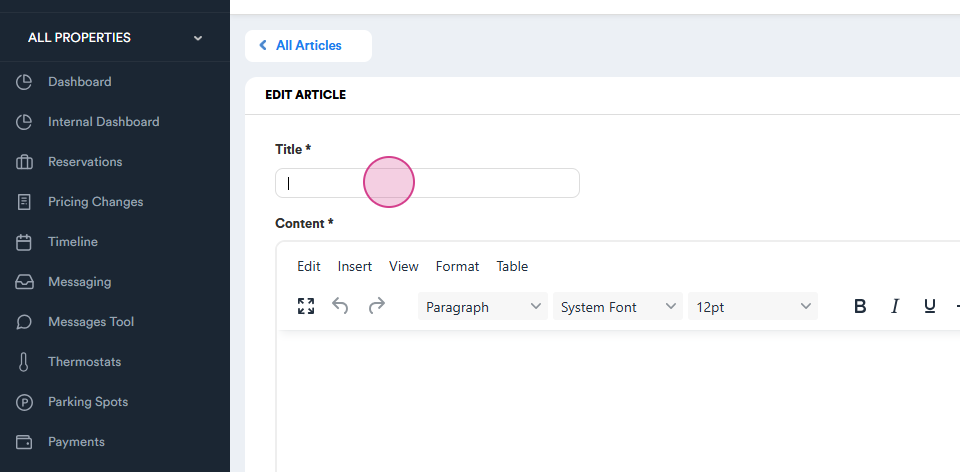
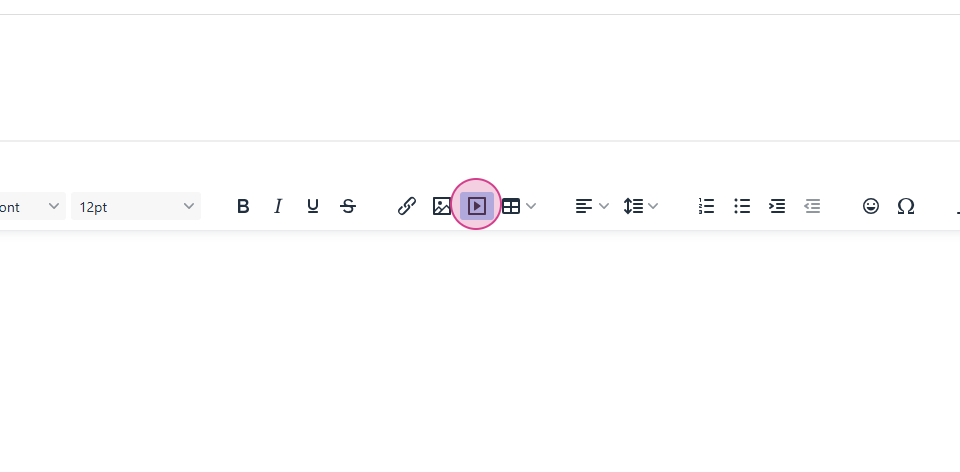
Step 5: Write your article in the second part. You're also allowed to paste screenshots. If you want to include a video, upload it to the Hosteeva YouTube channel, copy the link, and click on the Media button.
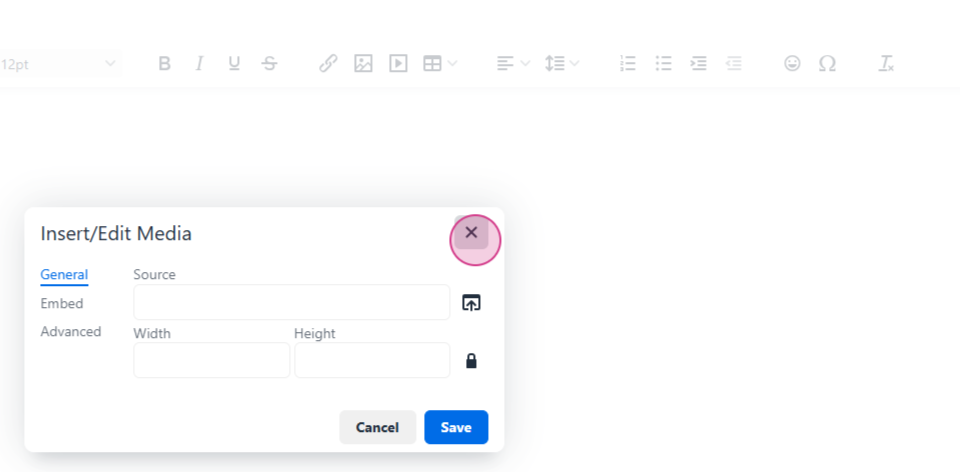
Step 6: Paste the link to your video and hit the Save button.
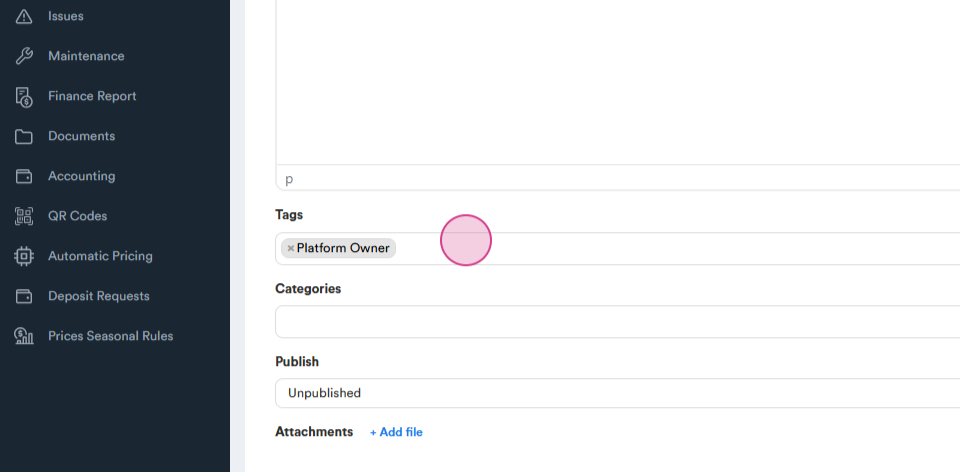
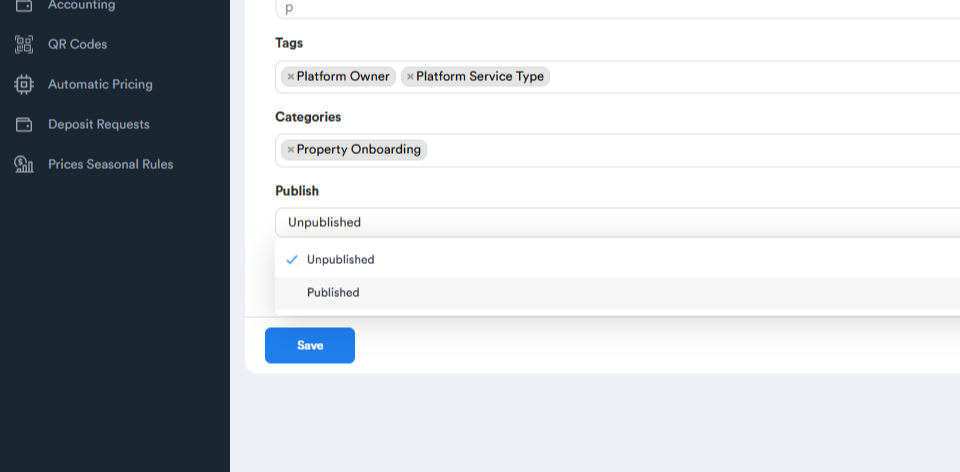
Step 7: Tag your article with relevant tags and categories. If you want the article to be visible to platform owners, tag it with Platform Owner and Platform Service Type.
Step 8: Choose a category for your article. If you can't find a suitable category, request the onboarding team to add a new one.
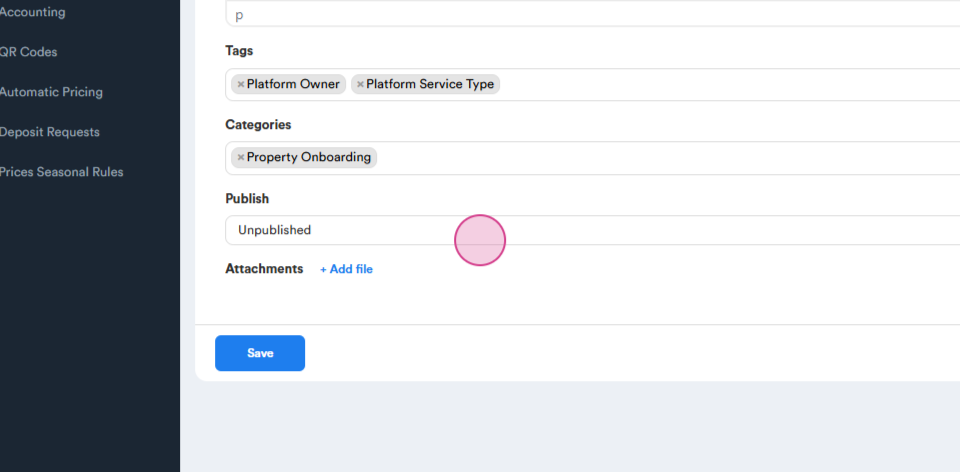
Step 9: Publish your article. If you don't publish it, it won't be visible to others.
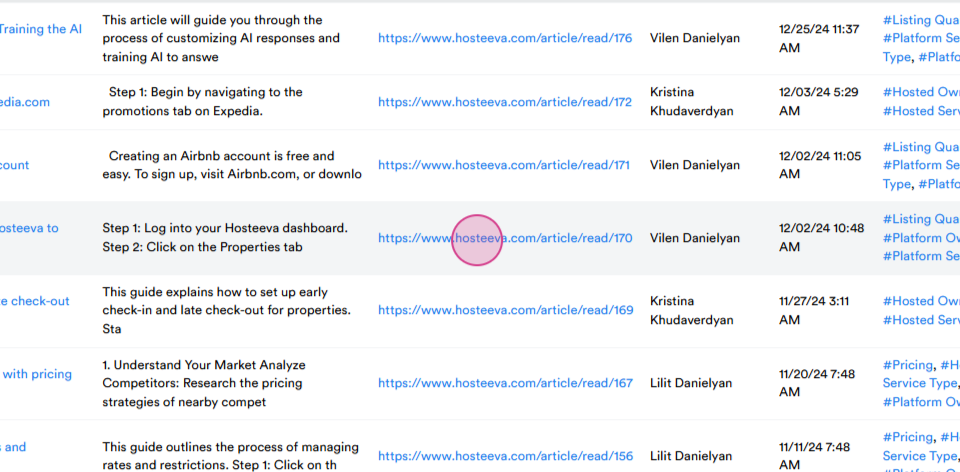
Step 10: Go back to the Articles page and review your article.
Step 11: Check the tags, categories, and publication status of your article.
Step 12: Review your article from the perspective of a platform owner or a reader. Click on the URL to view your article.
That's all! If you need any further assistance, don't hesitate to reach out to the Onboarding Team.