To add a Kaba account in the Hosteeva system, you can follow these detailed steps:
1. Prepare Your Kaba Account
- Make sure you have a Kaba account with the proper setup, including a login and password.
- Log in to the Kaba account here: LINK TO KABA
2. Log in to Hosteeva Dashboard
- Access your Hosteeva dashboard and go to the Admin Portal.
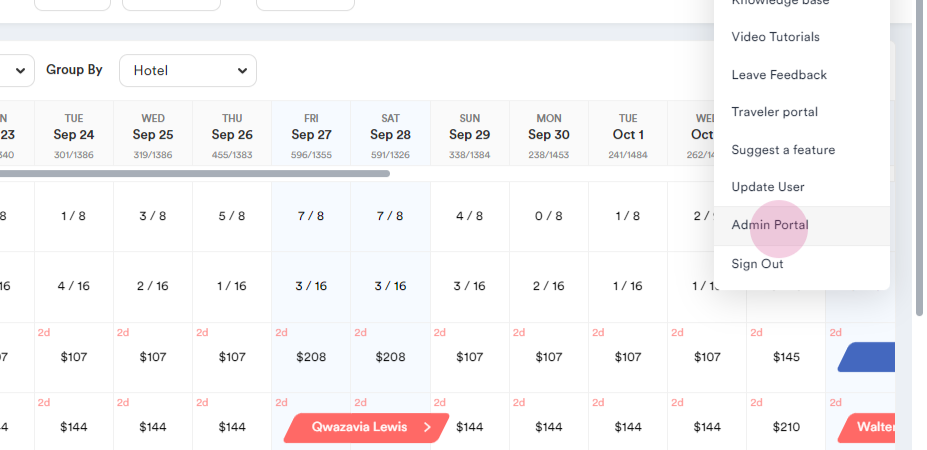
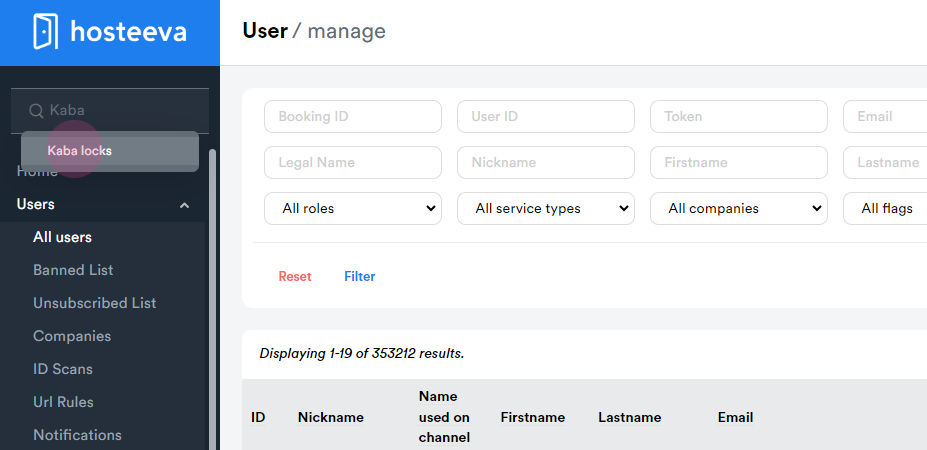
- From the Admin Portal, navigate to Kaba Locks.
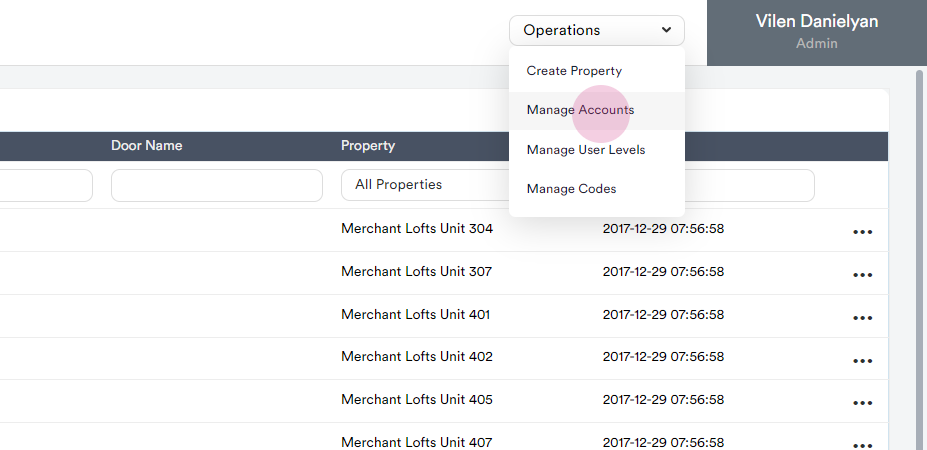
3. Manage Kaba Accounts in Hosteeva
- Under the Operations tab, select Manage Accounts.
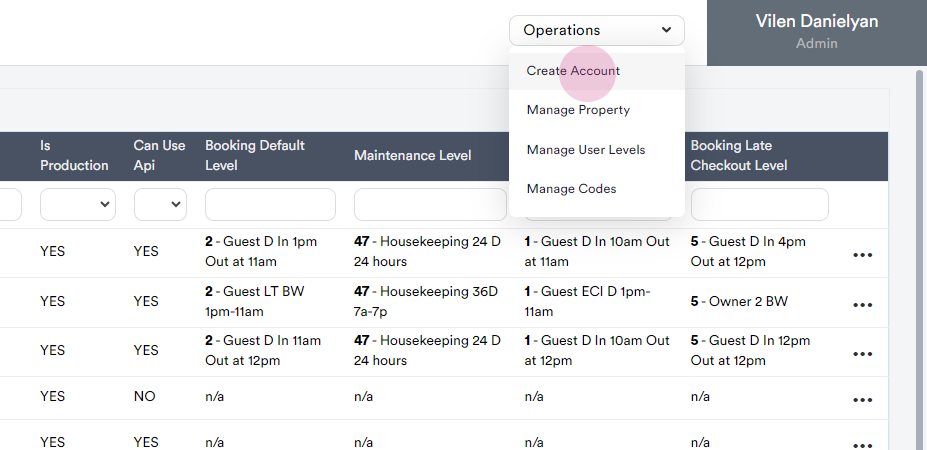
- Again, go to the Operations tab and choose Create Account.
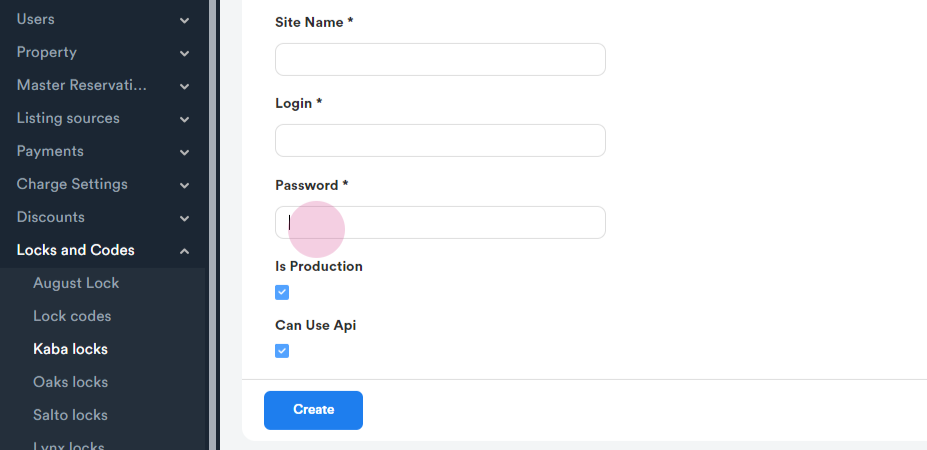
4. Create the Kaba Account
- In the form that appears, enter the Name for the account.
- Set the Login Password (this is the one you use for the Kaba account in production).
- Do not check the Can use API button.
- Click the Create button to finalize the account creation.
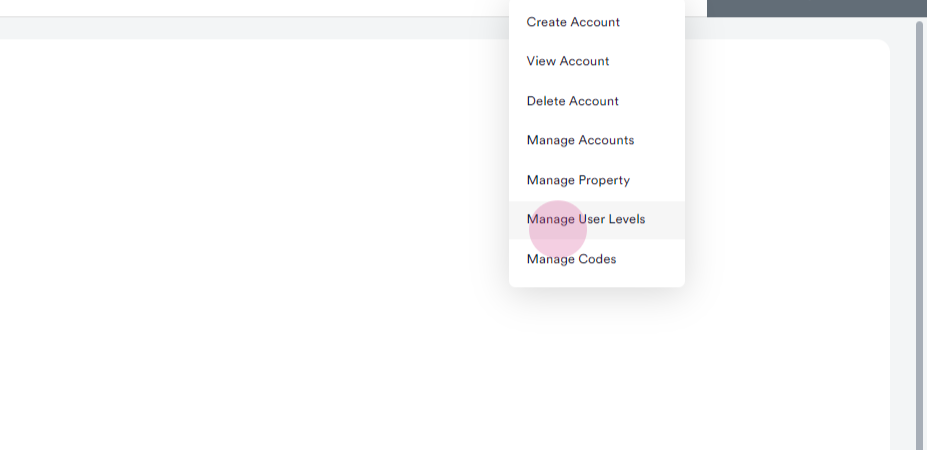
5. Manage User Levels in Hosteeva
- Once the account is created, go to the Operations tab and click on Manage User Levels.
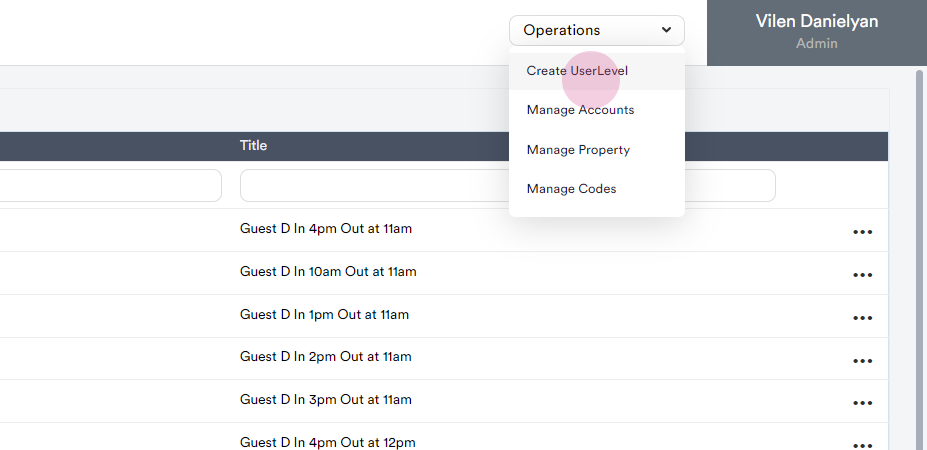
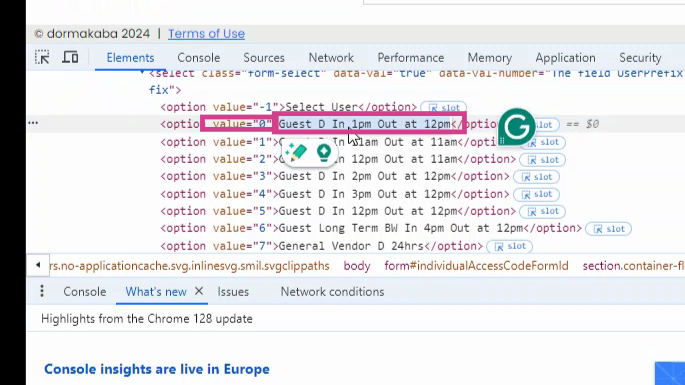
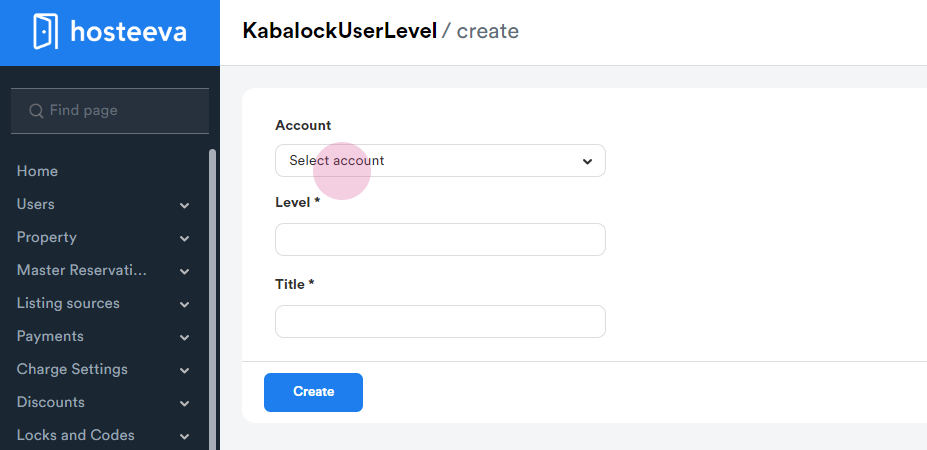
- Again, go to the Operations tab and select Create User Level.
- Choose the newly created Kaba account.
- Set the Level Number and Level Title (explained in the next section).
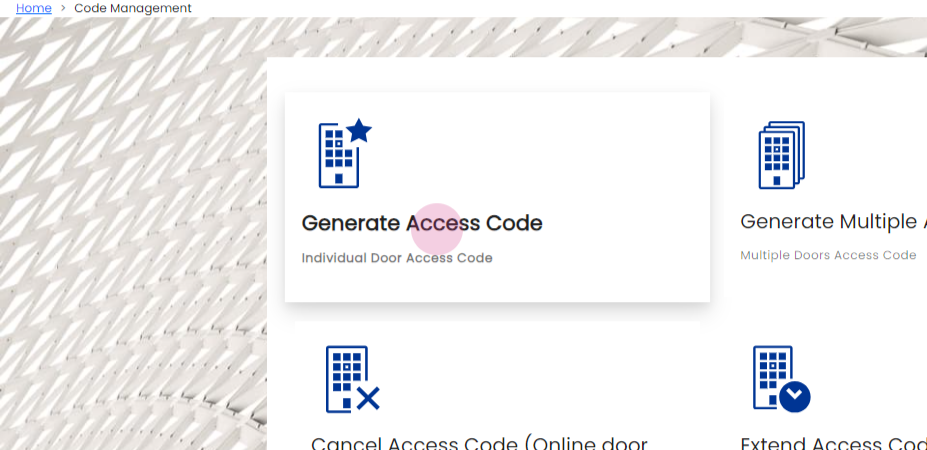
6. Find the User Level and Level Number in the Kaba Account
- Log in to your Kaba account and click on Code Management.
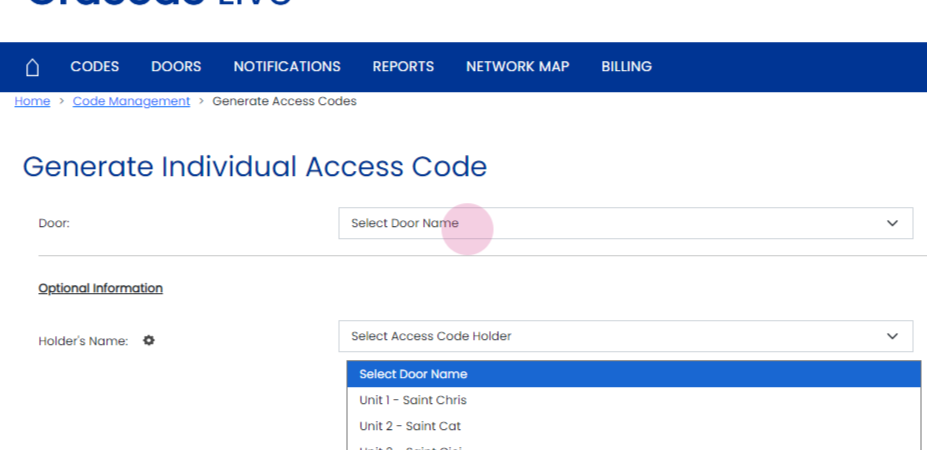
- Click the Generate Code button.
- Select any door from the Door dropdown.
- Press F12 or right-click an empty space on the page and select Inspect.
- A new window will open with developer tools. From the top left corner, click the arrow (used to inspect elements).
- Move your mouse over the page until you see popups. Find the Select User section and click on it.
- In the console window below, locate the code associated with user levels.
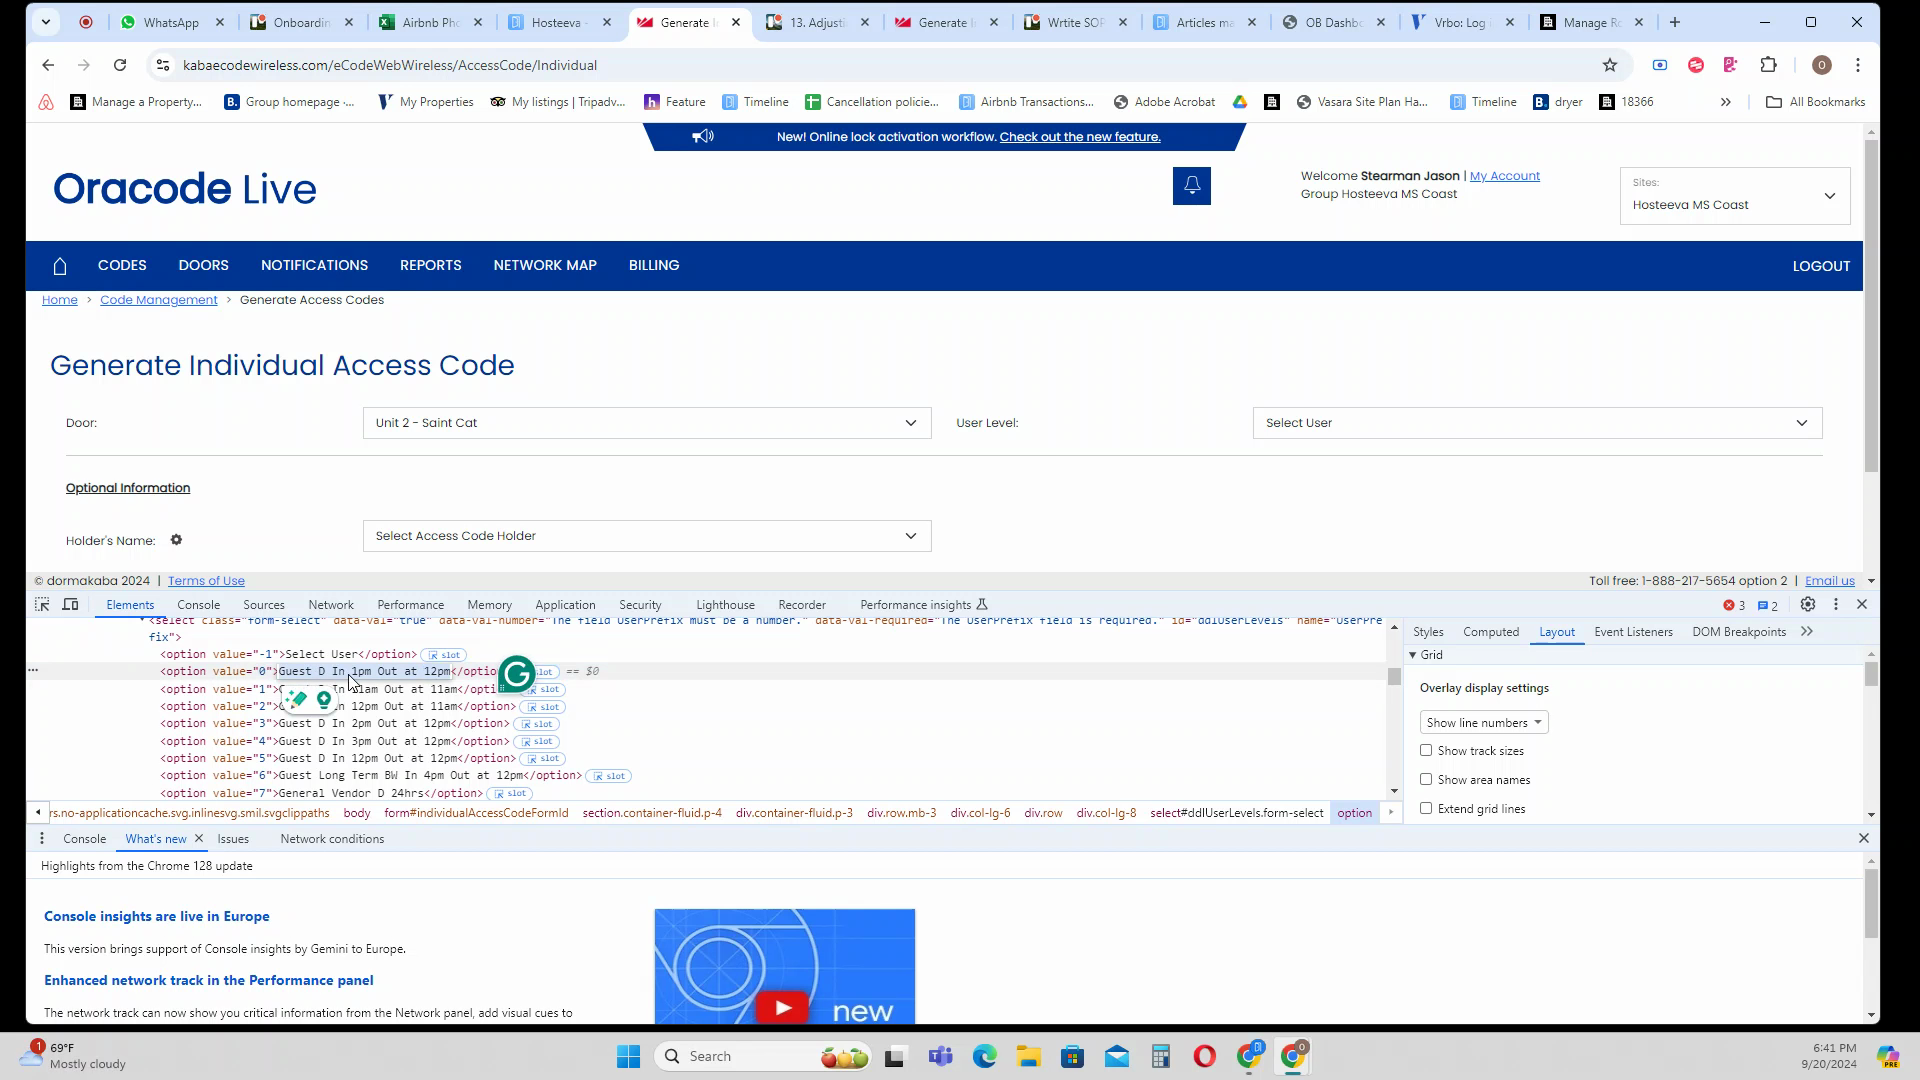
- Open the small arrow in the code to see a dropdown. You will find the User Levels and the number next to Value, which is the Level Number. The User Level name will be displayed next to it.
7. Create User Levels for Guests
- This is how you create a user level.
- To add the user level on Hosteeva Go to Operations and choose Manage User levels

- Go to Operations tab again and choose Create User level

- Choose the Account and set the User level and the User level Title from Kaba > Point 6 last bullet point
- You will need to create all user levels that contain the word 'guest'.
- You need to create a one-time code it could also be a 24-hour one-time code or something that will mention the code is for one time use only.
- Remember, if there is a BWM code, it's essential to include it.
- If there is a 24-hour code for workers like housekeeping, maintenance, pest control, and so on, create the 24-hour code. If there isn't, simply choose the first code. This applies to 'contractor', '.maintenance', 'HOA manager' and the rest of user levels. From each topic, choose the one that has 24 hours in it if not then the first code and create it on the Hosteeva system.
- Once the user levels are created, you can return to the Kaba account that was previously created and set up the user levels there.
This setup allows Hosteeva and Kaba to work in sync, with user levels managed directly through the Hosteeva admin portal.