This guide provides a step-by-step process to set automatic pricing rules using the Phoenix pricing template.
Start with the Automatic Pricing tab.
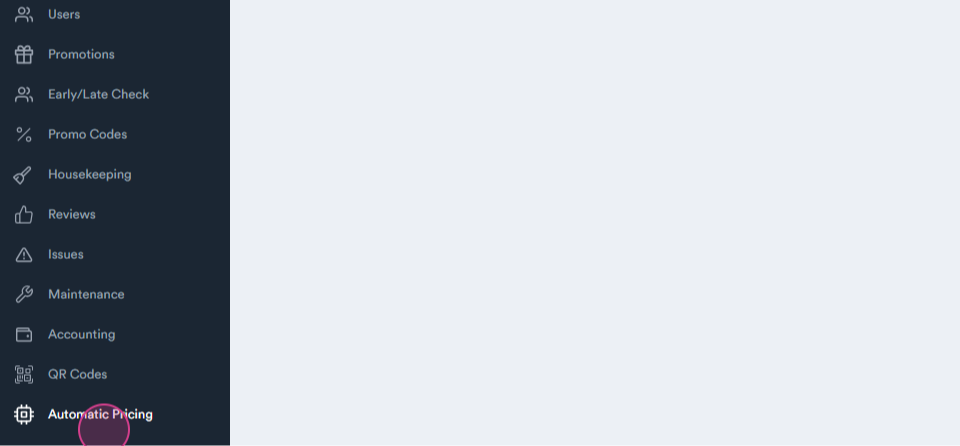
Step 1: Navigate to the Automatic Pricing tab.
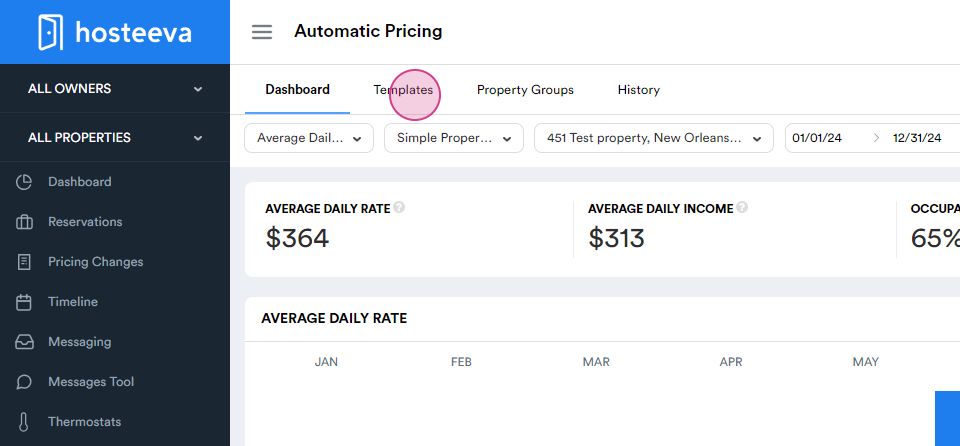
Step 2: Select Templates.
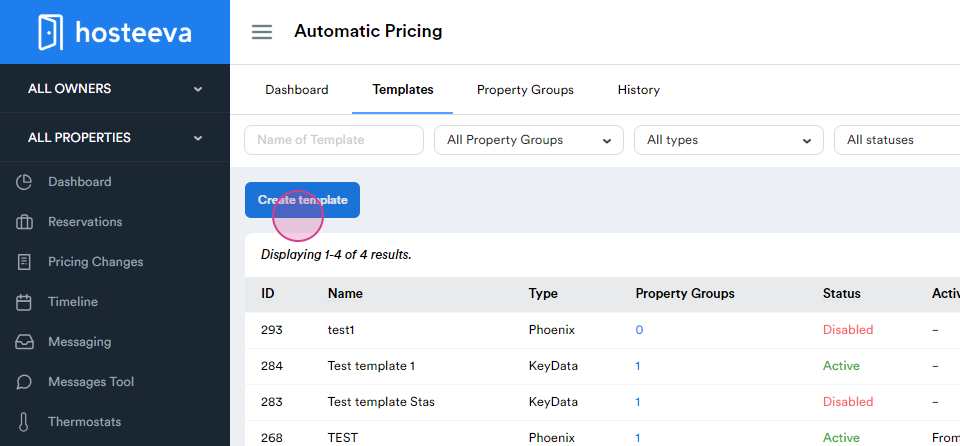
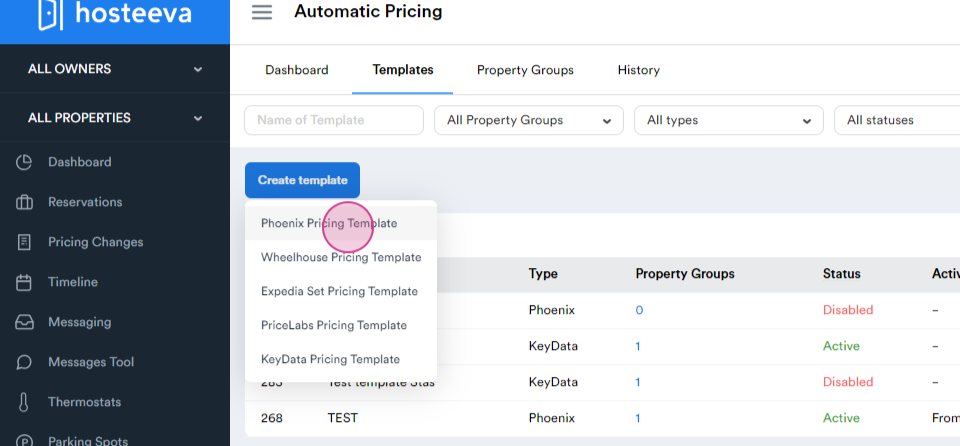
Step 3: Click on Create Template and choose the Phoenix Pricing Template.
Once the Phoenix-based price template is ready, it's time to set the automated pricing rules.
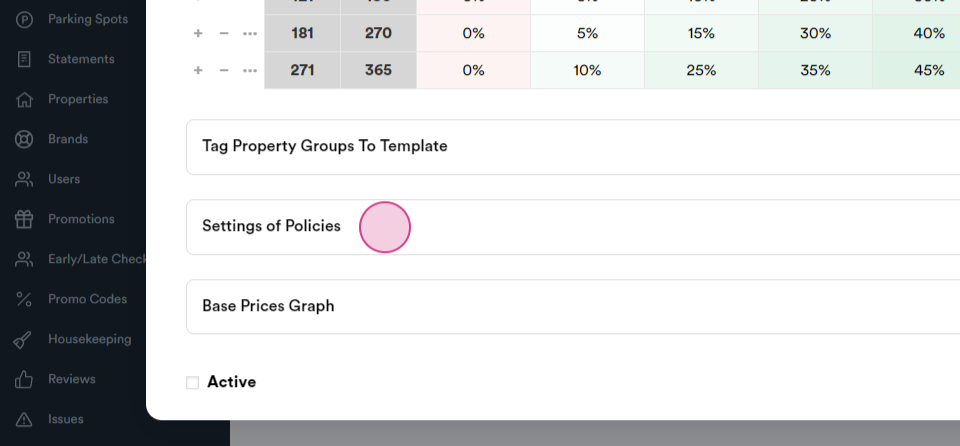
Step 4: Go to the Settings of the Policies.
Step 5: Set Active Periods, which define when the pricing algorithm is active.
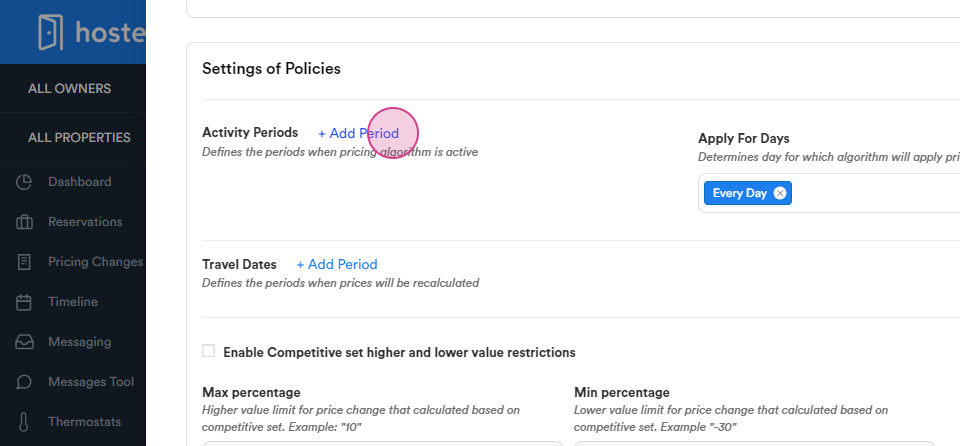
Step 6: Click on Add Period and select the desired period.
Step 7: Set the Travel Date, which defines when prices will be recalculated.
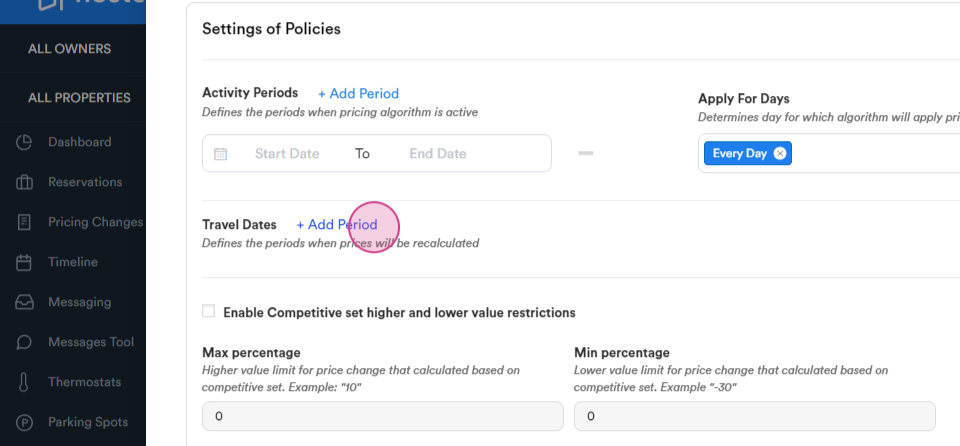
Step 8: Click on Add Period and select the desired period.
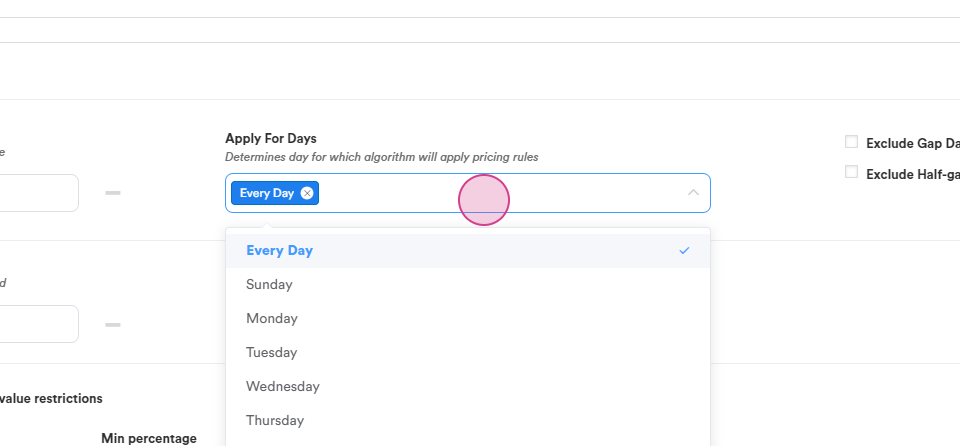
Step 9: Choose the specific days for the period.
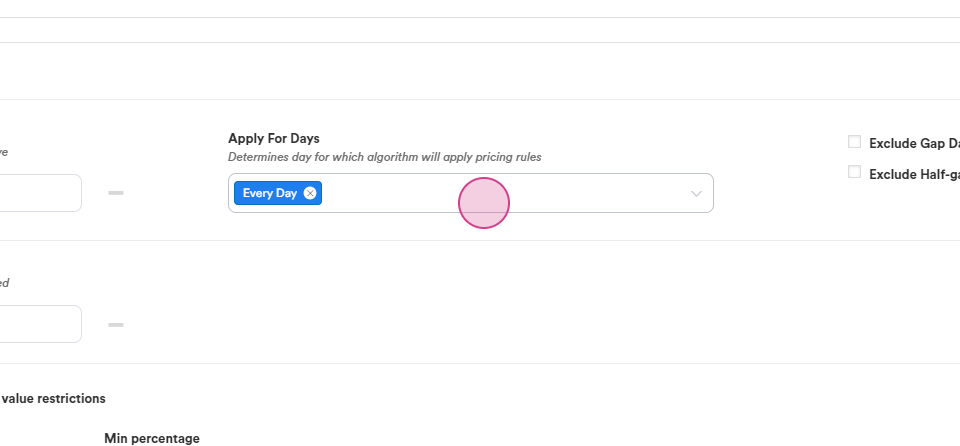
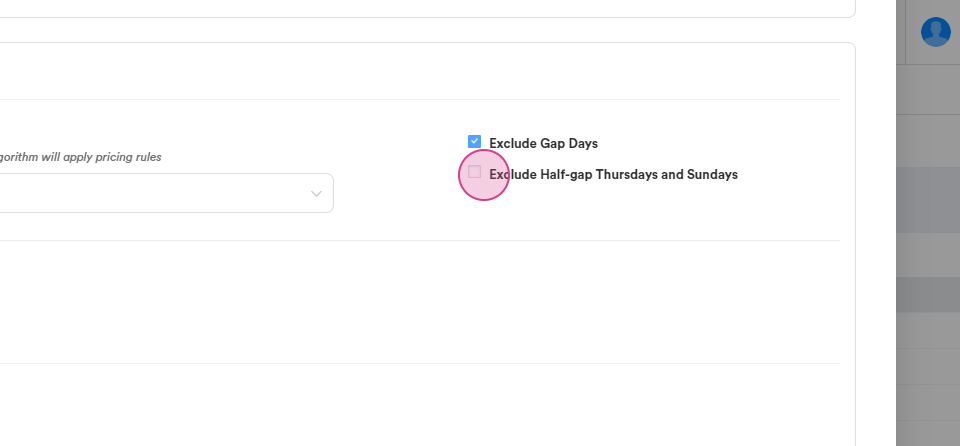
Step 10: Opt to Exclude Gap Days and Exclude Half Gap Days if desired. This means prices can decrease but not increase.

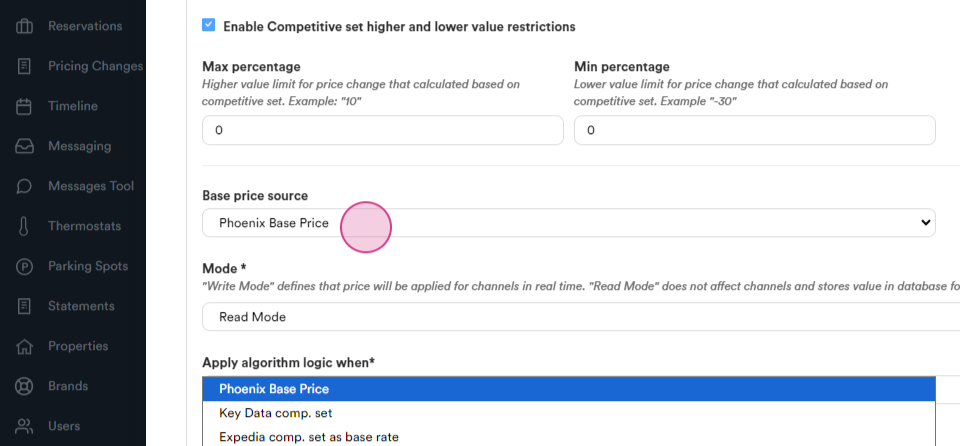
If competitive sets are in place, enable the Competitive Set Higher and Lower options.
Step 11: Enable Competitive Set Higher and Lower.
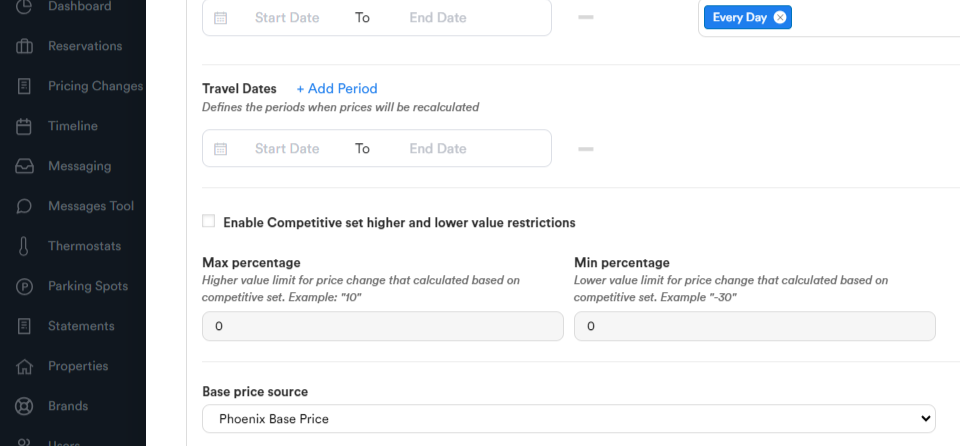
Step 12: Set the Maximum Percentage and Minimum Percentage.
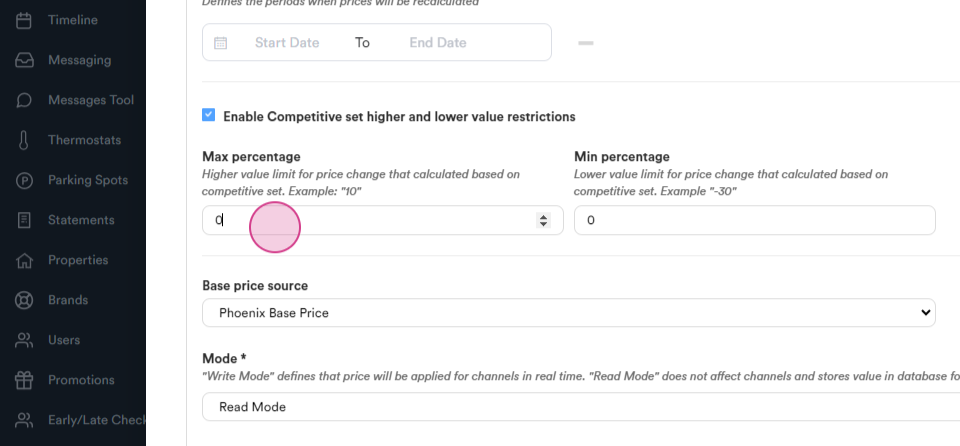

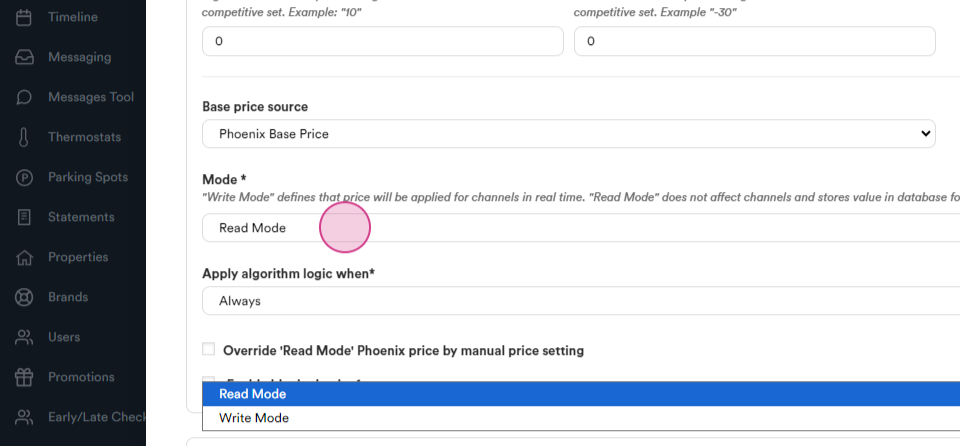
Step 13: For the Price Source, choose Phoenix Base Price.
Step 14: Choose between two modes - Read Mode and Write Mode. Read Mode allows viewing offers on the timeline but prevents changes. Write Mode allows changes.
Step 15: Select Always for the mode.
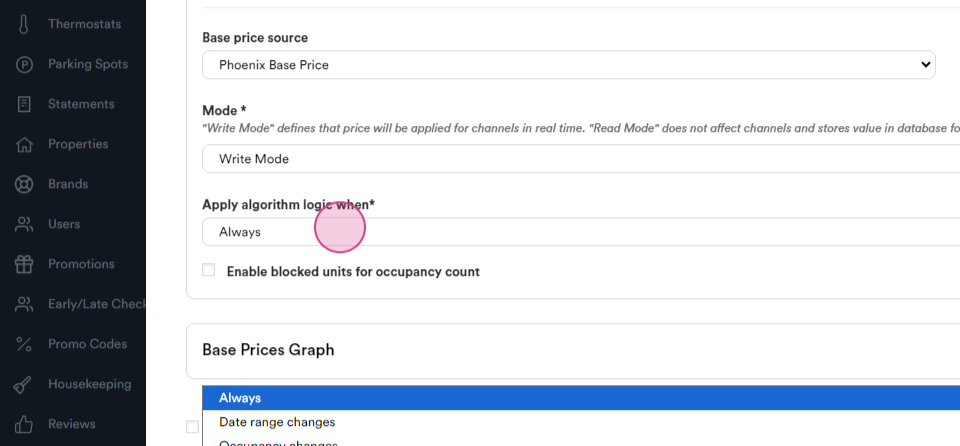
Step 16: If desired, enable Blocked Units for Occupancy count.
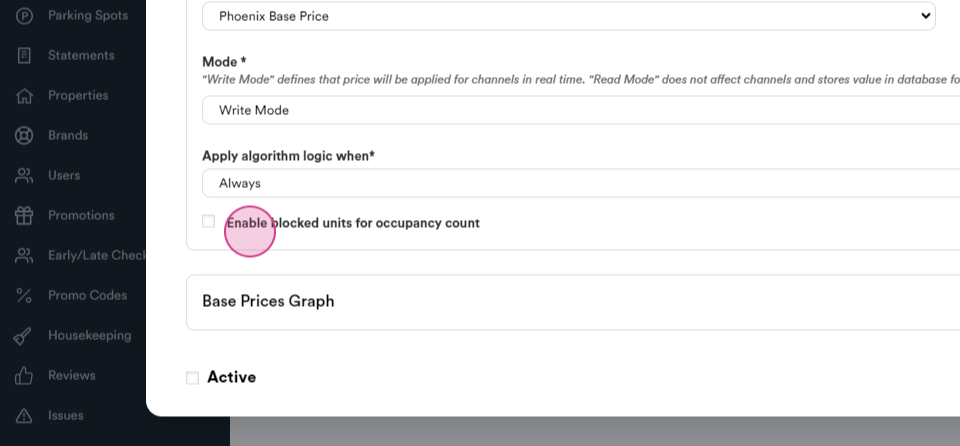
To finish the setup, click on Create.
Step 17: Click on Create to finish the setup.
Follow these steps to successfully set automatic pricing rules.