In this article, you'll learn how to request an ID scan, view existing scans, and add new scans to a reservation.
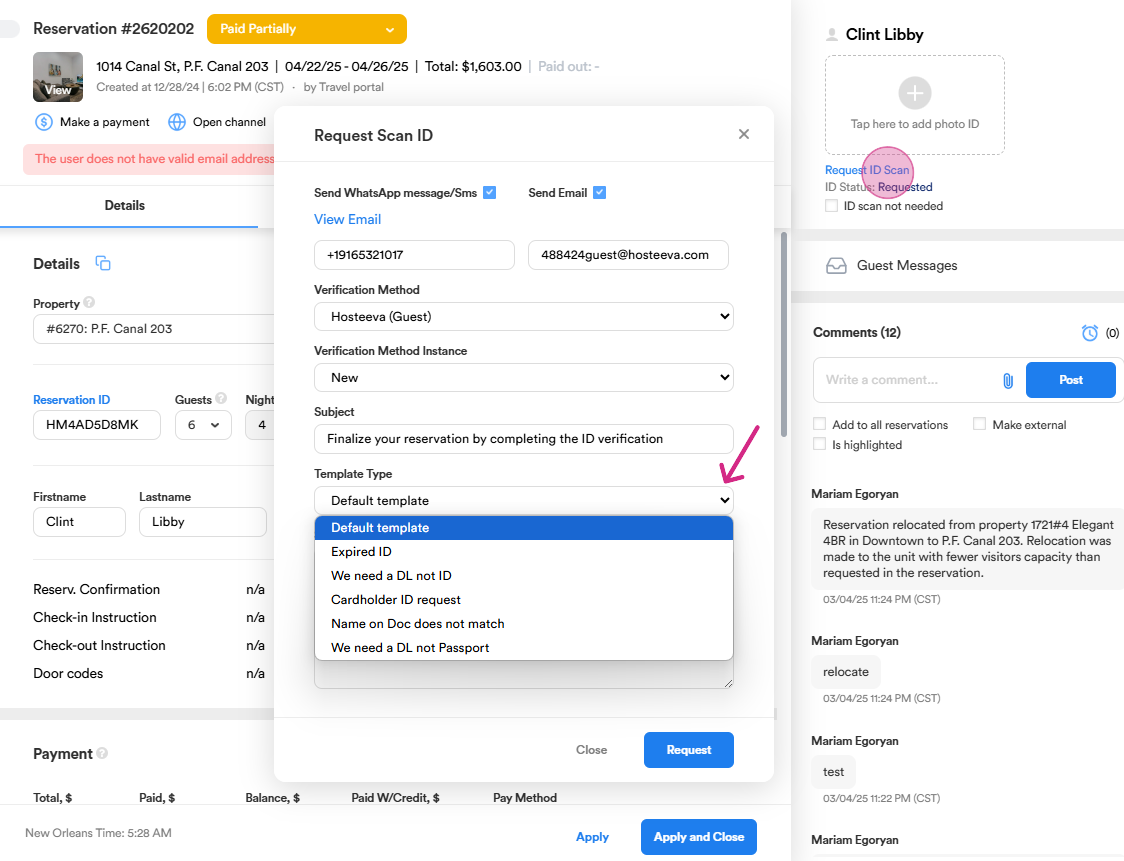
Step 1: Start by locating the section on the right side of your screen to request an ID scan. We request IDs for security reasons as part of our virtual check-in process. ID verification is a standard procedure. If it's a first-time guest, the system sends them a default template to finalize their reservation by completing the ID verification. If the guest provides the IDs but they are not verified for any reason (e.g., the ID is expired or the name on the document does not match the reservation holder's name), we will request the necessary information accordingly from our template list.
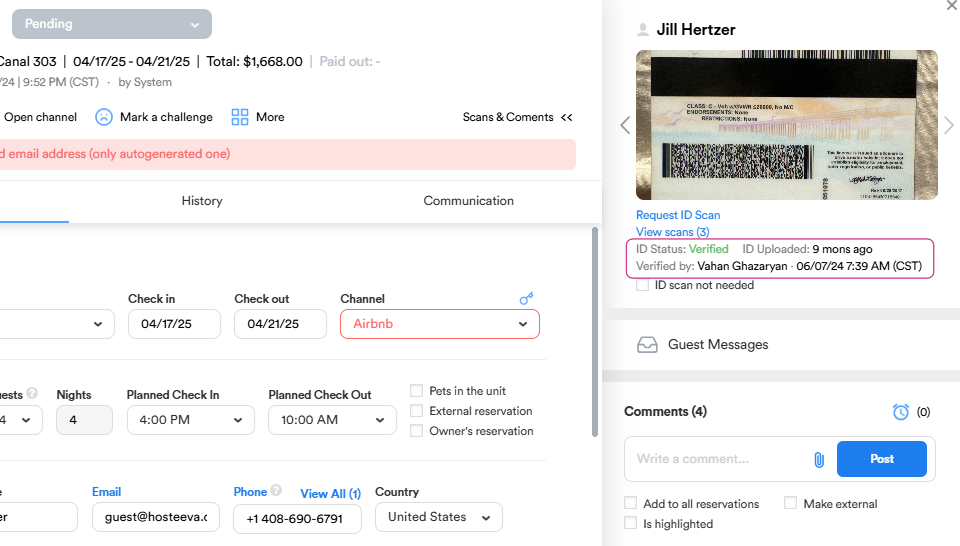
Once the guest provides the documents and they are verified, under the IDs section, we can see all the relevant information, such as the verification status, the date the documents were uploaded, and the name of the person who verified them.
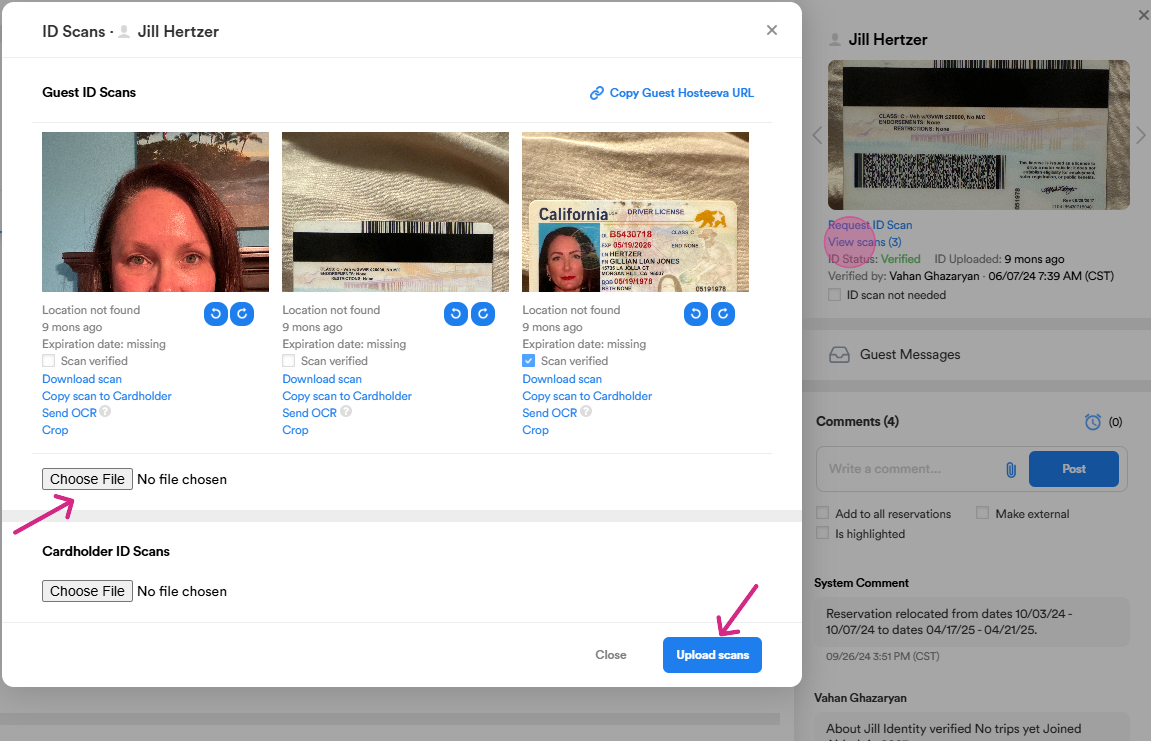
Step 2: To view the scans, click on View ID scans. A small window will appear where you can open and view the scans. You can zoom in and out to check the information on the ID. Here, you can also see the date the scans were uploaded and their location. To verify the scans, simply check the "Scan Verified" checkbox.

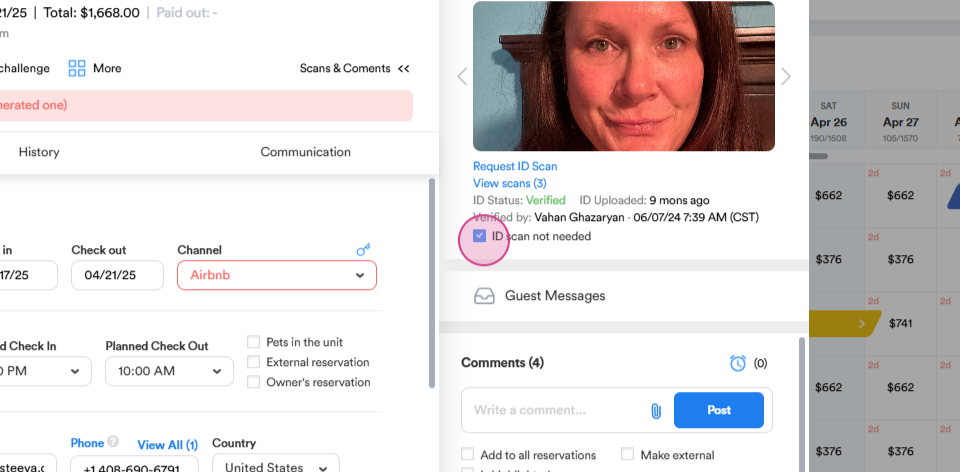
Step 2: If the reservation doesn't require an ID scan, ID scan is not needed checkbox will be marked. This means that no request for an ID will be sent to the guest.
Step 4: To add scans to the reservation, go back to View scan. Click on Choose file, select a photo, and click on Upload scan. There are specific criteria for verifying the IDs. First, we check that the name on the ID matches the reservation holder's name. We also verify the date of birth, the expiration date, and the guest’s address listed on the ID.
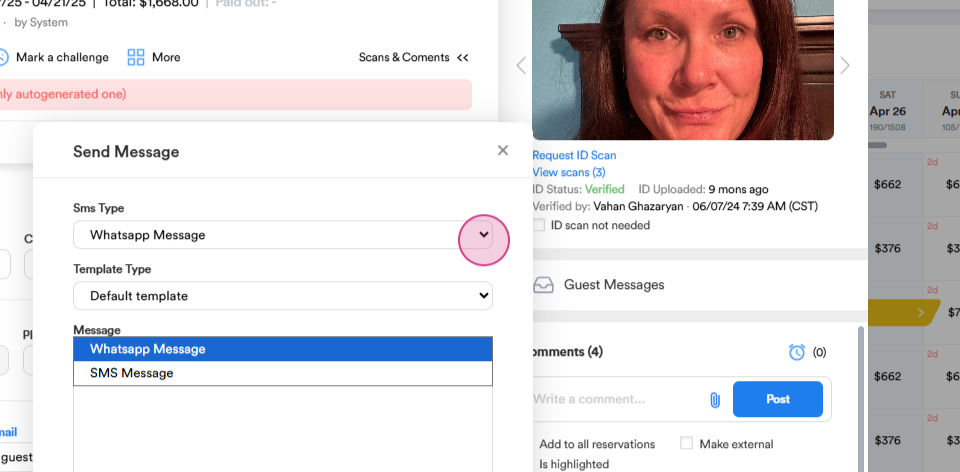
Step 5: You can send text and emails to the guest from this section. Here, you have the email and phone options.
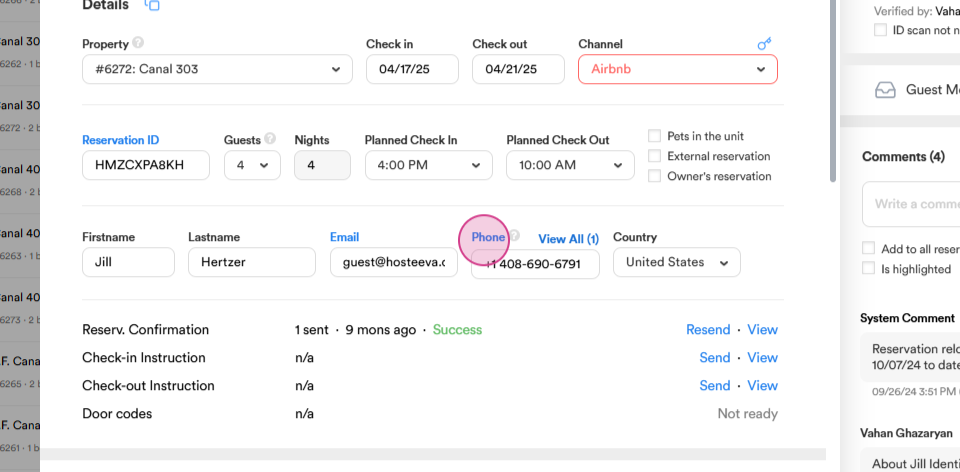
Step 6: If you click on phone, you can send a text message to the guest. You can choose from WhatsApp or SMS message. Choose a template or compose a message yourself and send it to the guest. The same process applies to emails.
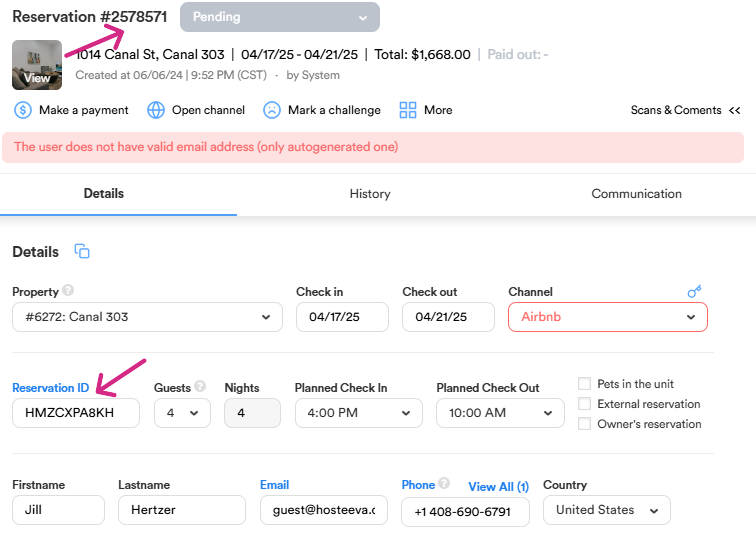
Step 7: Finally, note the internal and external booking IDs. The external booking ID is the ID generated by the channel (e.g., Airbnb, Booking ), while the internal booking ID is generated by Hosteeva and is located on the top of the reservation dialog.
Thank you for reading.