In this article, you'll learn how to use the new long-term reservation feature in our reservation dialog.
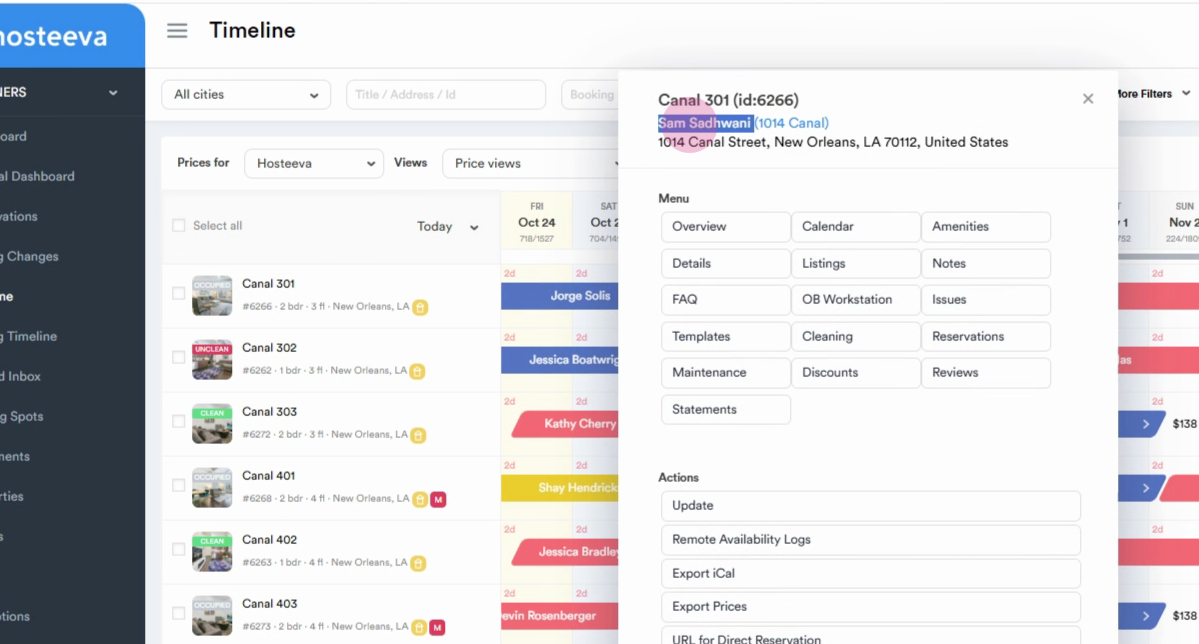
Step 1: Begin by enabling the long-term reservation option for a property. Click on the property name to navigate to the property details. Copy the owner's name.
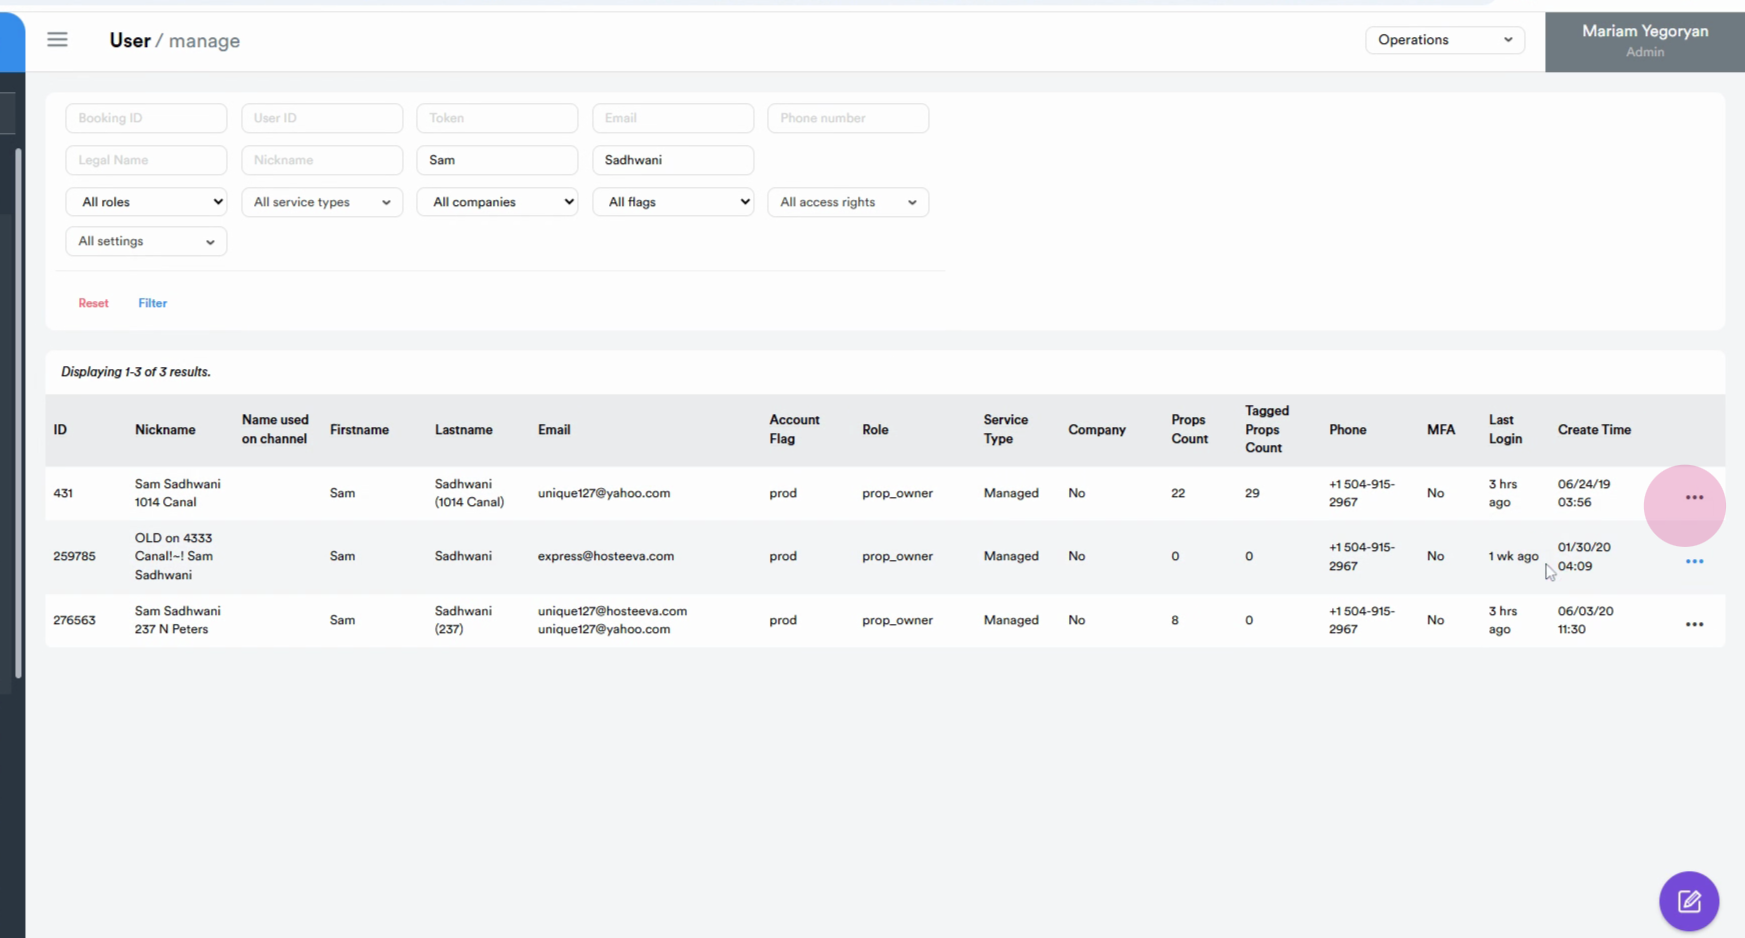
Step 2: Navigate to the admin portal and locate the user with the copied first and last name. Click on the three dots next to the user's name and select Update.
Step 3: Scroll down to user settings and locate the Allow Long term state option.
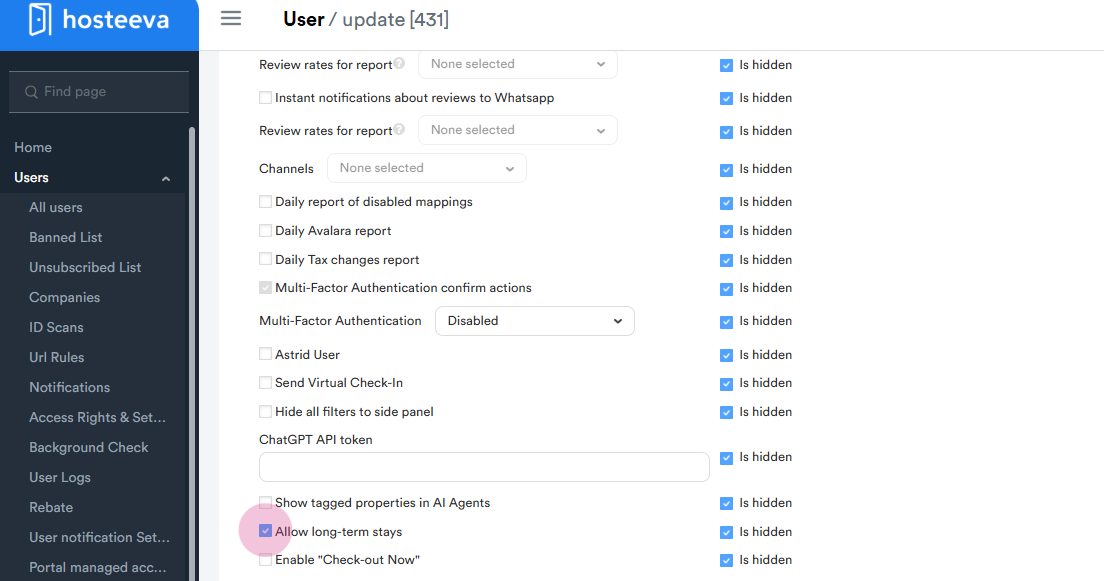
Note: If the option is already activated, you're ready to create a long-term reservation.
Step 4: Navigate back to the timeline and create a reservation for the property. Notice the Long term button. Check the relevant checkbox for long-term reservation. Scroll down to see the admin fee, cleaning fee, and refundable damage deposit in the reservation dialog.

If these fees are missing from the reservation dialog, the system will automatically recalculate and add them.
Now, let's look at how to view and manage the long-term fees applied to properties.
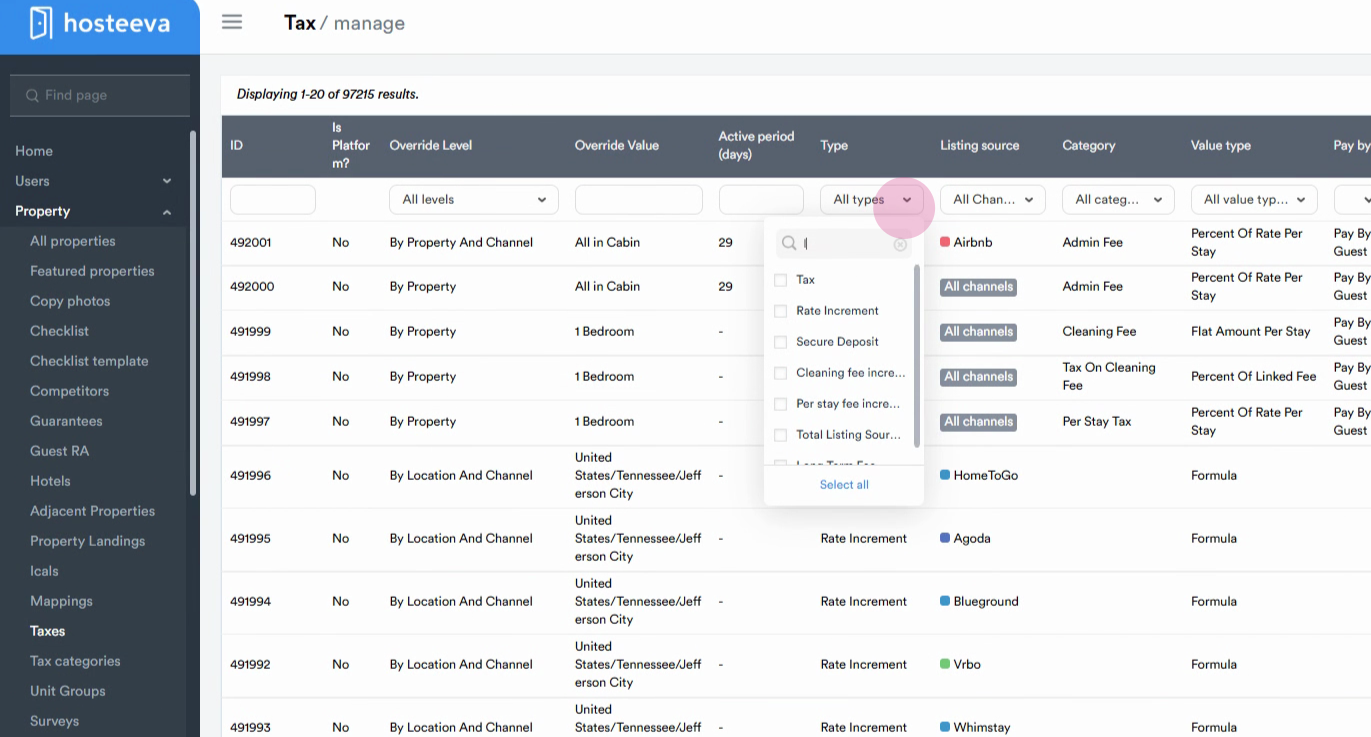
Step 5: Navigate back to the admin portal. From the property section, select Taxes. From the list of tax types, choose Long term fee.
You'll see the long-term fees applied to all properties.
Step 6: To adjust, change, or create a new fee, navigate to the operations section and click on Create.
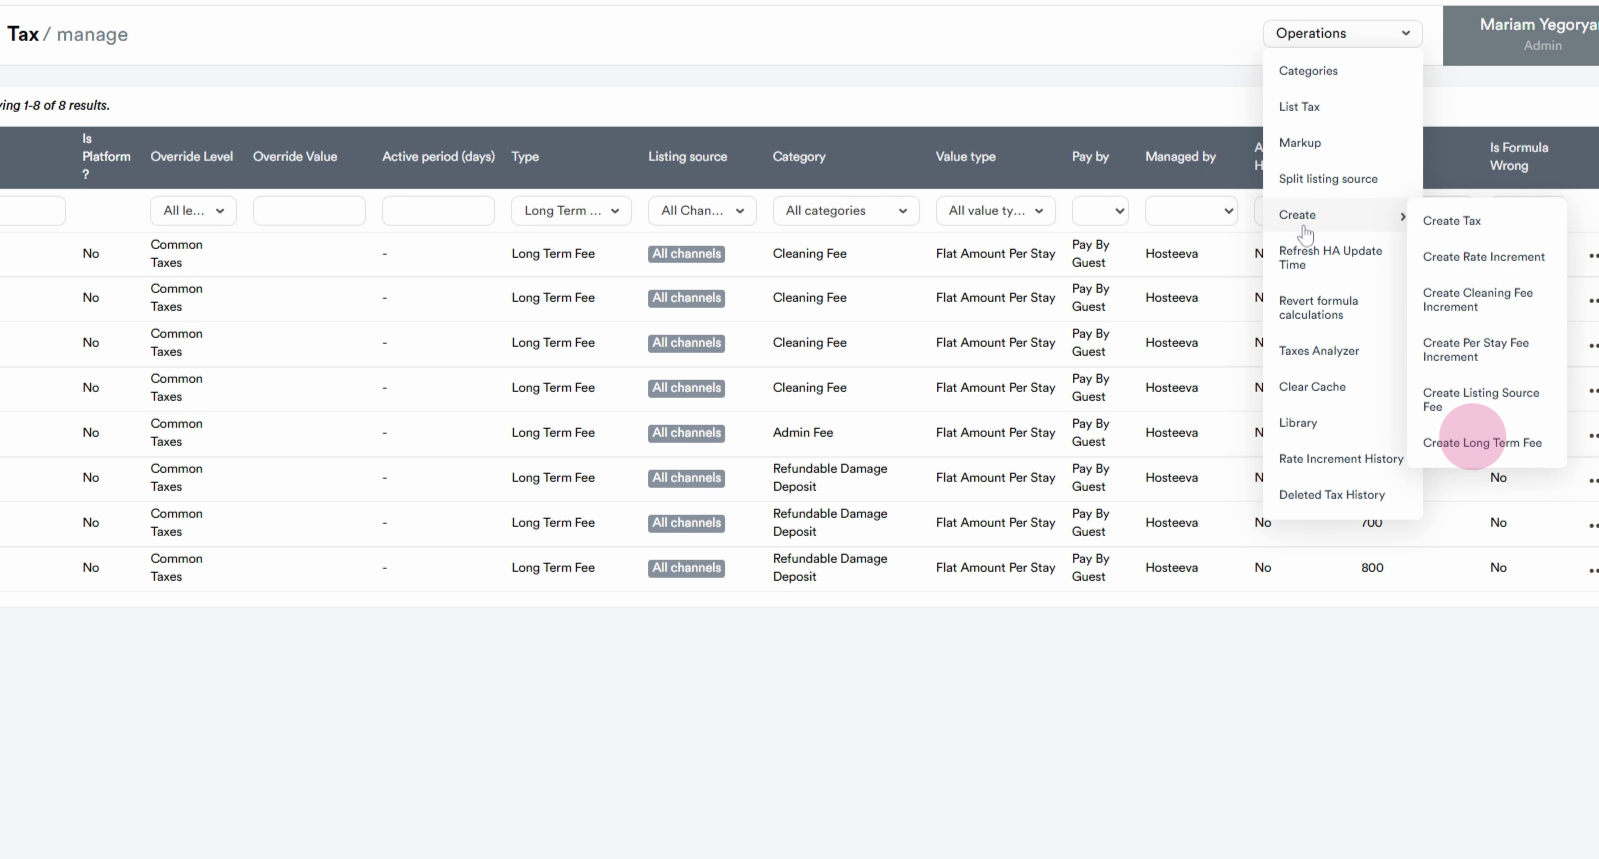
Here, you can create a new long-term fee or update an existing one.
That's it! You've now learned how to use the long-term reservation feature and manage long-term fees. Thanks for reading!