This guide explains how to manage user access rights in the Hosteeva dashboard. It provides a step-by-step walkthrough on how to assign specific rights to specific users.
Step 1: Log in to the Hosteeva dashboard and navigate to User Stop.
Step 2: Proceed to My Team.
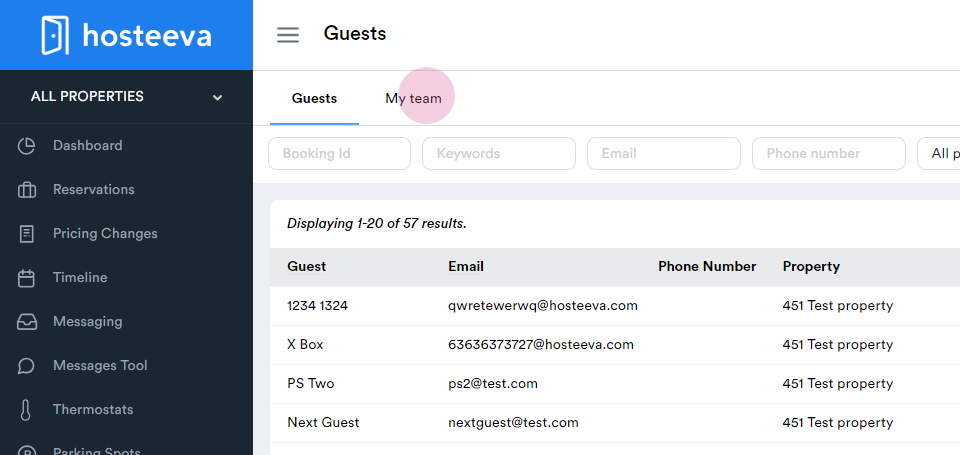
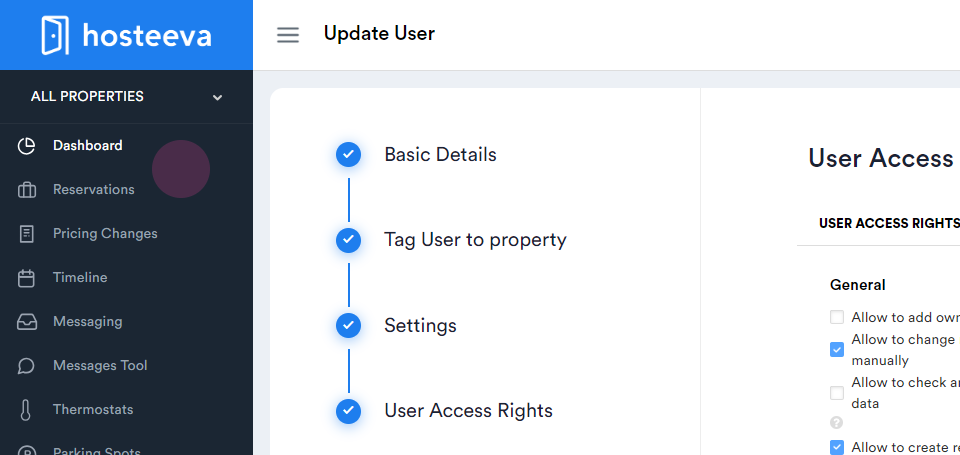
Step 3: A list of all users appears. Click on the three dots next to the user whose access rights need to be updated.
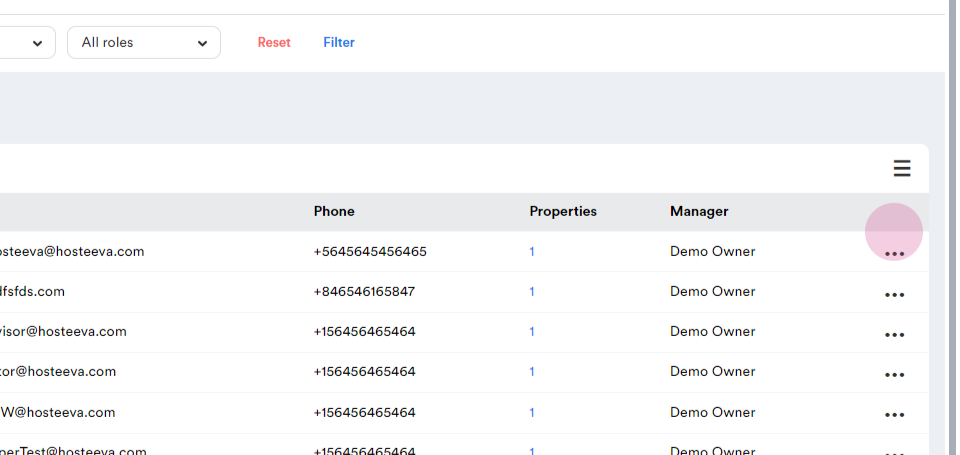
Step 4: Click on Update.

Step 5: Navigate to the User Access Rights section.
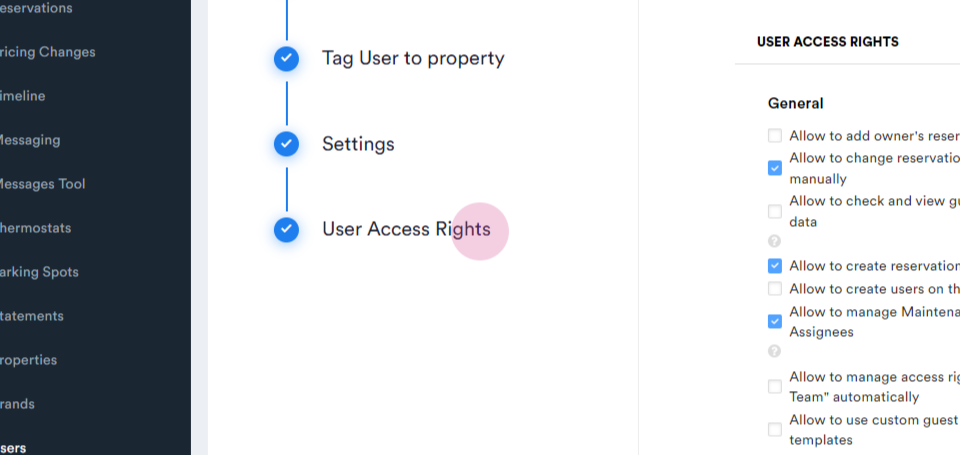
This section contains all the access rights, each of which is self-explanatory. A pop-up message provides further explanation of what each specific user access right means.

The User Access Rights section is divided into several parts:
General: This section contains general features offered.
AI Features: If AI is activated in the contract, enable or disable specific AI features for users here.
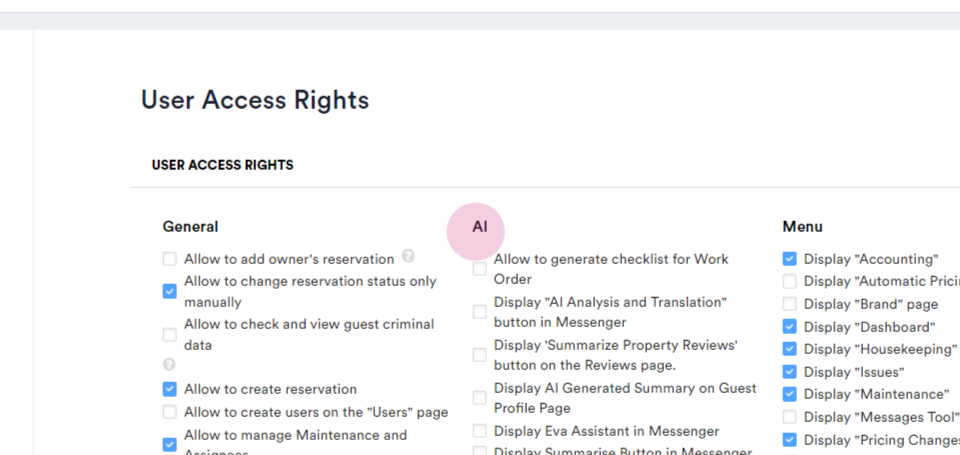
Menu: This section corresponds to the left part of the dashboard. Add or remove features from this menu dashboard for users.
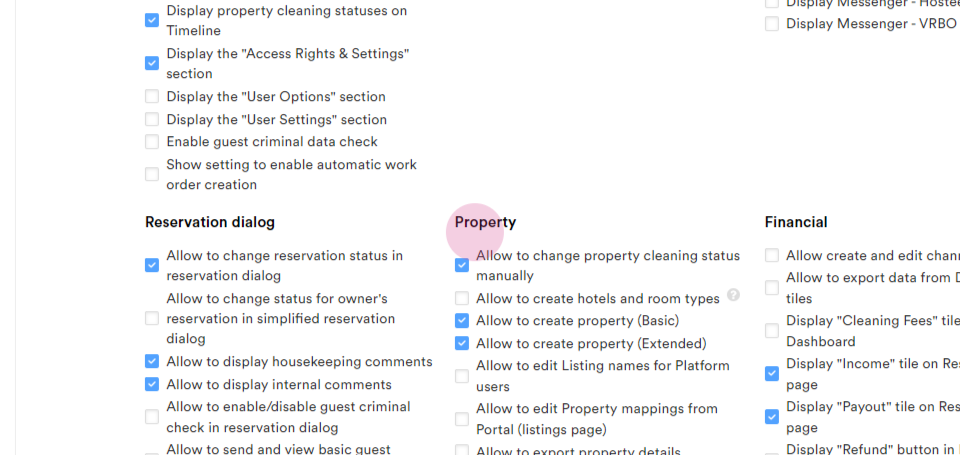
Reservation Dialogue: Add or remove features for users from the reservation dialogue.
Property: Manage user access and updates to specific parts of the property settings here.
Financial: All financial features are listed here. Add or remove financial settings from this tab.
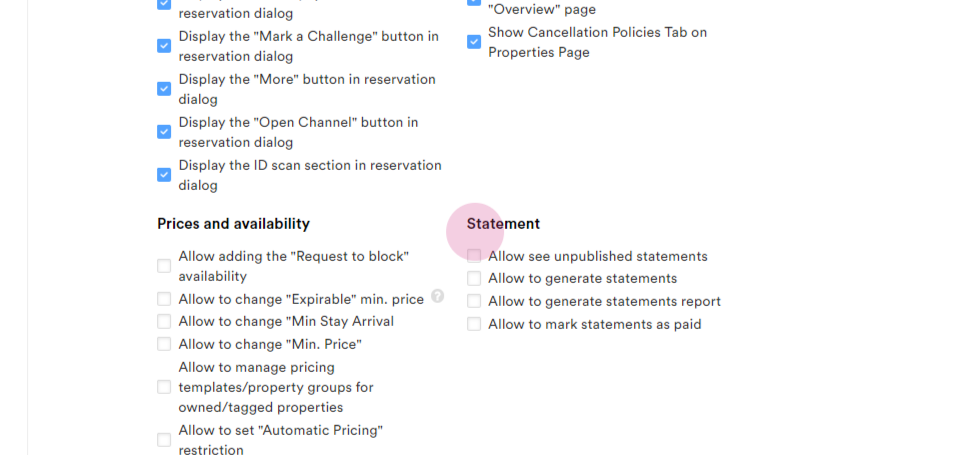
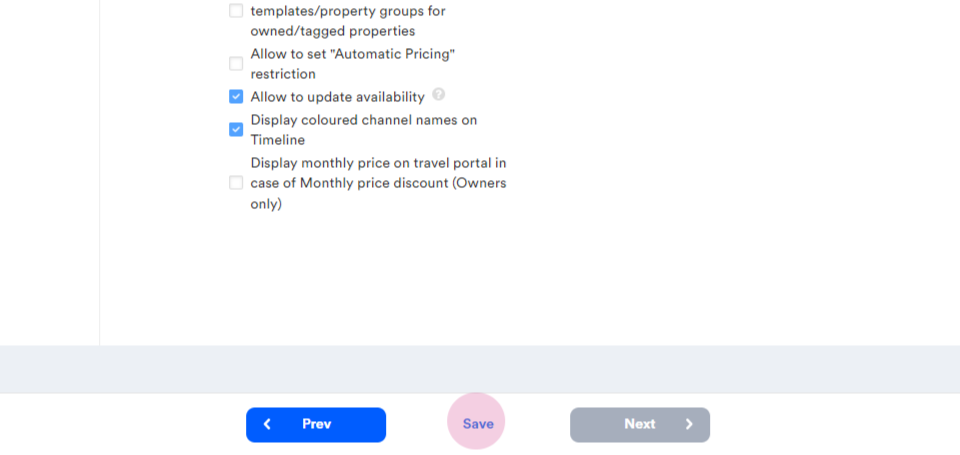
Prices and Availability: Manage rates, availability, restrictions, and more in this section.
Statements: Assign specific access rights regarding statements to users.
Step 6: After making all the changes, click on Save.
The user's access rights are now updated. If the login and password are available, log in to the account to verify that all changes have been correctly made.