In this article, you'll learn how to navigate and utilize the Reservations tab effectively to manage and refine your reservation searches.
Step 1: Begin by navigating to the Reservations tab. Here, you can find the primary filter options available for refining your search when looking for specific reservations.
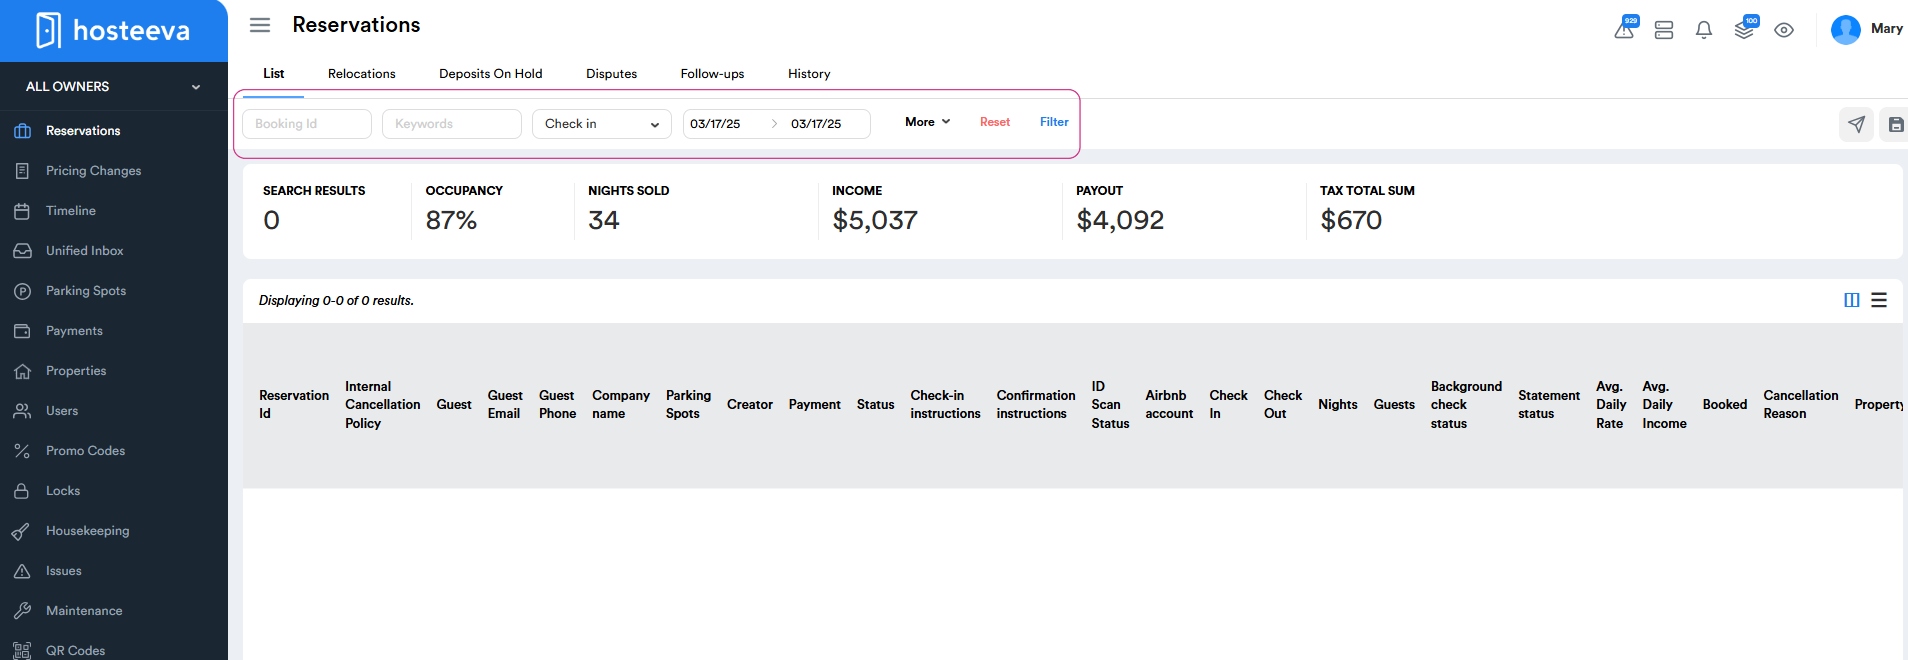
Step 2: Use the booking ID or keywords like the guest name or property name to find a specific reservation. You can easily find reservations by selecting from a range of statuses available in the dropdown menus, such as check-in, check-out, booked, and even canceled. Specify a time frame or specific dates to narrow down your search. After selecting the desired filters, press the filter button.
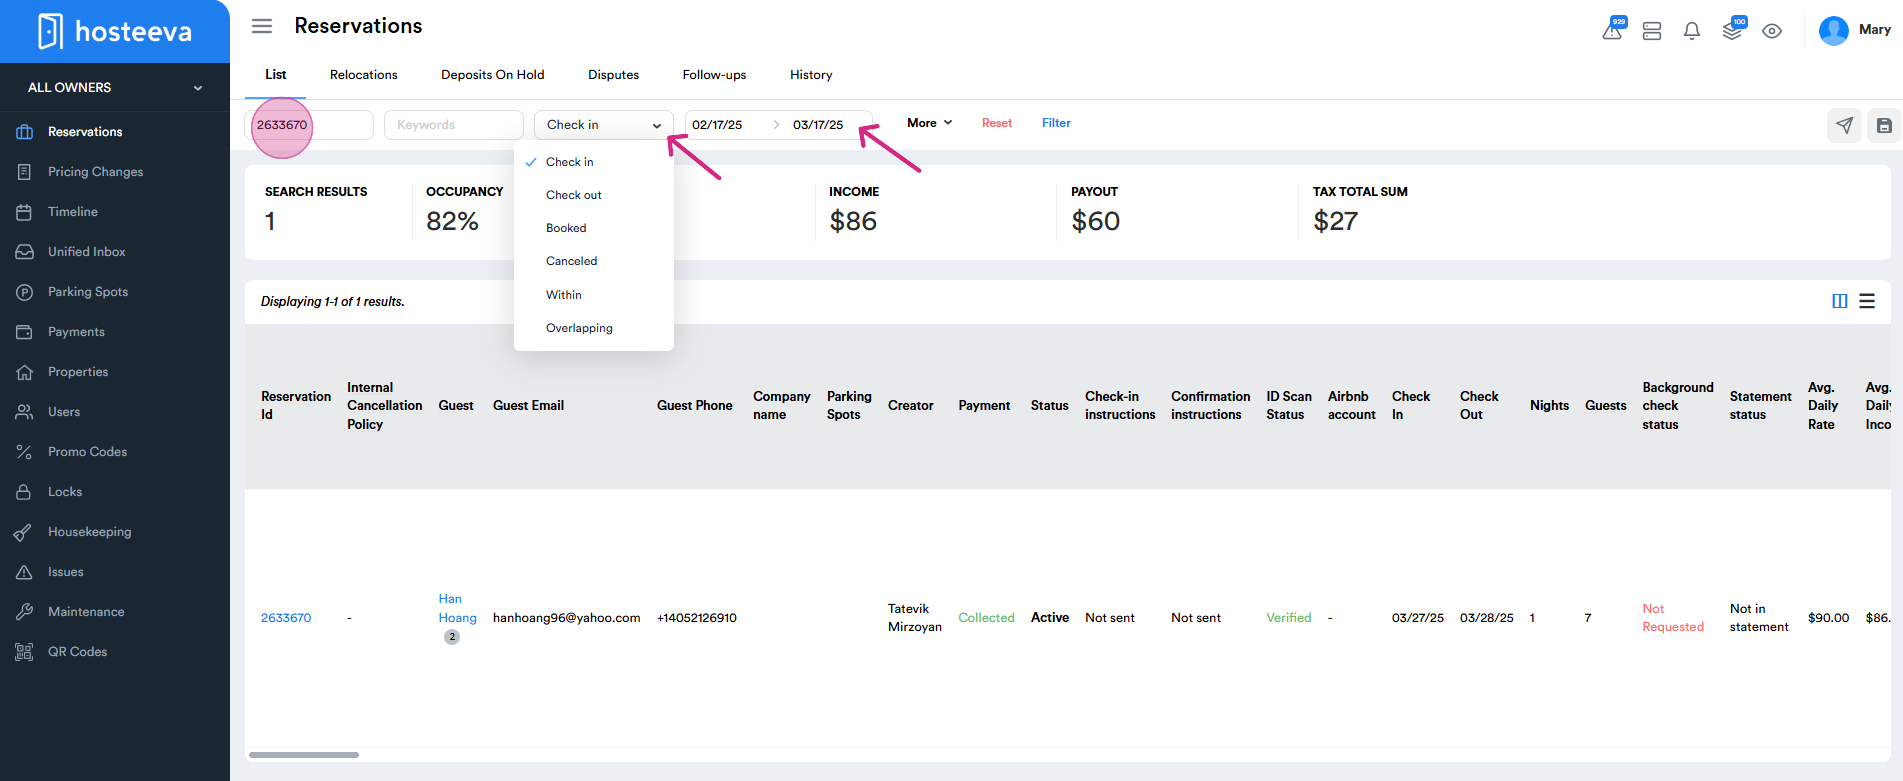
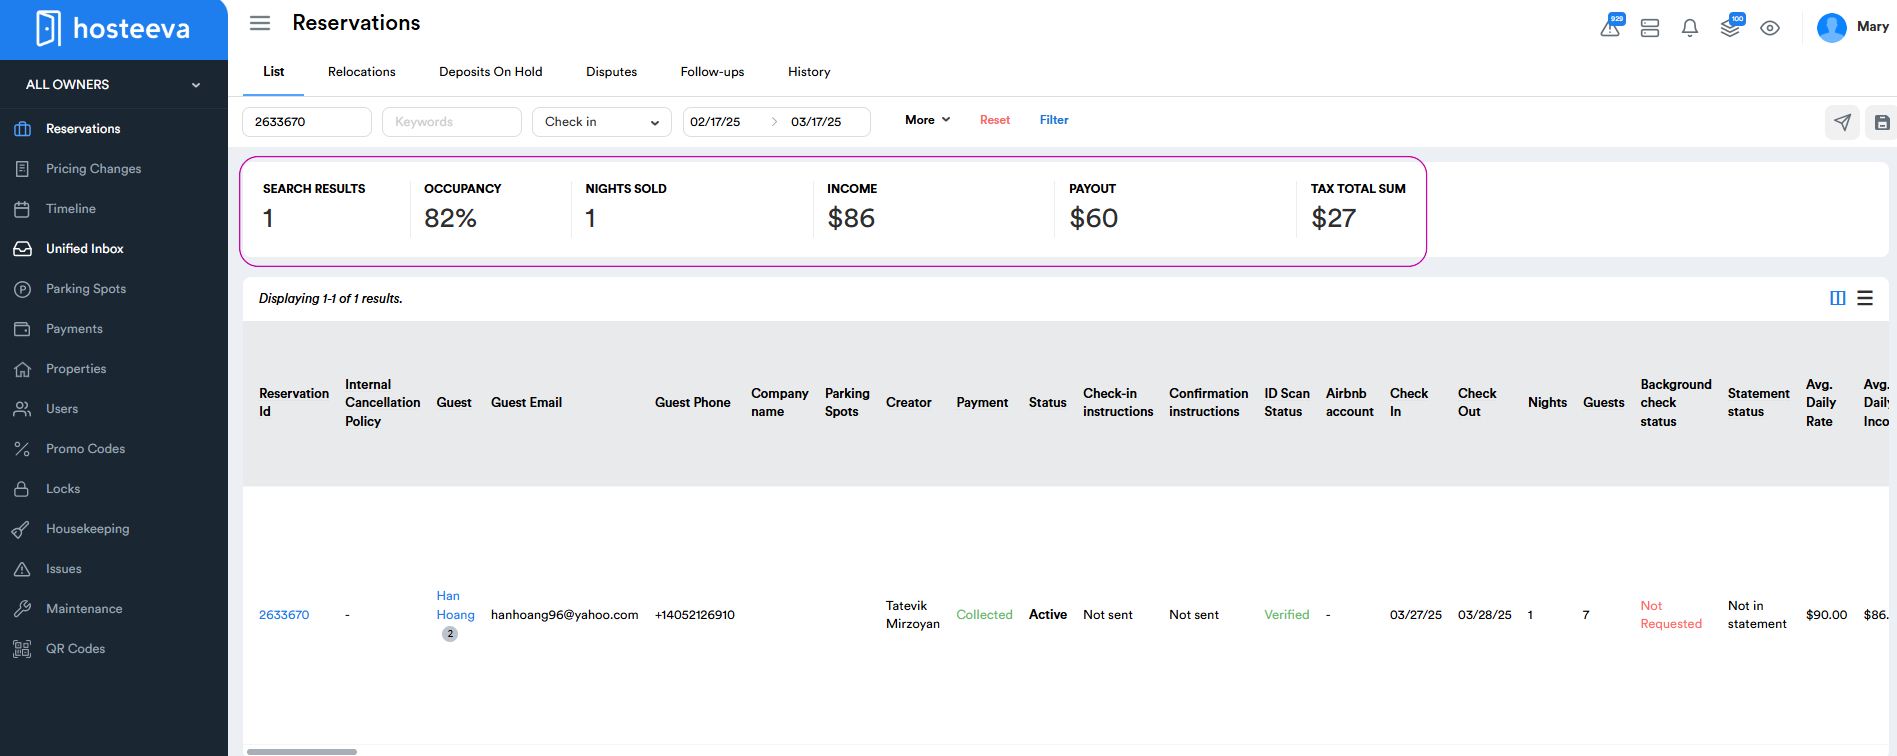
Step 3: View the results of your search. The search results provide detailed information like the number of nights occupied during a specific period, the income earned, and the expected payout.
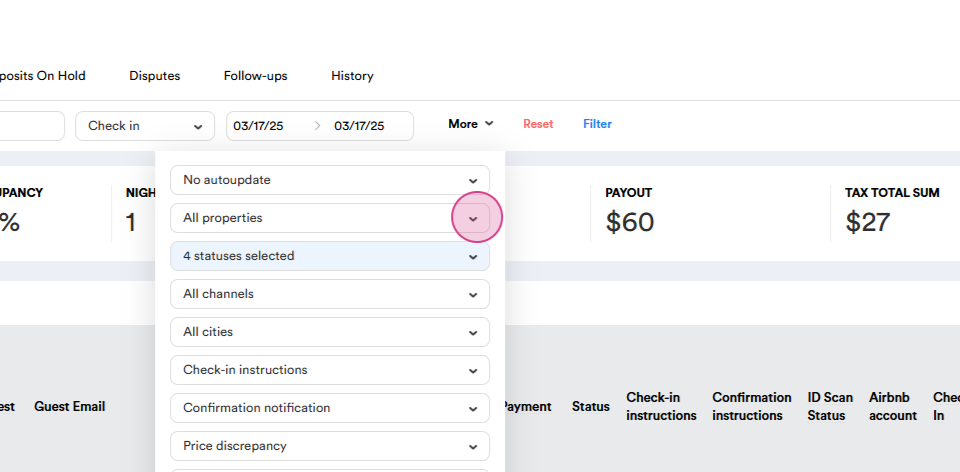
Step 4: Use the 'More' filter option for a more specific search. For instance, you can find reservations by selecting various options from the 'More' filter, such as filtering by all properties, statuses, sources, cities, and more.
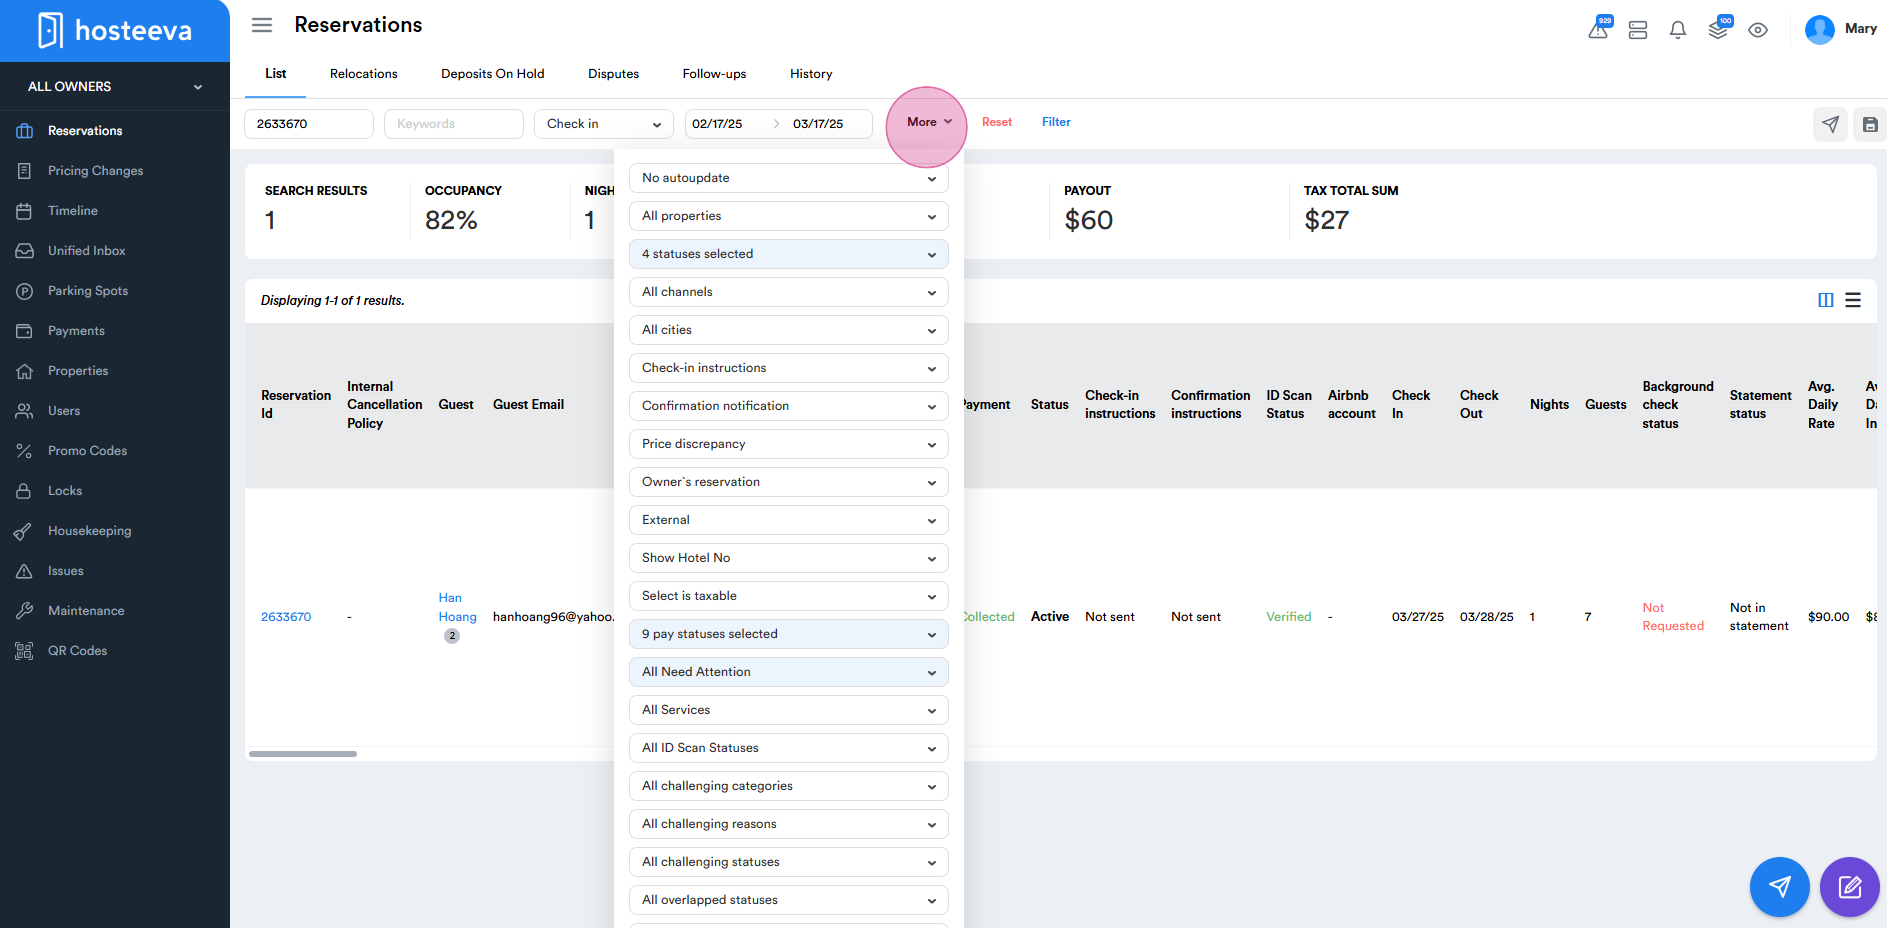
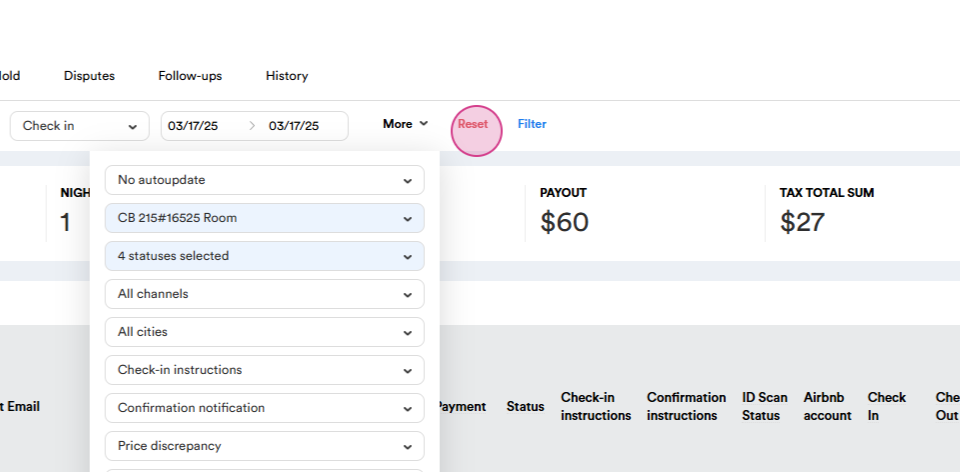
Step 5: To view reservations for specific locations, for example, New Orleans and property names, for instance, CB (California building) choose the relevant property names, city, reservation status (check-in, check-out), and time frame. Once you have applied your selected filters and applied filter button, you will receive the corresponding reservations for those properties.
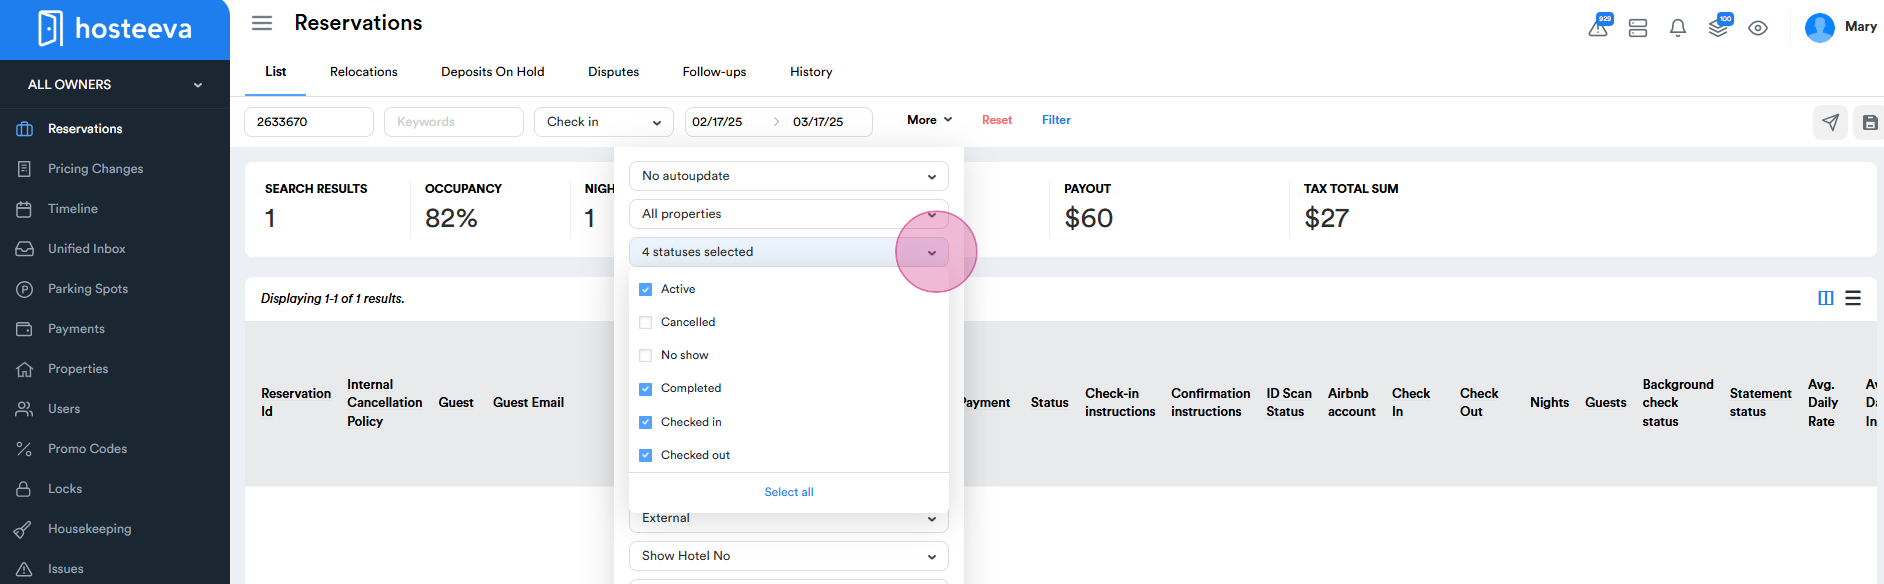
Step 6: You can also find reservations based on their statuses, such as active, canceled, no show, completed, checked in, and checked out. Find reservations received from different channels or websites. You can choose reservations received from only Airbnb or Booking, or both.
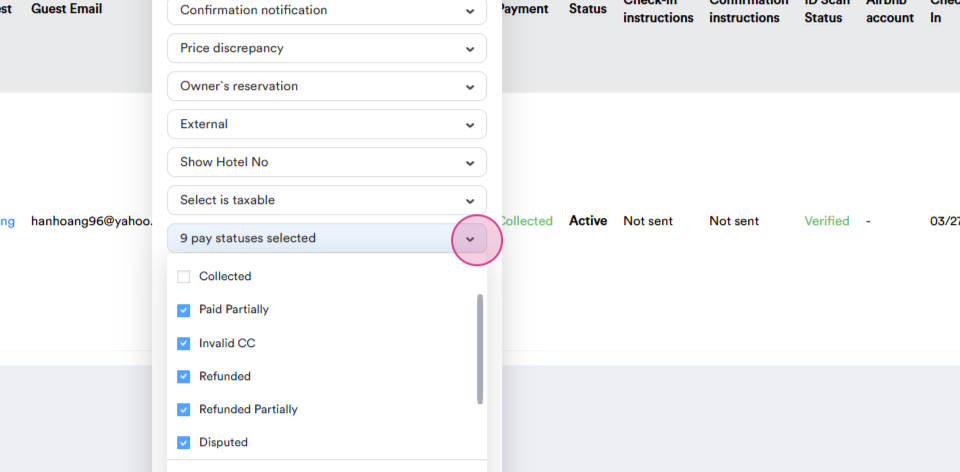
Step 7: Find reservations based on their payment statuses. If you need to follow up on pending or partially paid statuses, simply choose those options. Filter by payment methods. For example, to find reservations paid with Stripe, select the corresponding checkbox.
Step 8: Use the Reset button to clear all filters and start a new search.
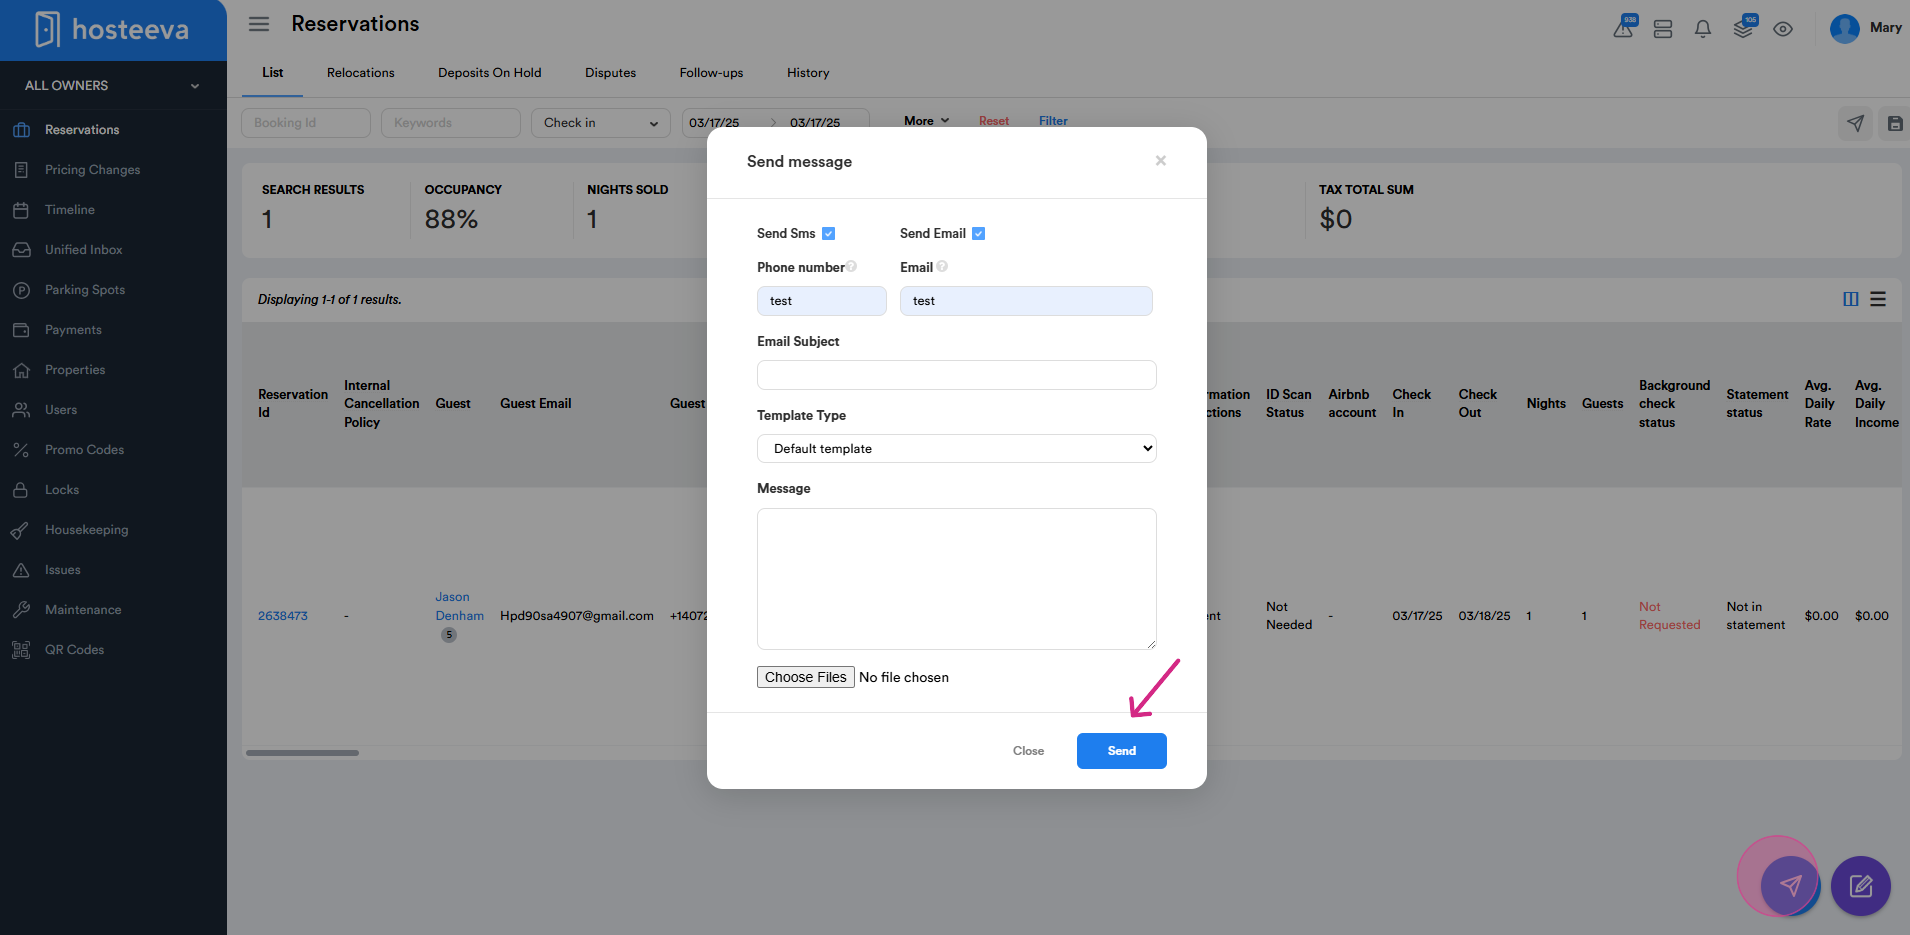
Step 9: Use the Messenger button to send messages or emails to guests. You can use specific templates, your own tags, and attach files or pictures if needed.
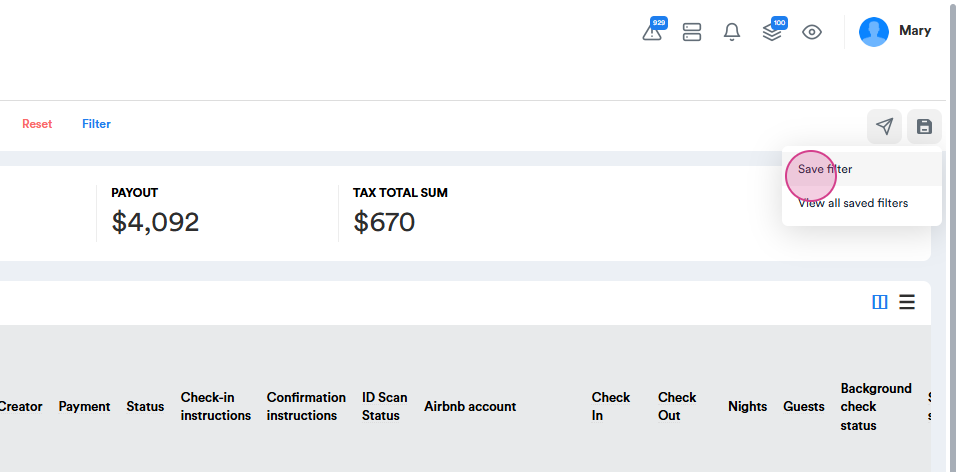
Step 10: Use the Filter option to create and save filters for daily use.
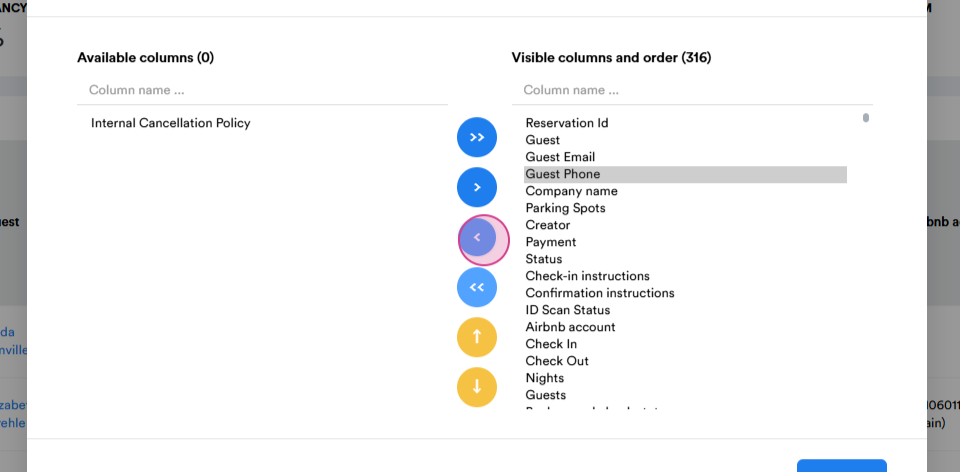
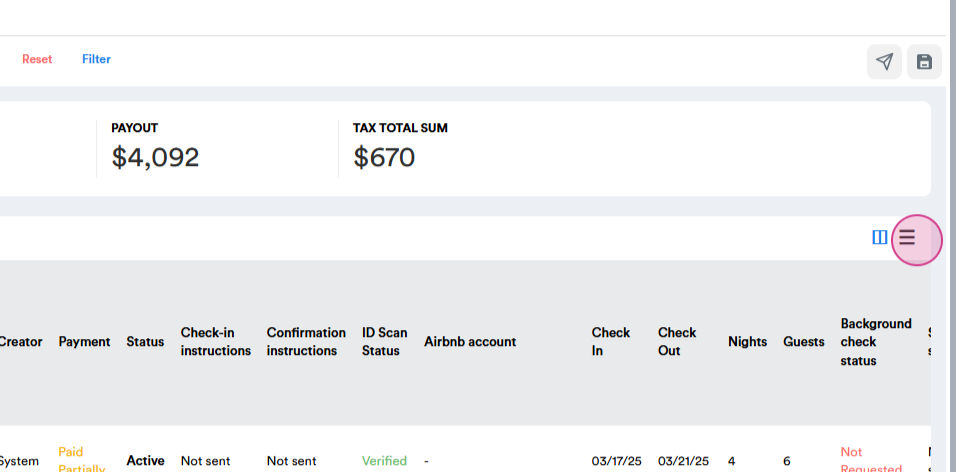
Step 11: Modify the page to add or reduce tabs or columns as needed. Save your modifications for future convenience.
Step 12: Export the data in CSV or XLSX format for future analysis.
Thank you for following along with this tutorial.