Seam Lock Synchronization Process
-
Create a new email for the SEAM account (to get it, contact Sergii).
-
Follow the link and Sign up using the created email: https://console.seam.co/signin.
-
Create a new workspace. (No need to enable Sandbox mode)

4. Add the new device.


5. Select the required device and complete the authorization process.

6. Create a API keys

7. Be sure to save the API key

8. After that you should add webhooks
www.hosteeva.com/seam/webhook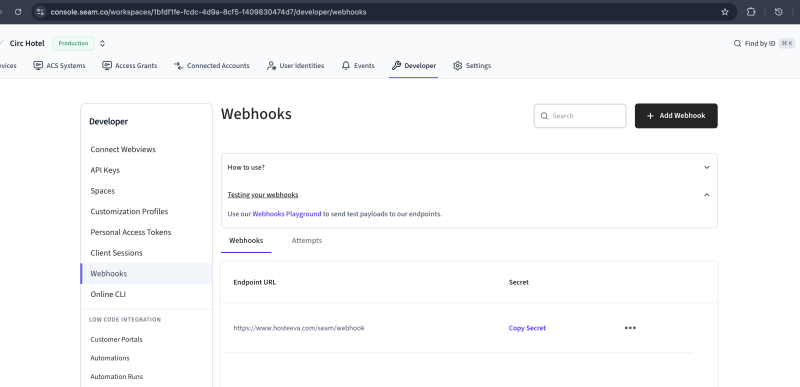
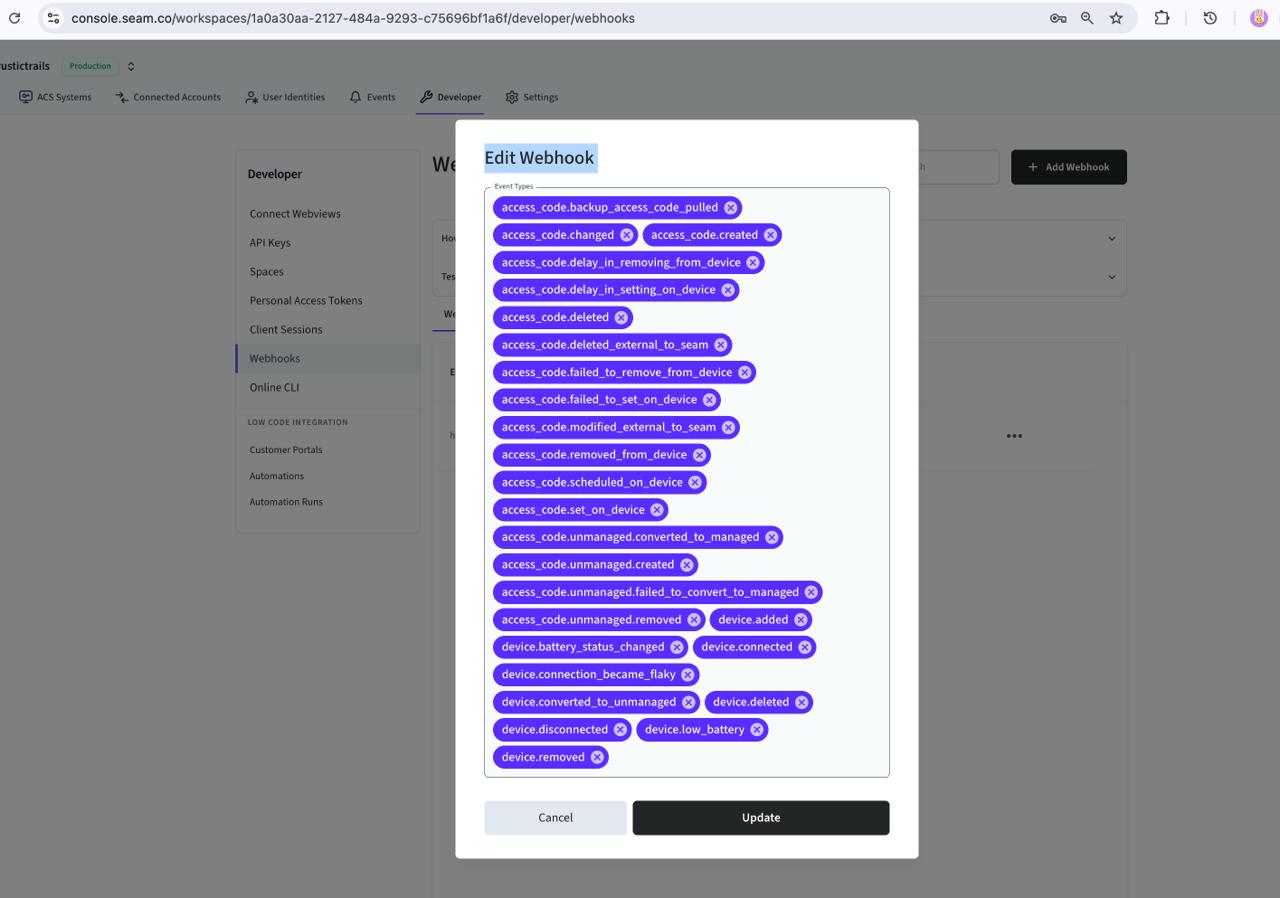
Supported webhook actions
Access code
- access_code.created
- access_code.changed
- access_code.set_on_device
- access_code.scheduled_on_device
- access_code.removed_from_device
- access_code.deleted
- access_code.failed_to_set_on_device
- access_code.delay_in_setting_on_device
Device
-
- device.deleted
- device.removed
- device.disconnected
- device.connected
- device.battery_status_changed
9. Once everything is done, go to the Hosteeva side on the page: https://www.hosteeva.com/seam/account/list.

10. Enter the name and token (the one that was created on the SEAM side).
11. Minutes Before Check-In / Minutes After Check-Out – this determines how early the SEAM code will become active and how long after check-out it will remain active.

12. Sync the device list.

13. When creating the mapping, select one device, but during updates, you can select multiple devices.

14. P.S. If you add a new workspace to the account, you need to repeat steps 3 to 13 again. A workspace in Seam is equivalent to an account in Hosteeva.