This article will guide you through the process of creating a Discount on Expedia.com
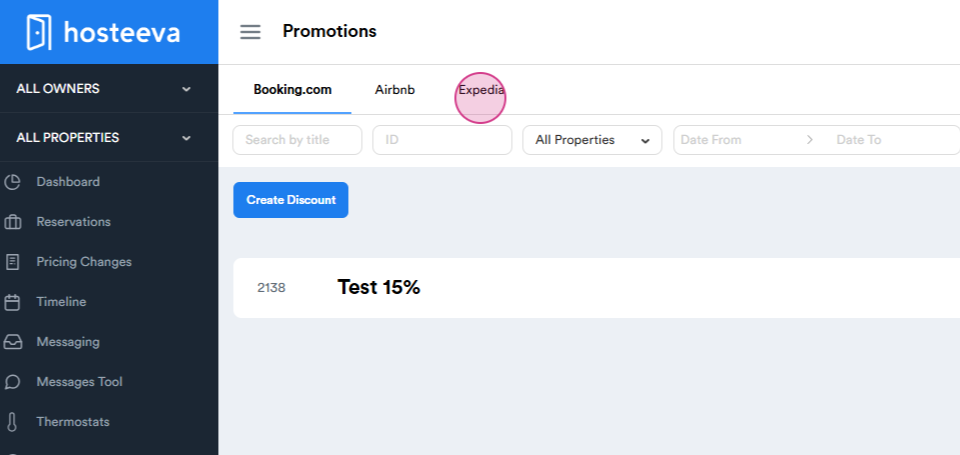
Step 1: Begin by navigating to the promotions tab on Expedia.

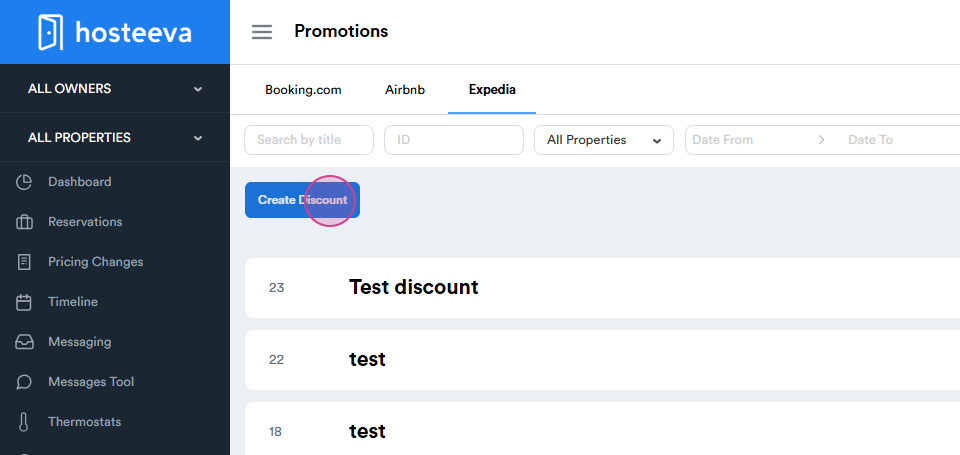
Step 2: Proceed to create a discount.
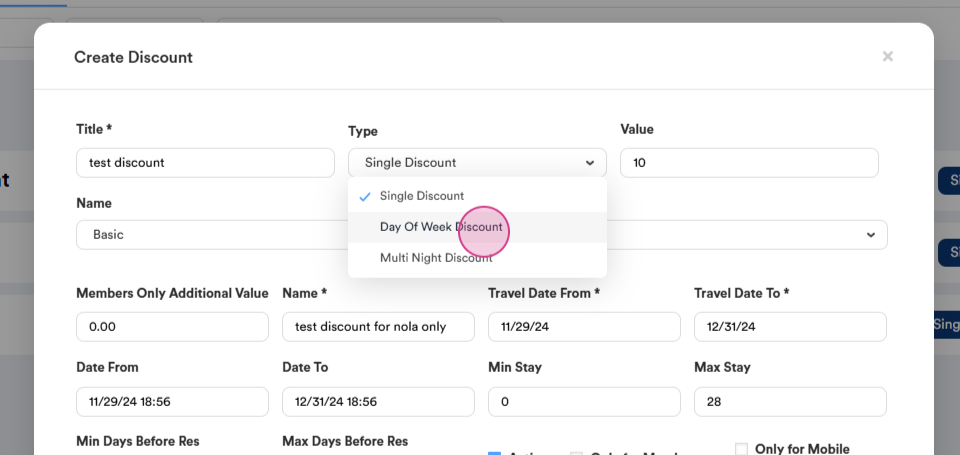
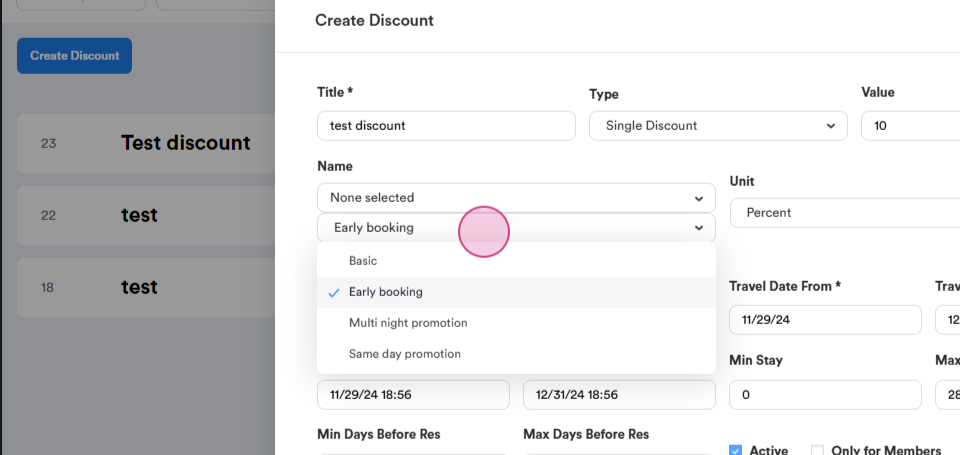
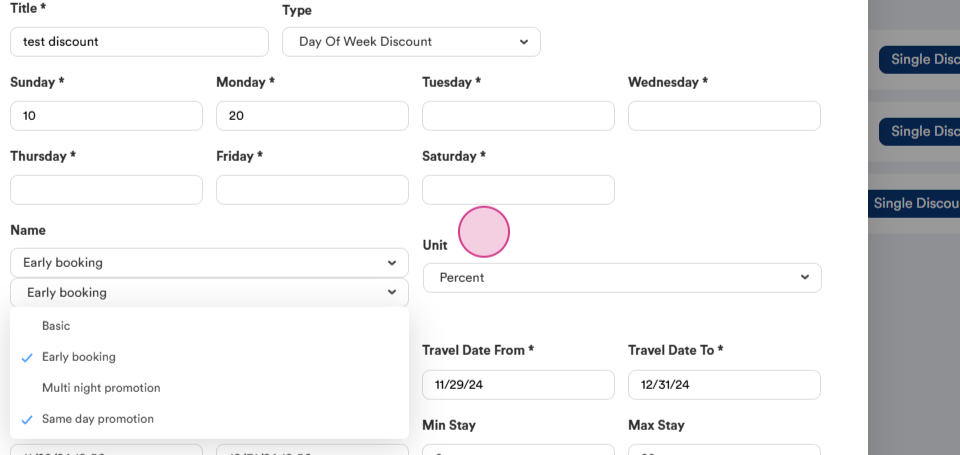
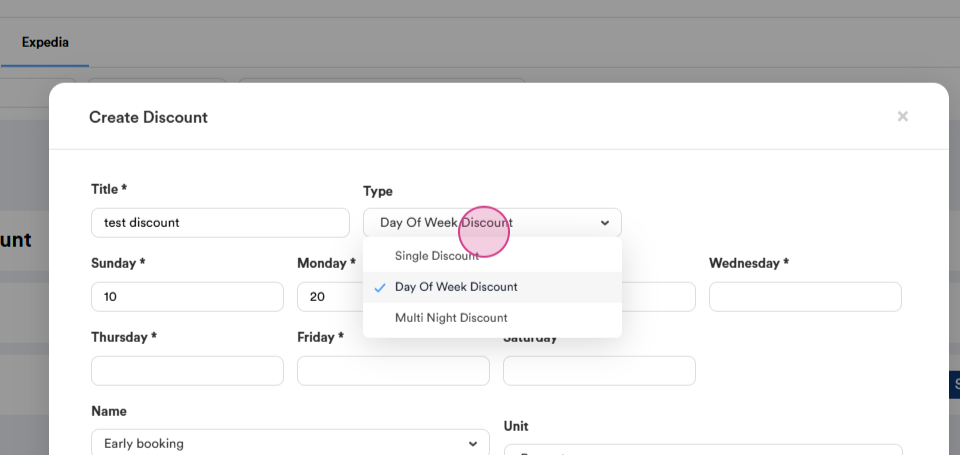
Step 3: Start with the title. For this guide, we're setting up a single discount.
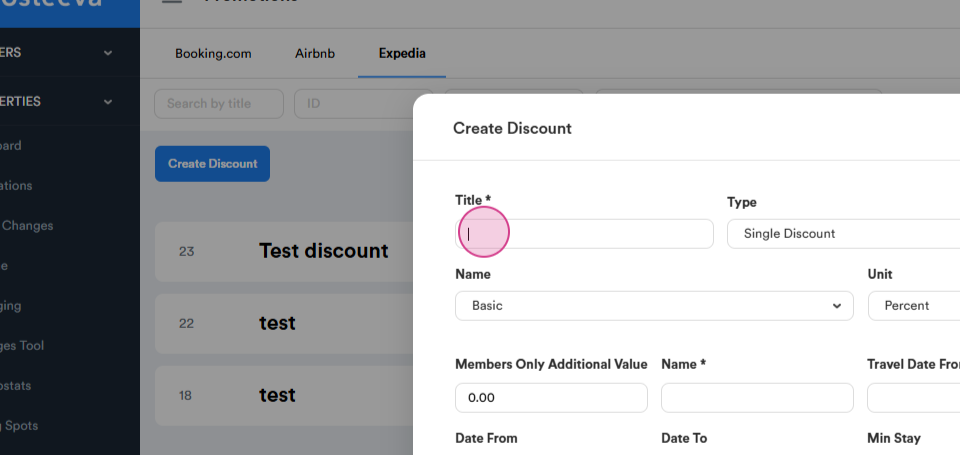
Step 4: This discount will be a base discount applicable for all nights of stay.
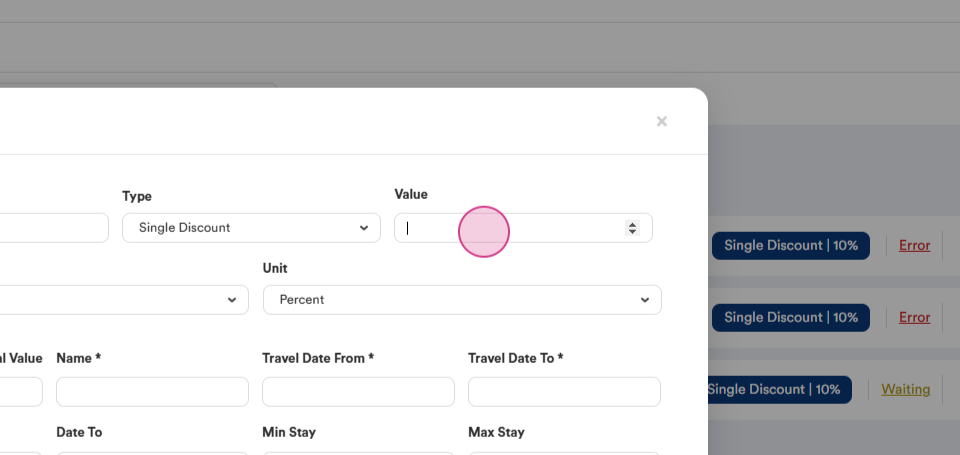
Step 5: Set up the volume and choose the type of discount. We'll start with a basic discount. This type of discount is flexible and unrestricted, defining a set of qualification criteria such as booking dates, stay dates, length of stay, etc.
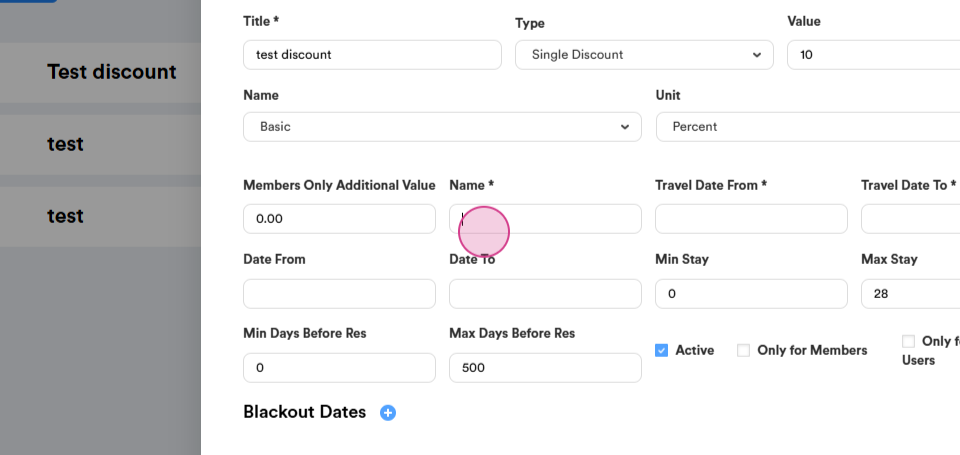
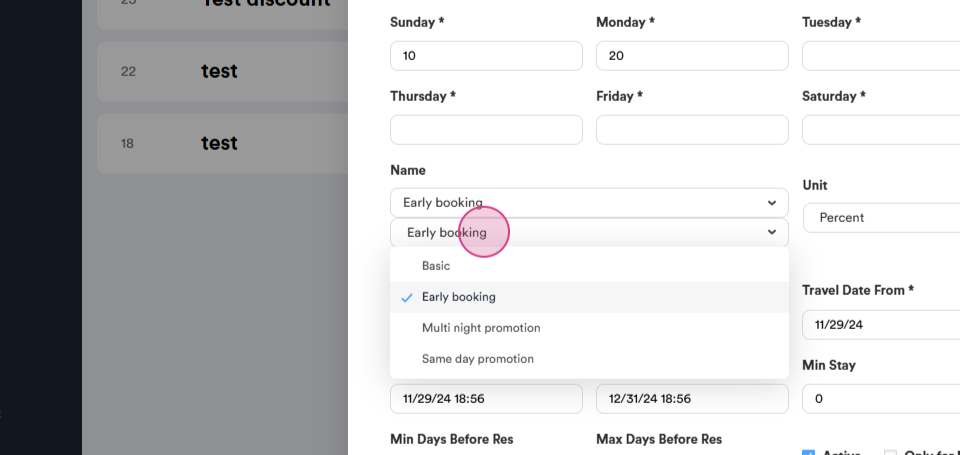
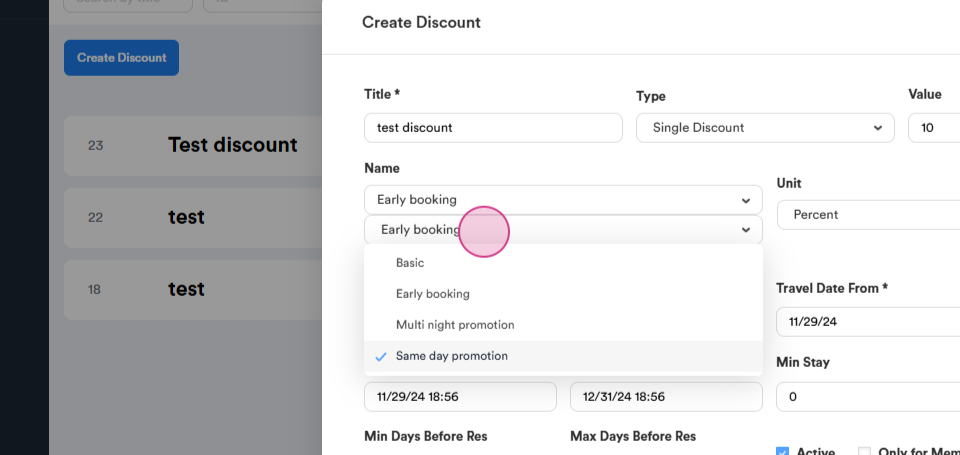
Step 6: Next, set up a name for your discount.
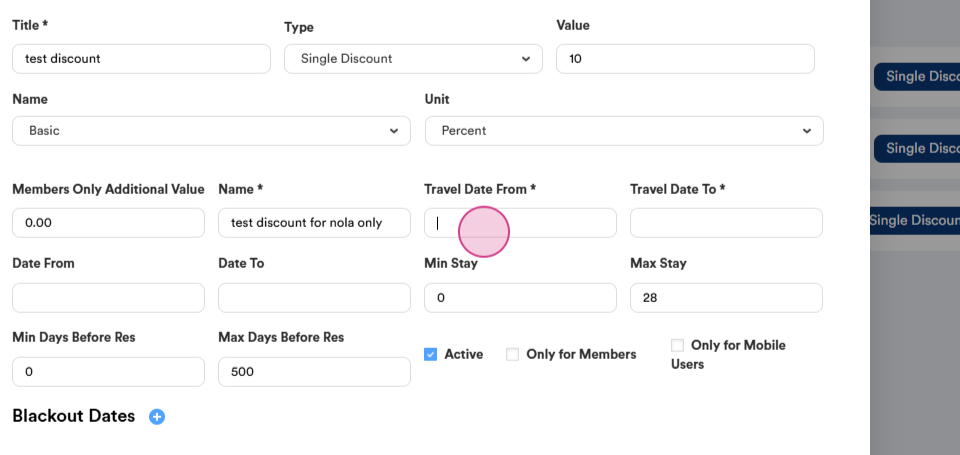
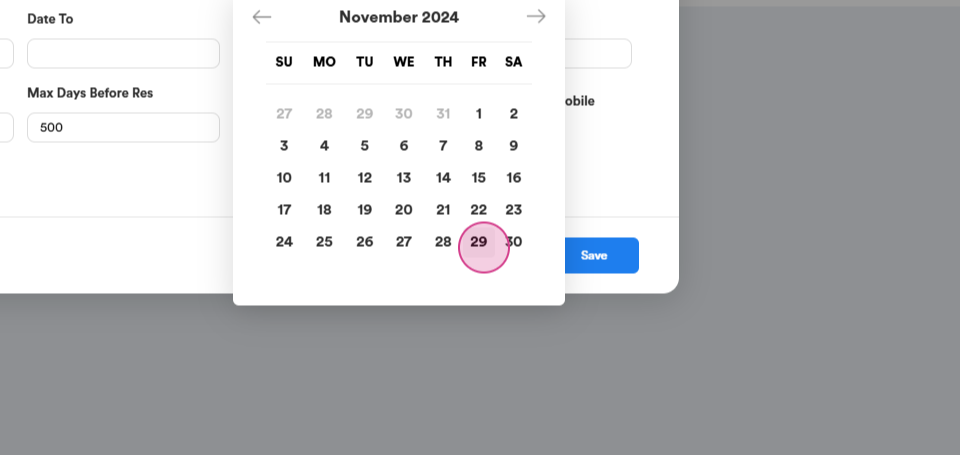
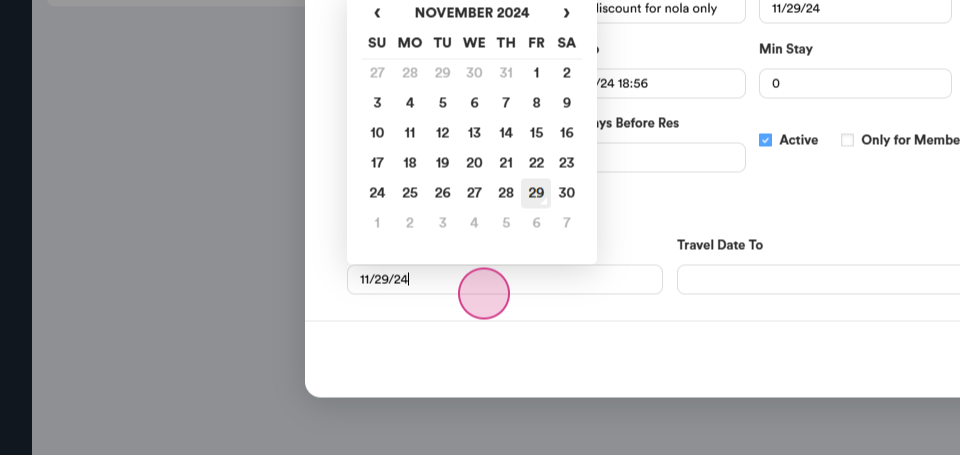
Step 7: Set up the travel dates and the active date for the discount.
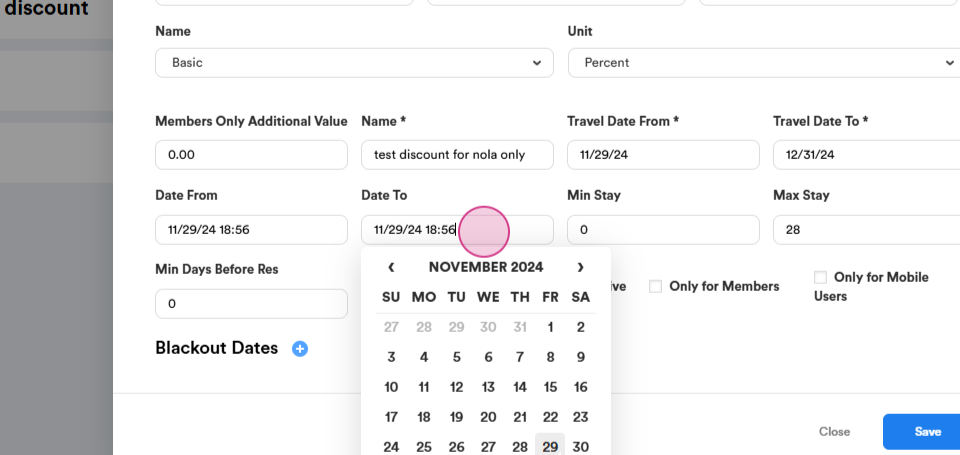
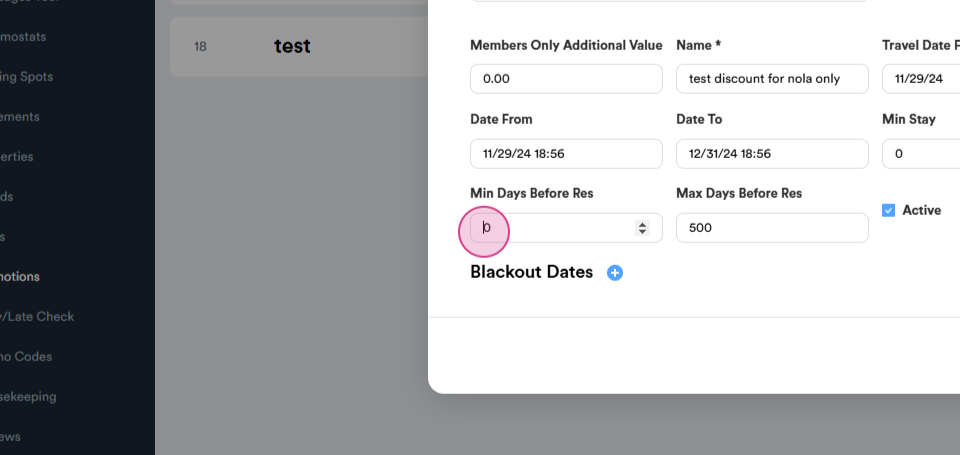
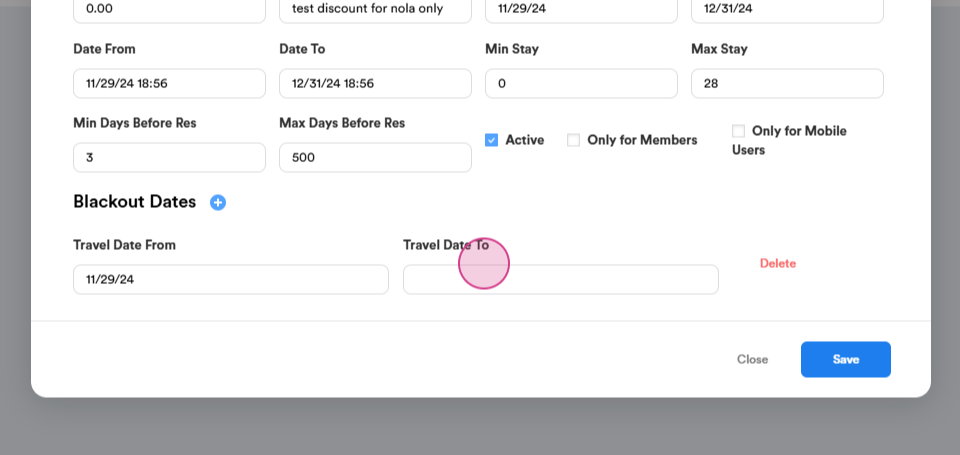
Step 8: Define the minimum and maximum stays for this discount. You're also able to set up the minimum and maximum days before reservation. If you wish, you can limit the discount to certain user groups like phone members and mobile app users.

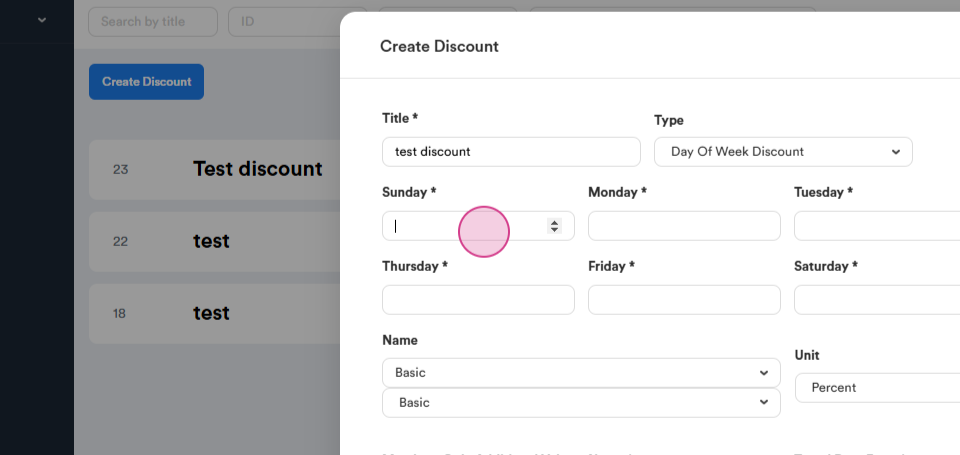
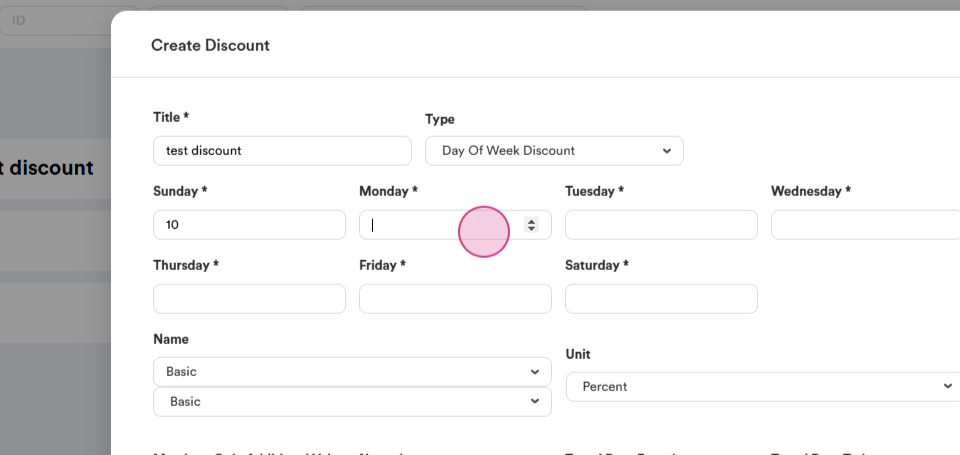
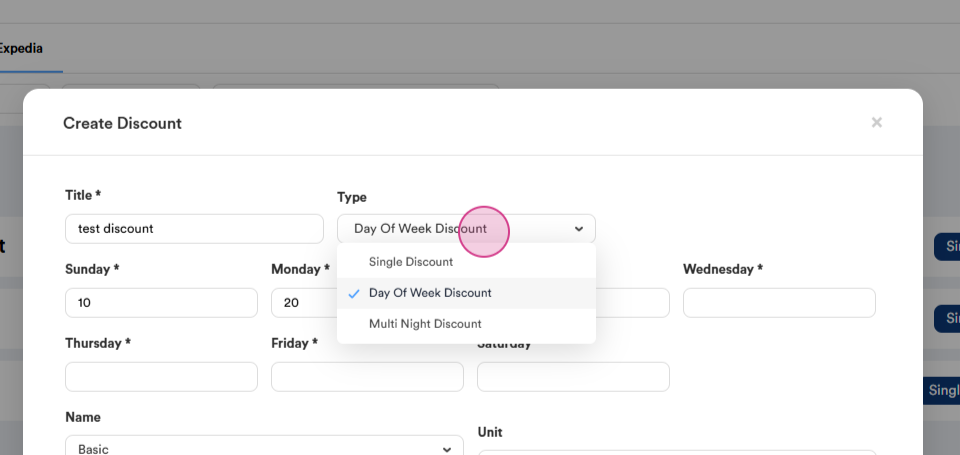
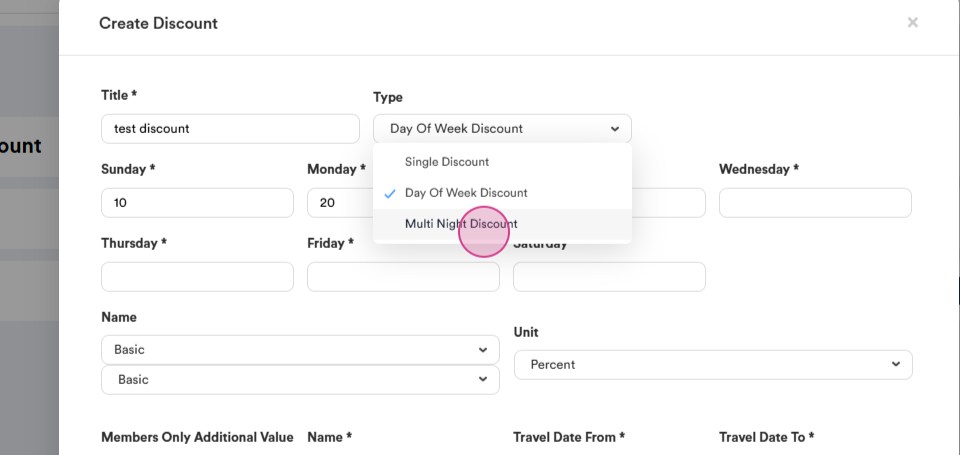
Step 9: Set up a day of the week discount. This means the discount is applicable for specific days of the week within the travel window.
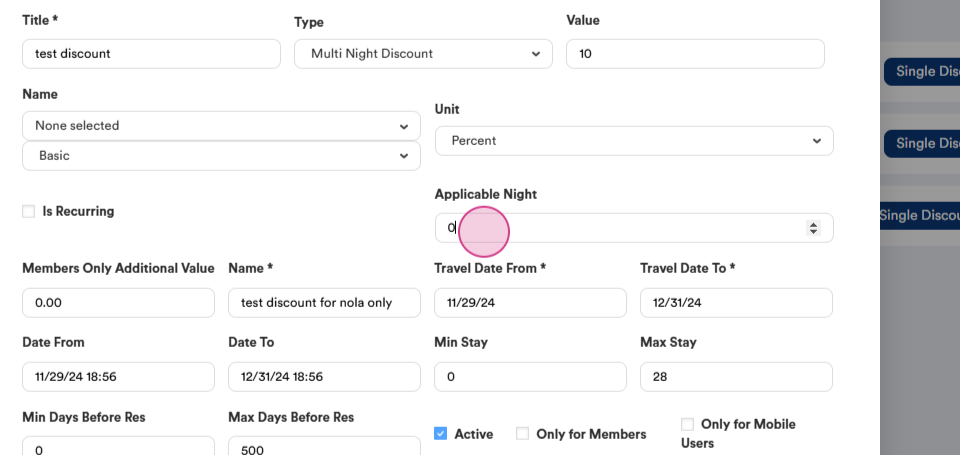
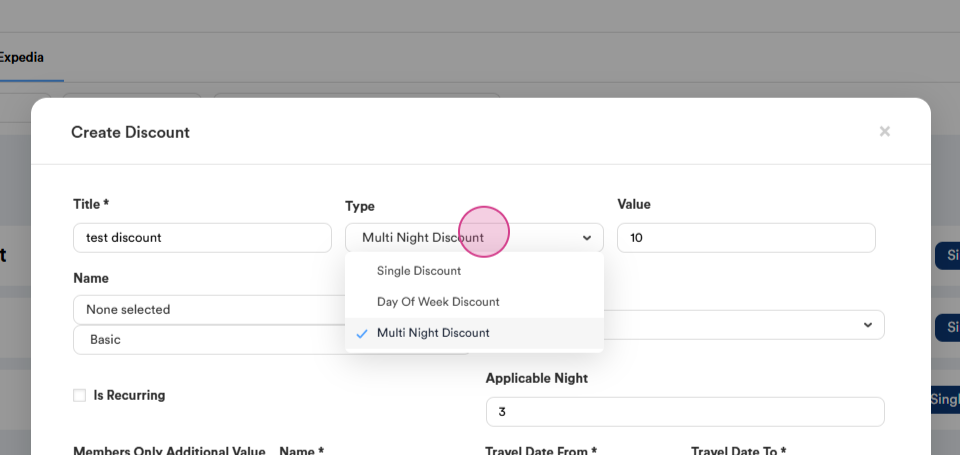
Step 10: Set up a multi-night discount. This typically offers a discount for stays longer than a specific number of nights. If you choose this discount, it means that travelers who stay longer than, for example, three nights, can get the third night at a 30% discount.
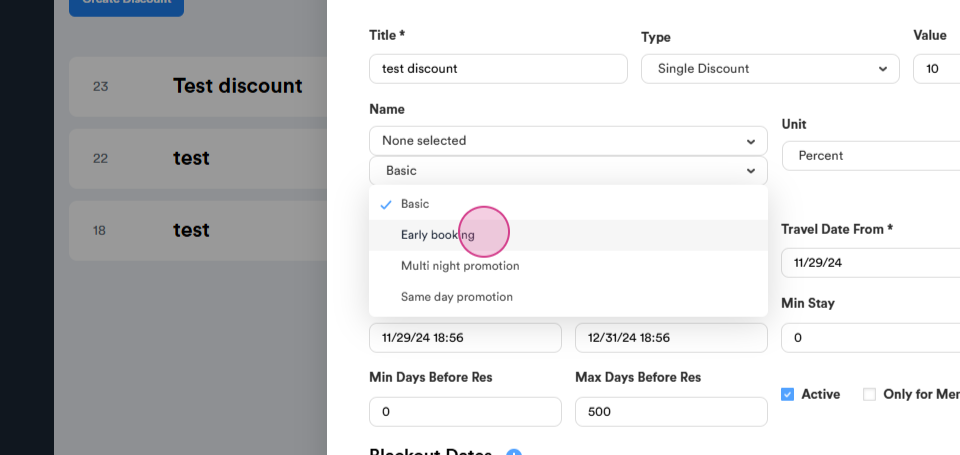
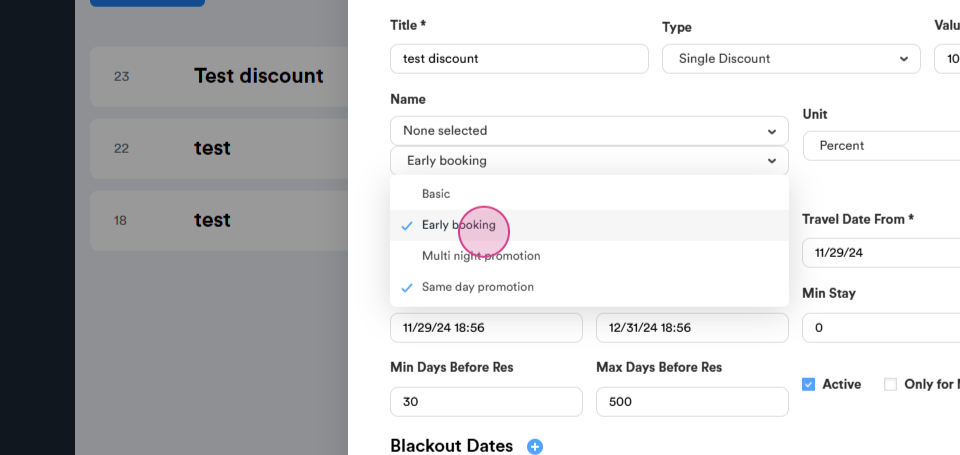
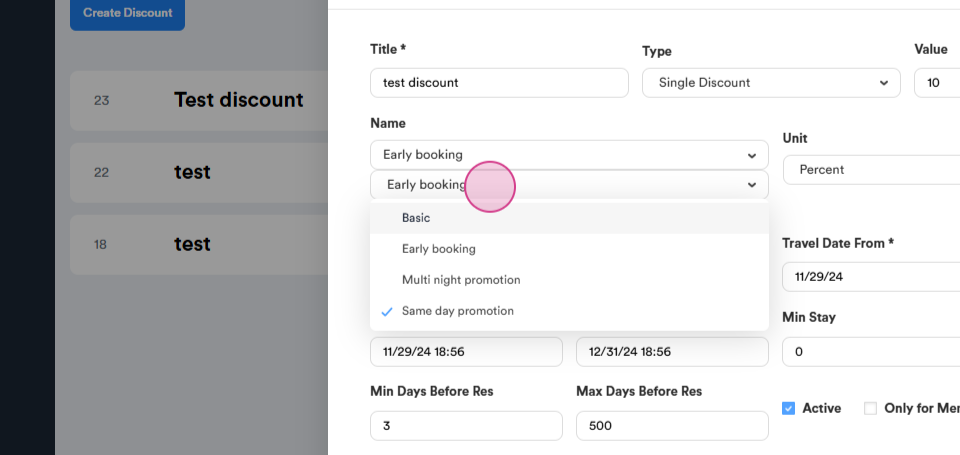
Step 11: Set up a basic discount and an early booking discount. For the latter, you'll need to set up, for example, a 30-night advance booking. Travelers who book in advance will get the discount.
Step 12: Set up a same-day discount.
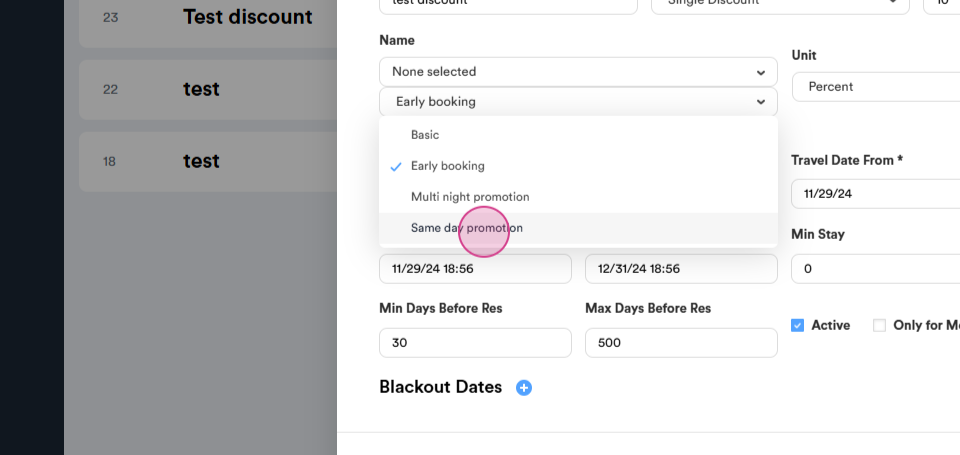
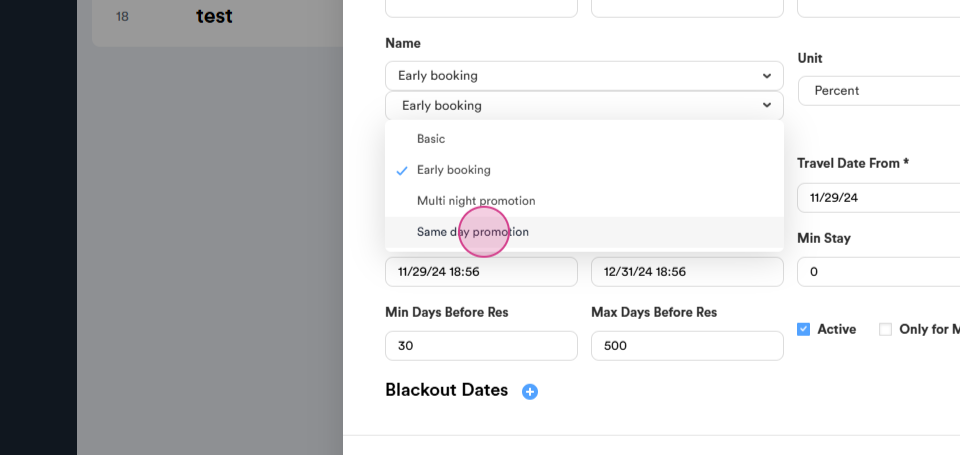
Step 13: Set up the minimum days before reservation. For example, it can be three or one.
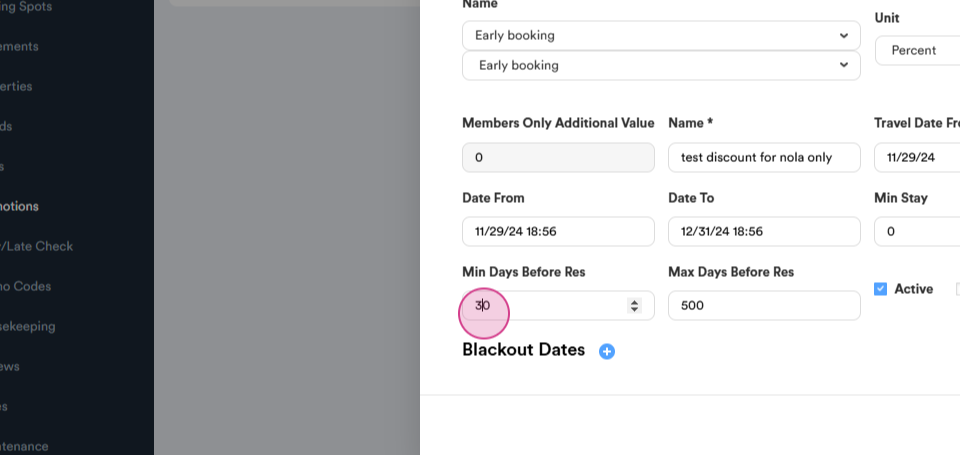
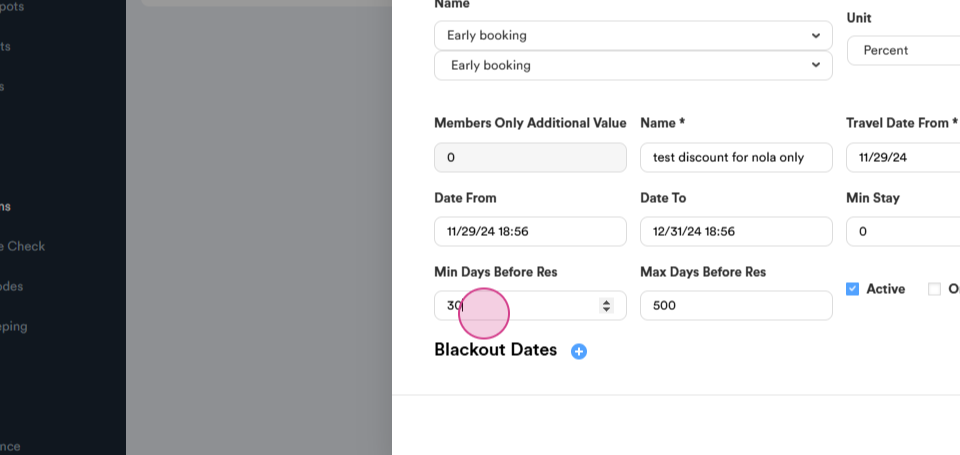
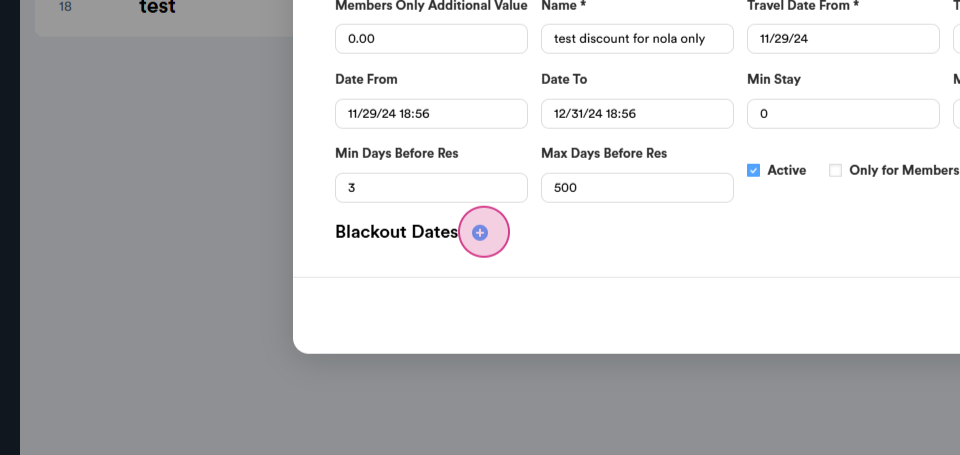
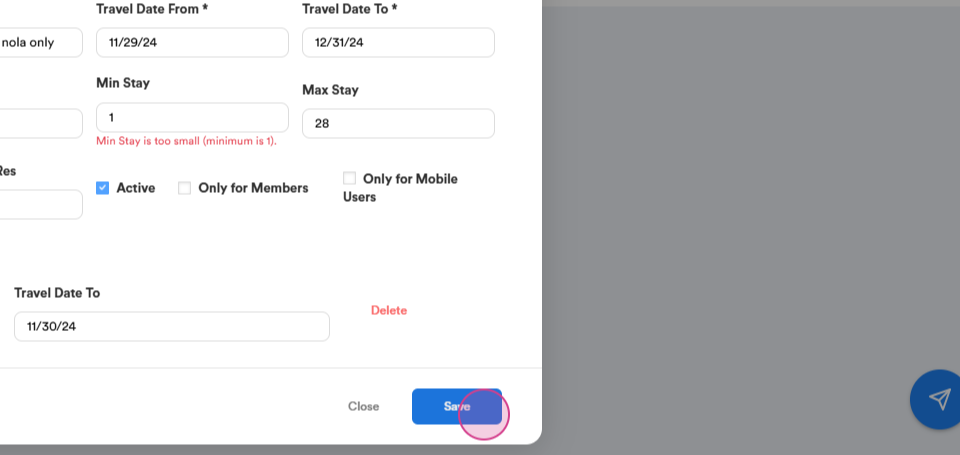
Step 14: Save the discount once you've chosen the necessary discount and set up all the requirements. You also have the option to block out specific dates.
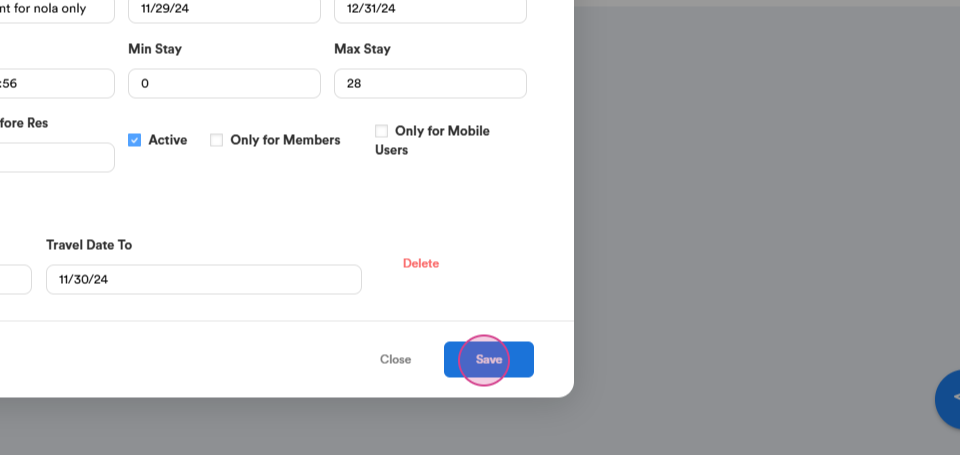
Step 15: Save the discount.
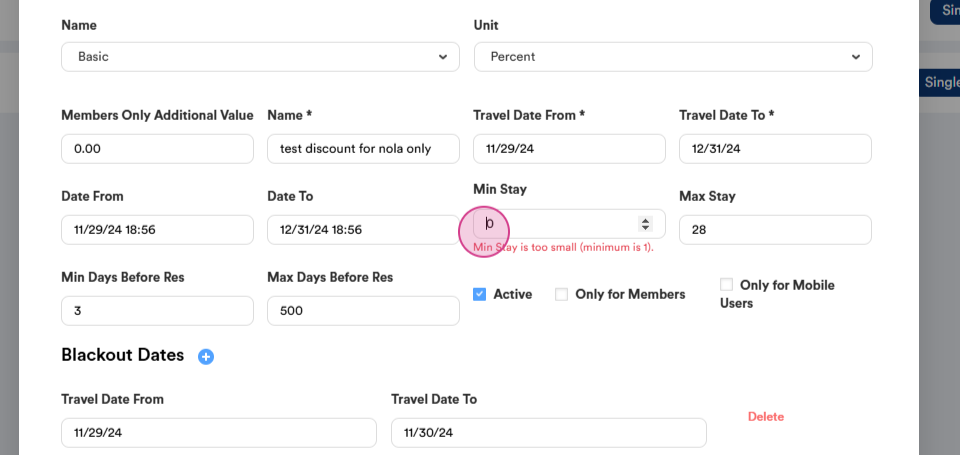
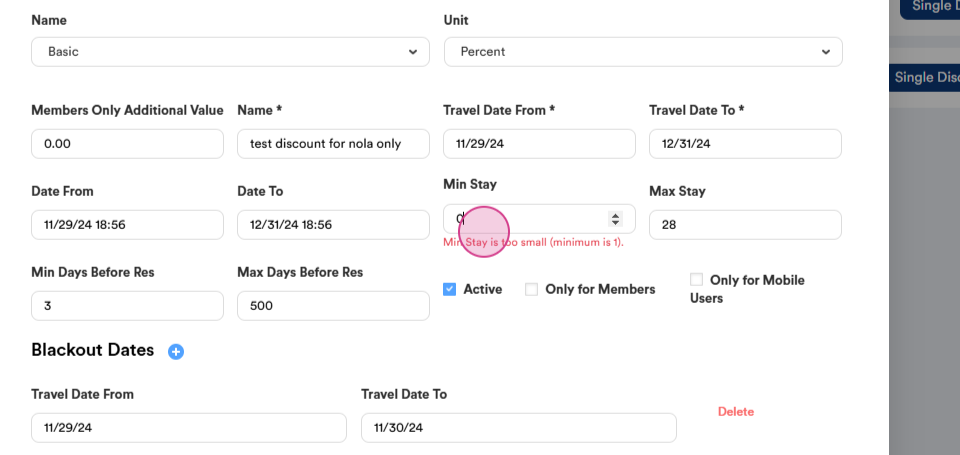
Step 16: Note that the minimum stake can be one.
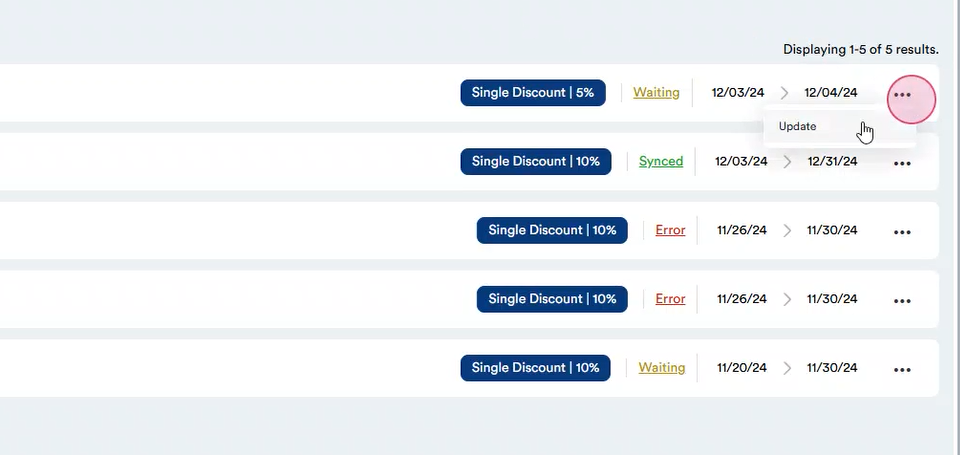
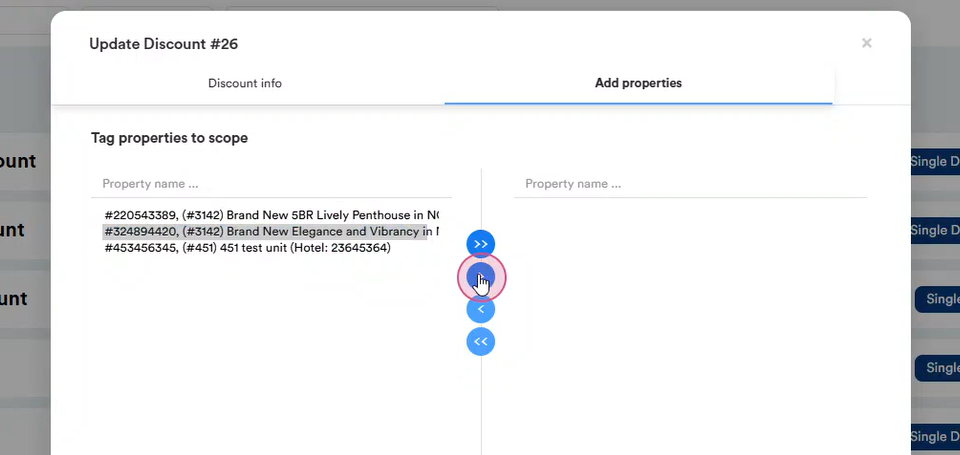
Step 17: After saving the discount, click on update.
Step 18: Choose to add properties and set up the necessary property.
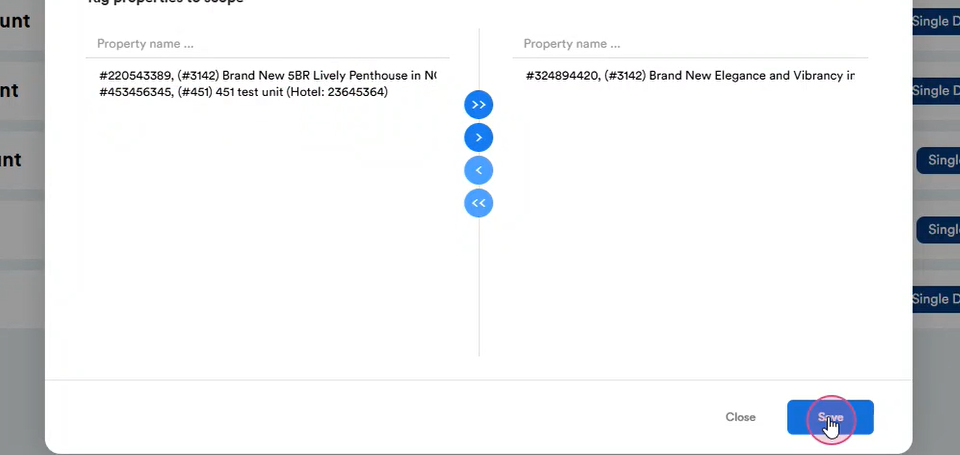
Step 19: Go to the right column and save.

Thank you!