In this article, you'll learn how to navigate and use the Timeline tab effectively.
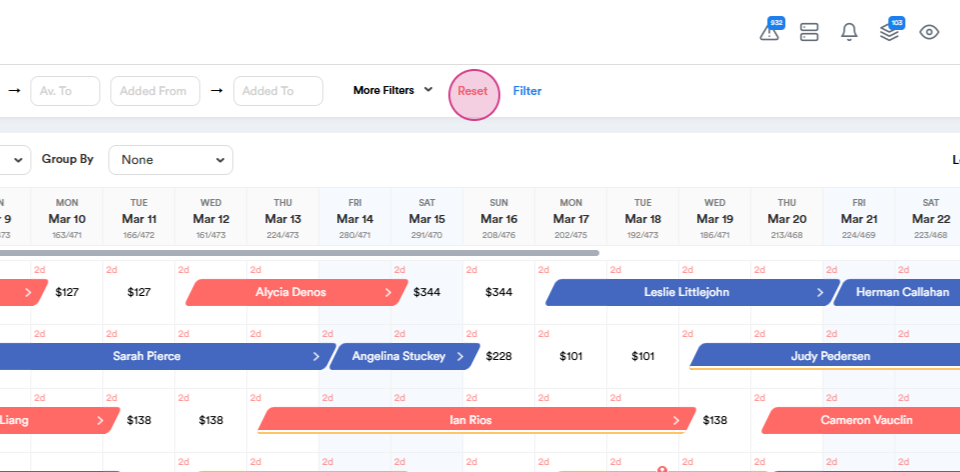
Step 1: On the Timeline tab, you can easily search for properties and active reservations using the filter bar.

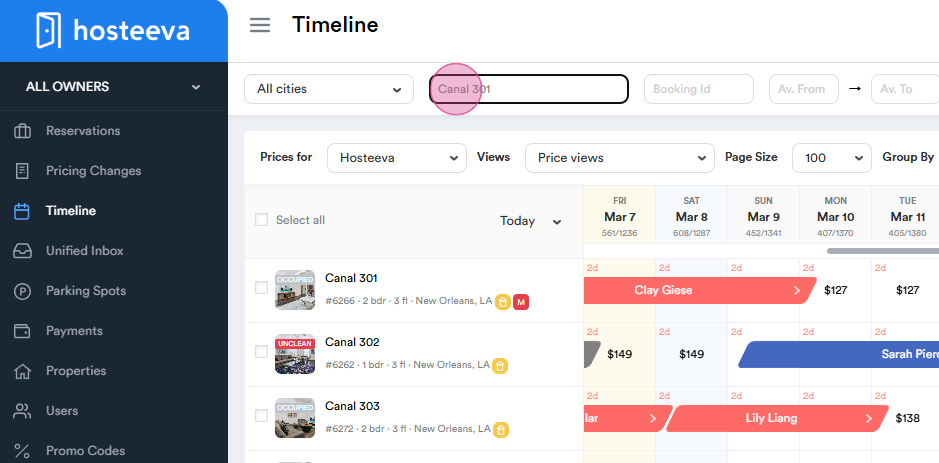
The filter allows you to search by the property’s Title, Address, or ID.
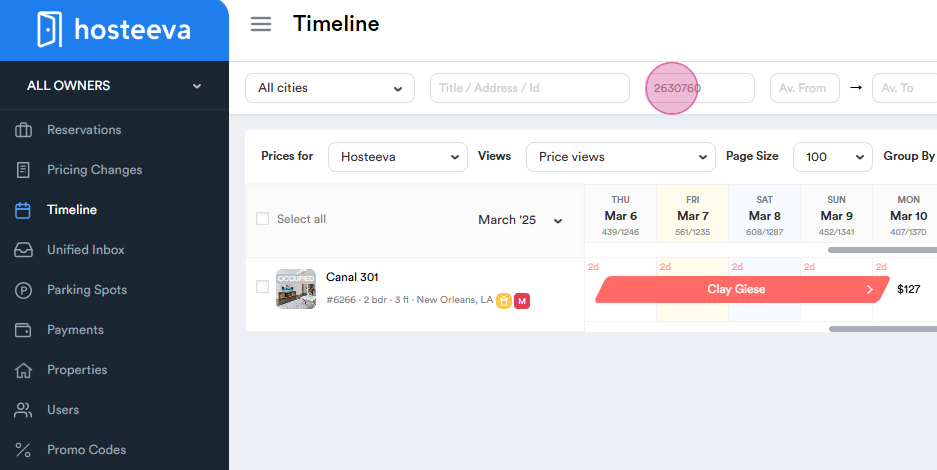
Additionally, you can find existing reservations by both Internal and External IDs (airbnb, booking, expedia and so on).
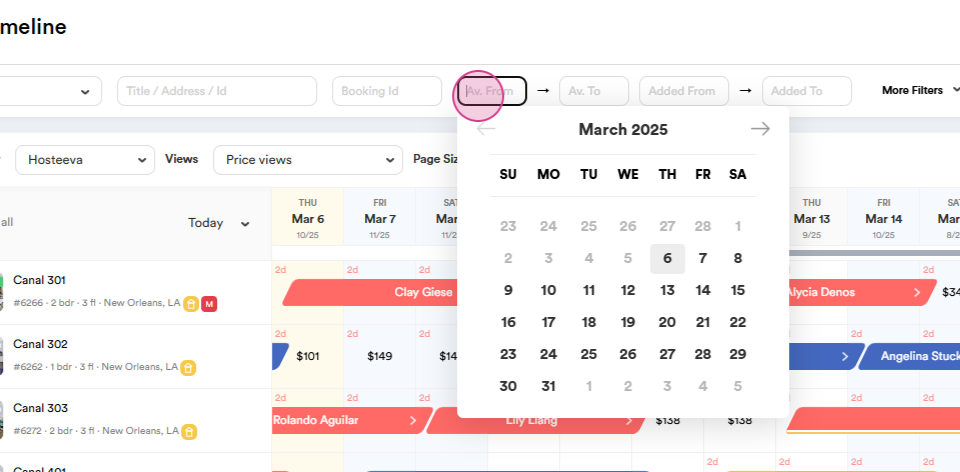
Use the Date filter to quickly identify properties available during a specific period.
Use the Location filter to search for properties in a specific area. For instance, to find a property in New Orleans, simply select the location.
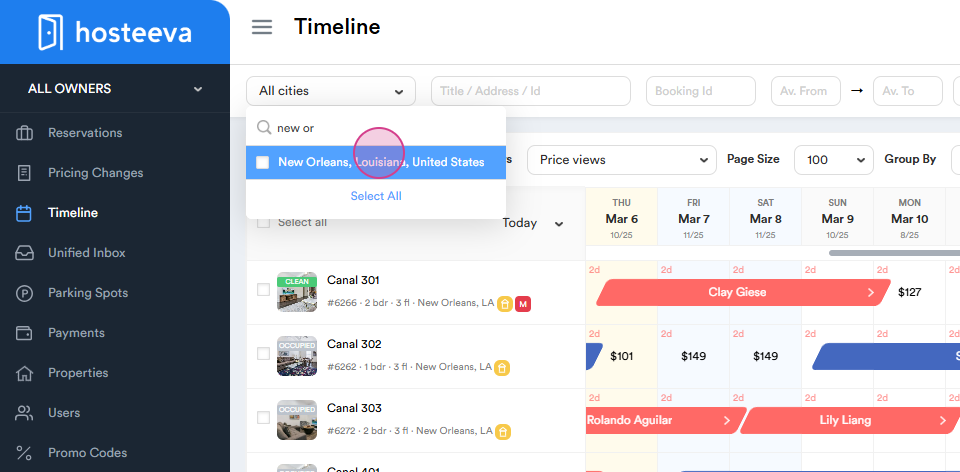
To reset all filters, press the Reset button.
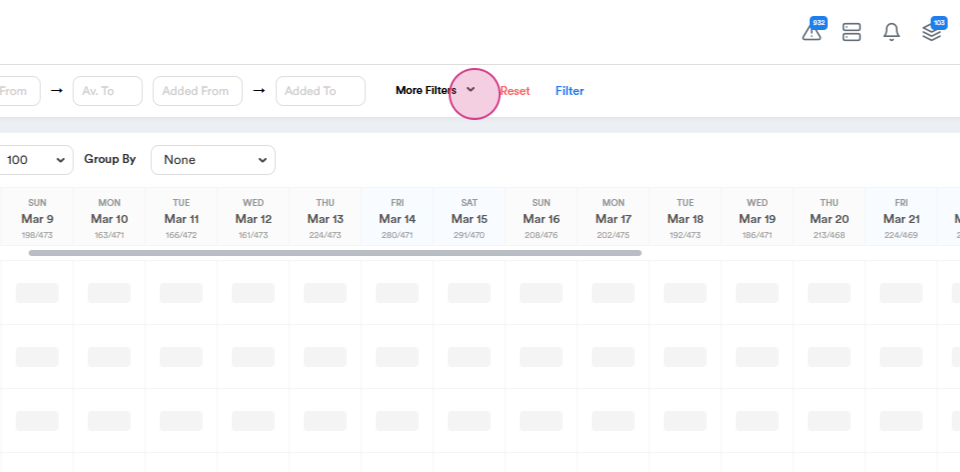
Step 2: Explore the More filters button to find properties using a variety of filters, maximum capacity, bedroom count, bedding type, amenities, and more.
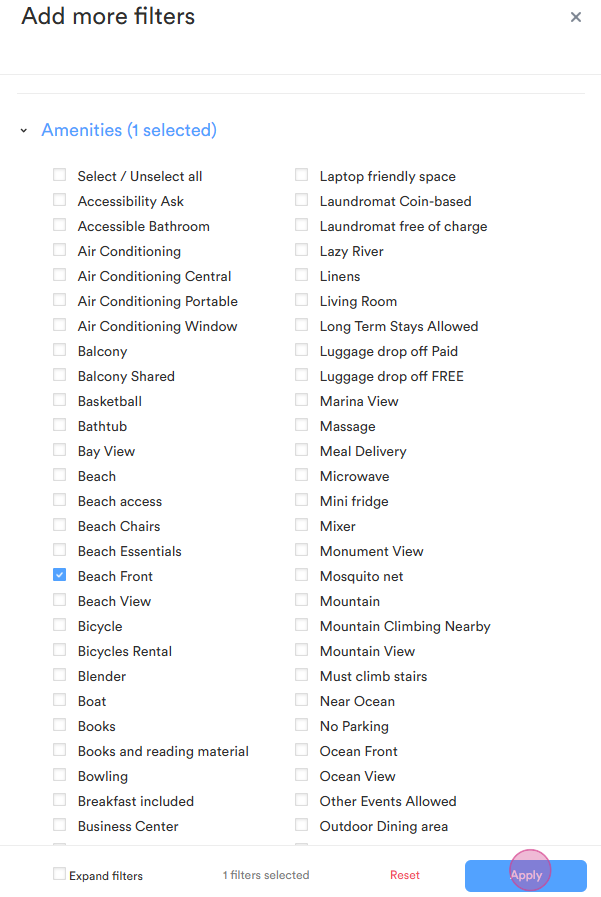
This is what the More Filter looks like. All options here are adjustable, allowing you to select from various choices in the dropdown menu to refine your search based on guest's preferences.
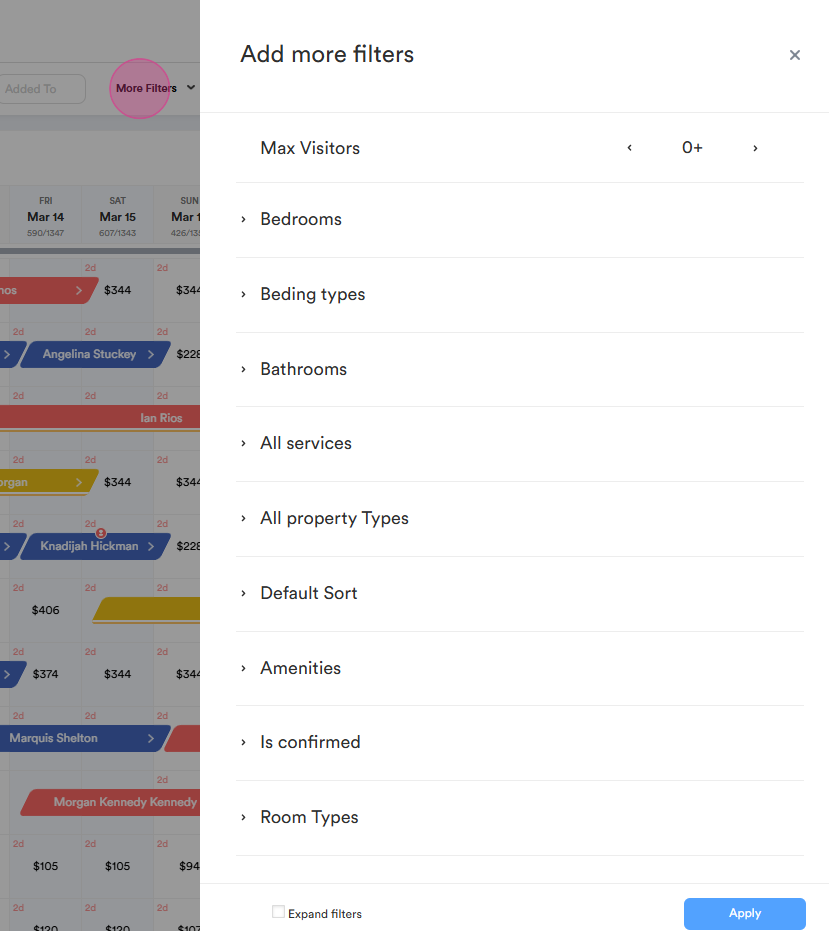
For instance, if a guest is looking for a beachfront property, simply check the relevant checkbox and click Apply to save the changes and update the search results.
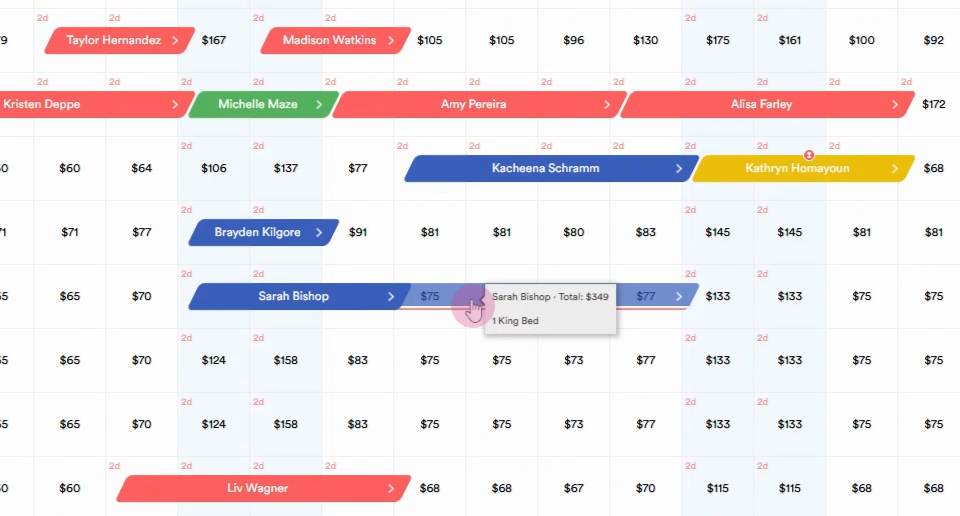
Step 3: Hover over the legend button to view visual information about timeline cells and property icons. Each icon represents something different.
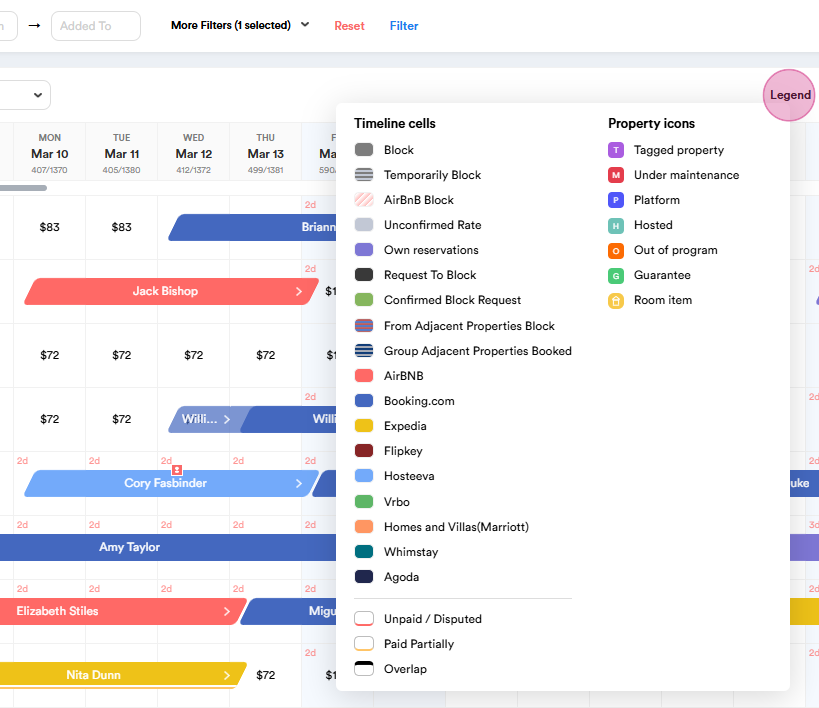
For example, a red icon indicates an Airbnb reservation, blue one Booking reservation and so on.
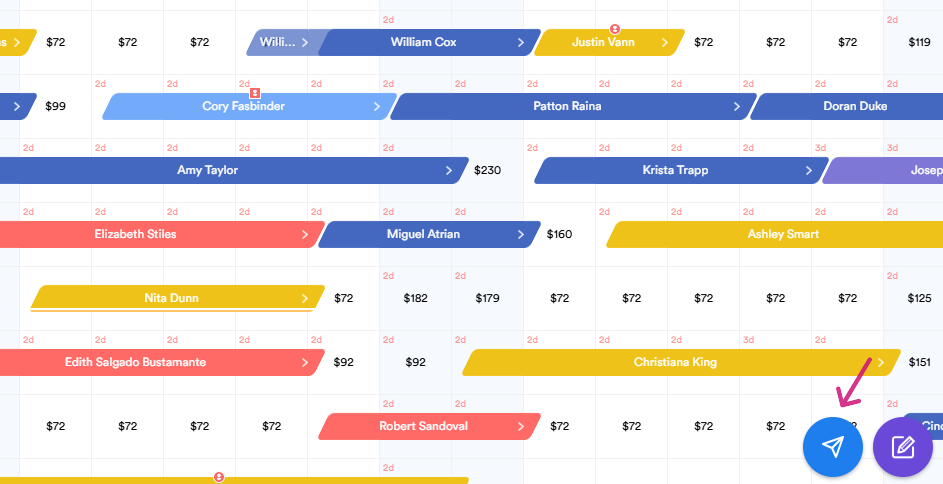
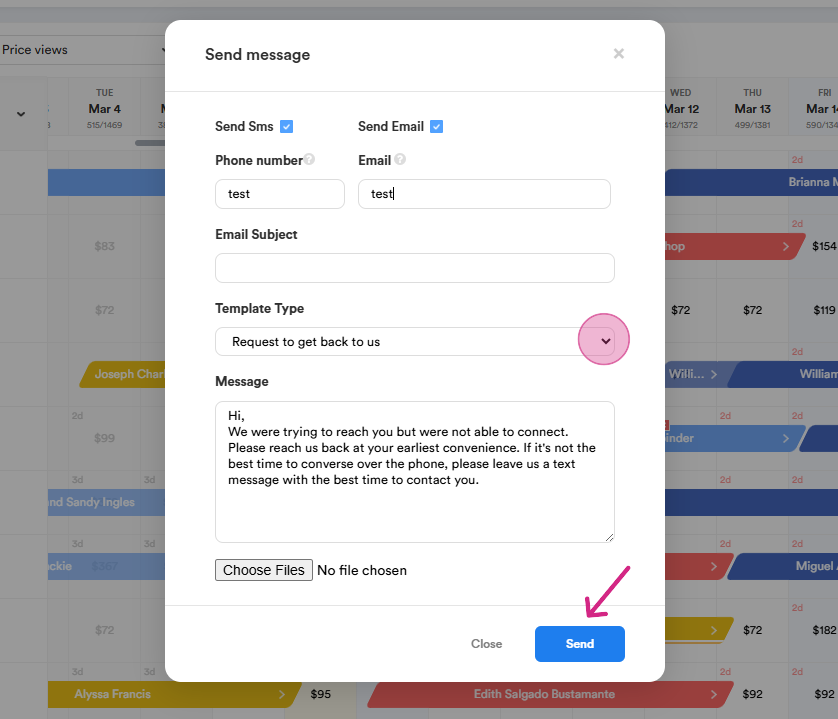
Step 4: To send texts or emails from the timeline, click on the relevant icon at the bottom.
Enter a phone number or email address, tick the required checkboxes, choose a template or type the text, and press send message.
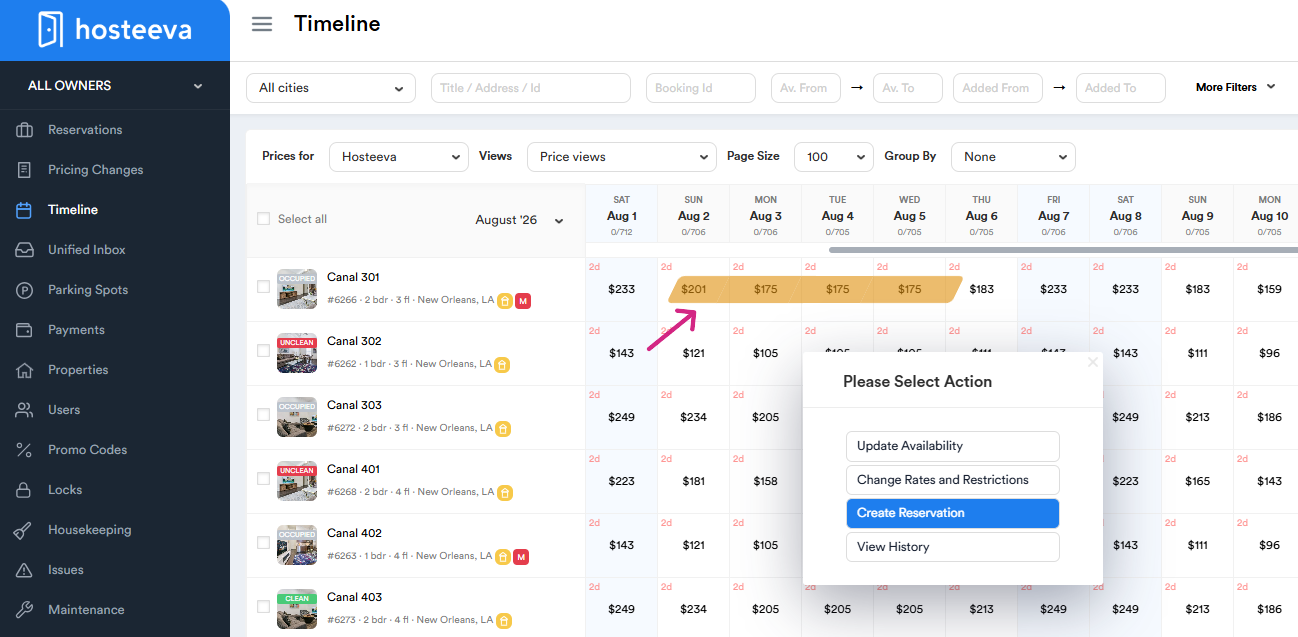
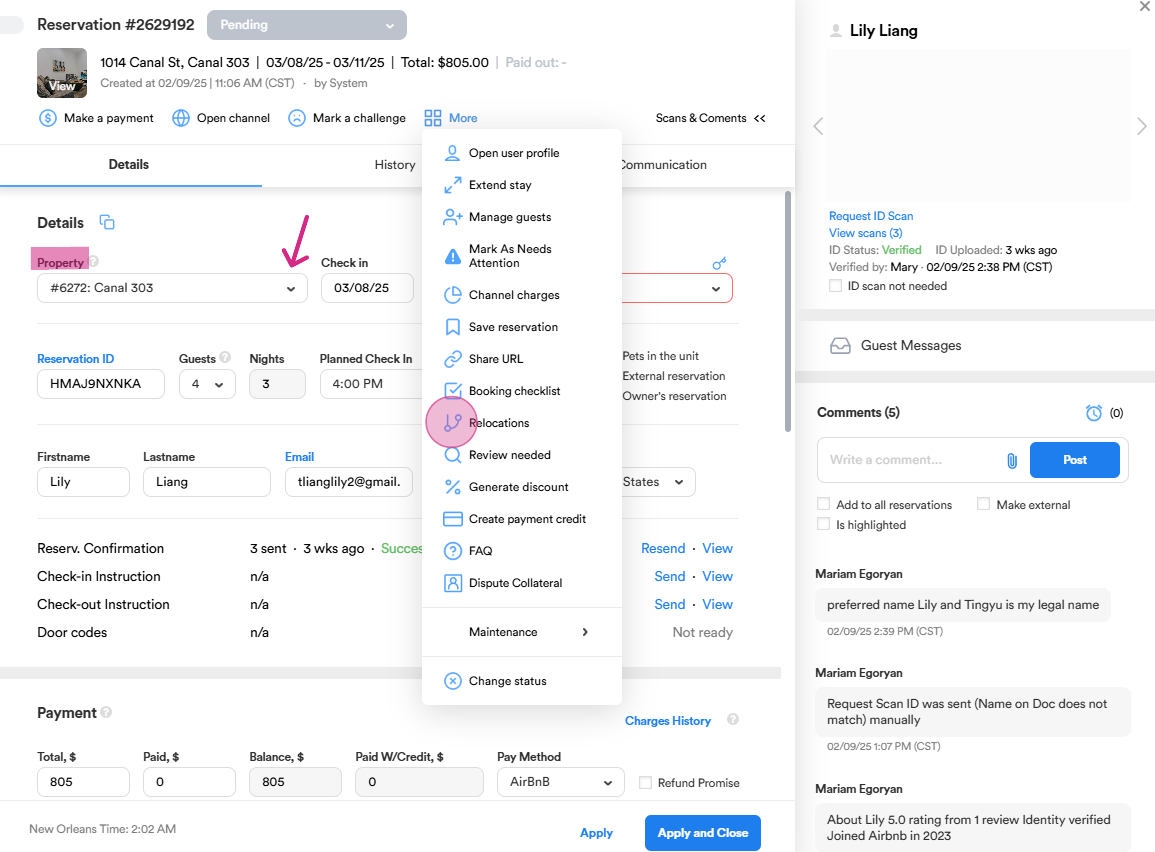
Step 5: To create a reservation, select the desired dates. Right-click and select create a reservation. To relocate a guest within the same city, select the relocation option.
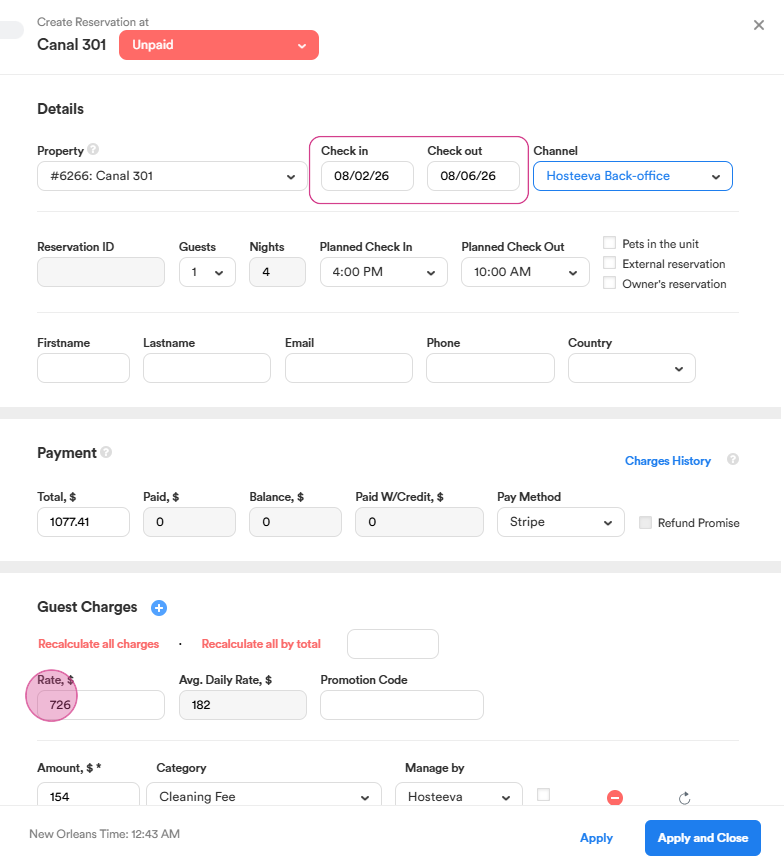
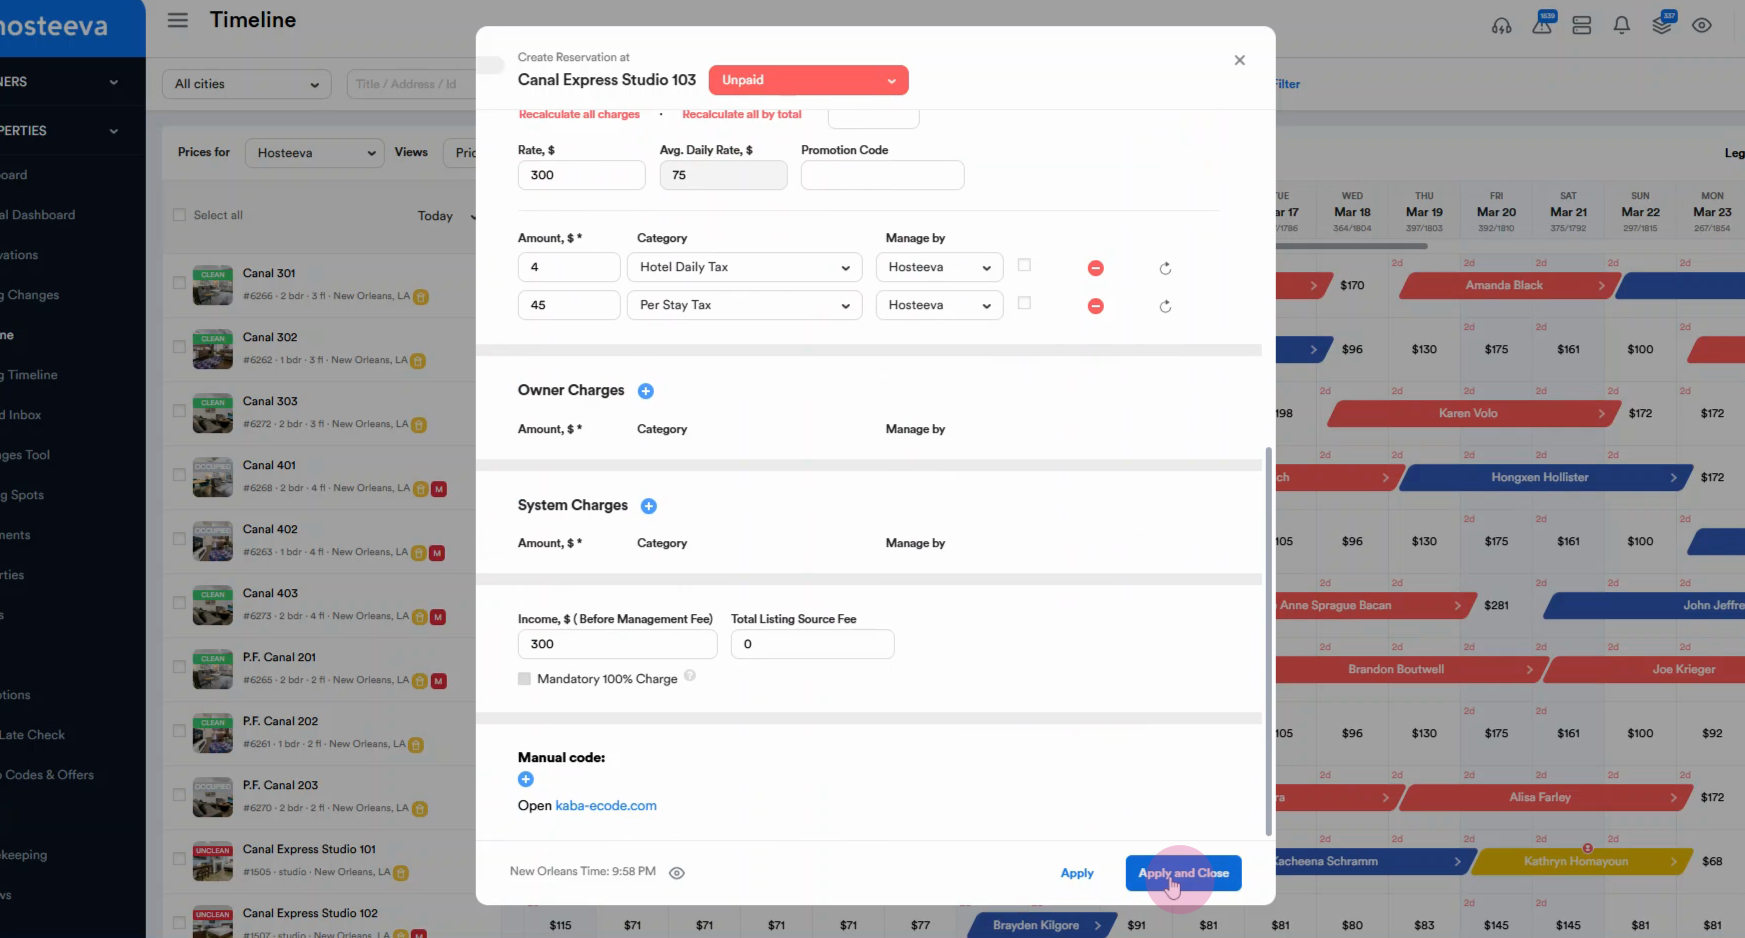
Here’s how the process of creating a reservation works, focusing primarily on selecting the check-in and check-out dates, as well as the rate for those specific dates.
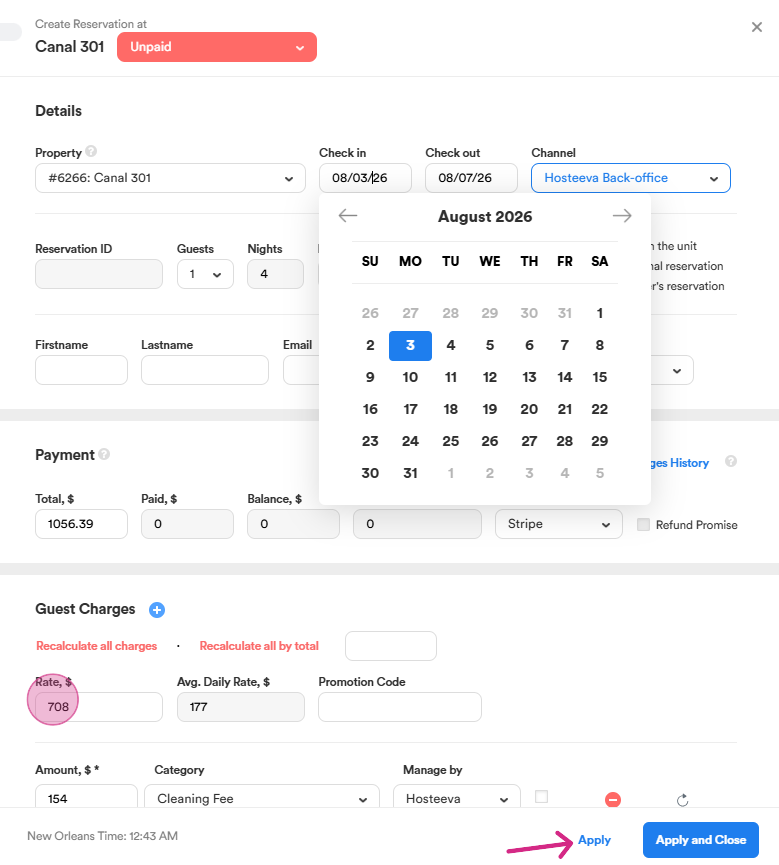
If you've selected the wrong dates, or if the guest requests a date change, first check the Timeline to ensure the new dates are available. Then, manually change the check-in and check-out dates. from the calendar in the reservation dialog. Please note that the rate may adjust accordingly. Finally, click Apply to save the changes.
To apply a discount to a rate, manually reduce the rate by the desired amount. For example, to apply a 10% discount, subtract 10% from the original rate (e.g., $708 - 10%), resulting in a new rate of $637.20. Click on a blank space to view the updated total amount, which will automatically adjust.
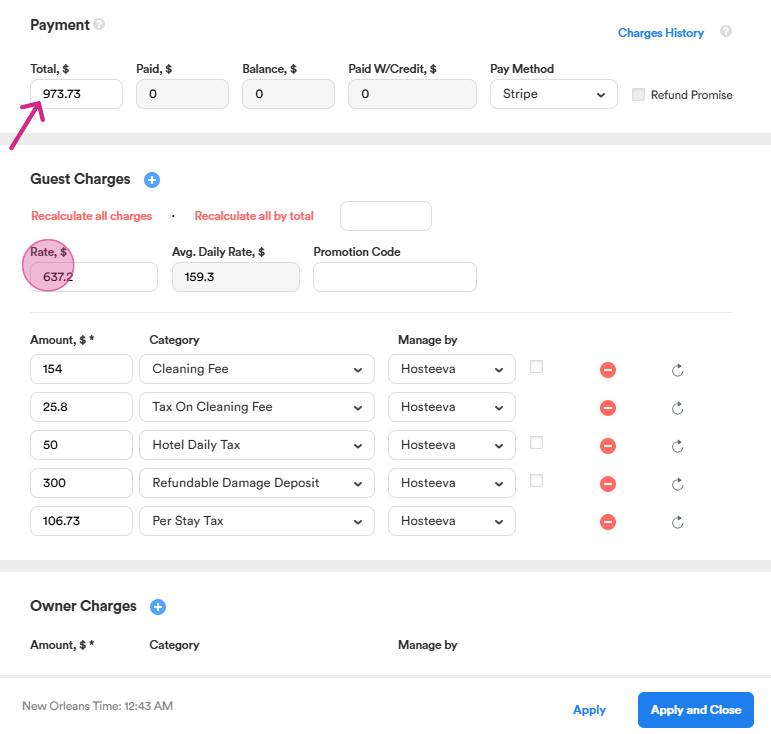
If you need to set a specific total amount, Enter the amount and press recalculate all by total. The system will adjust the fees and taxes accordingly.

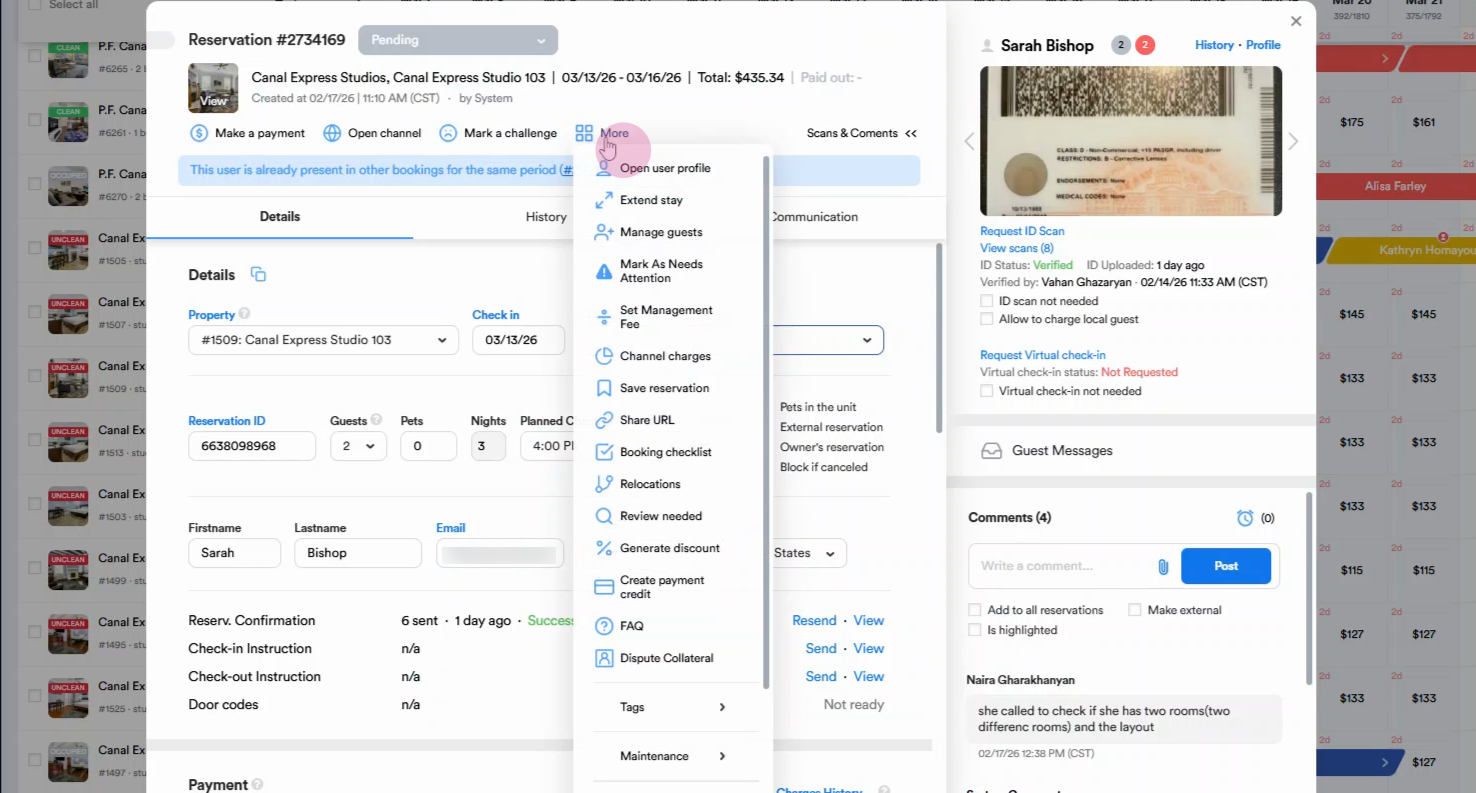
Step 6: Select the More button on the reservation.
Step 7: Click Extend Stay.
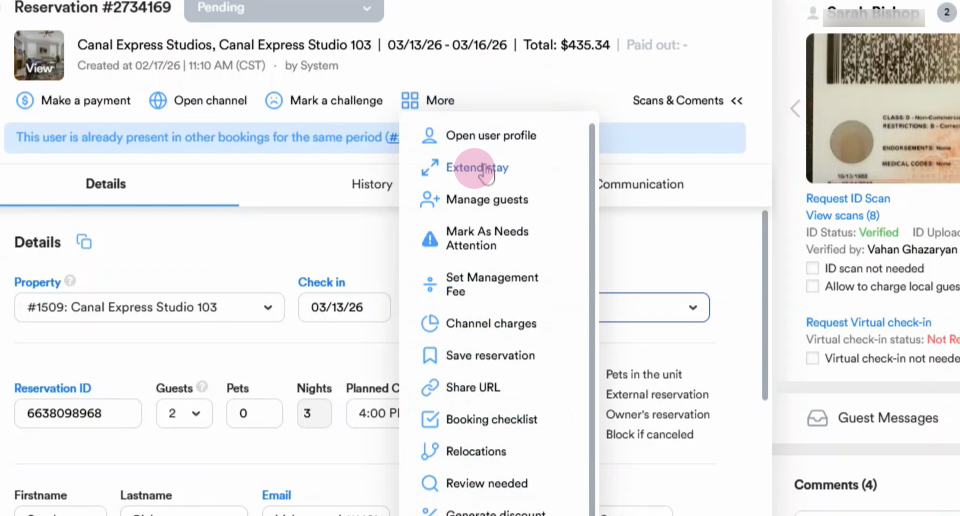
Step 9: Choose when to extend—After Booking or Before Booking.
-
After Booking lets you push back the checkout date.
-
Before Booking allows you to adjust the check-in date.
Step 10: Adjust the dates to your new check-in or check-out as needed. For example, extend the checkout from March 16th to March 20th, or move the check-in date a day earlier. Click Extend to confirm the change.
Step 11: Click Apply and Close to save the extension.
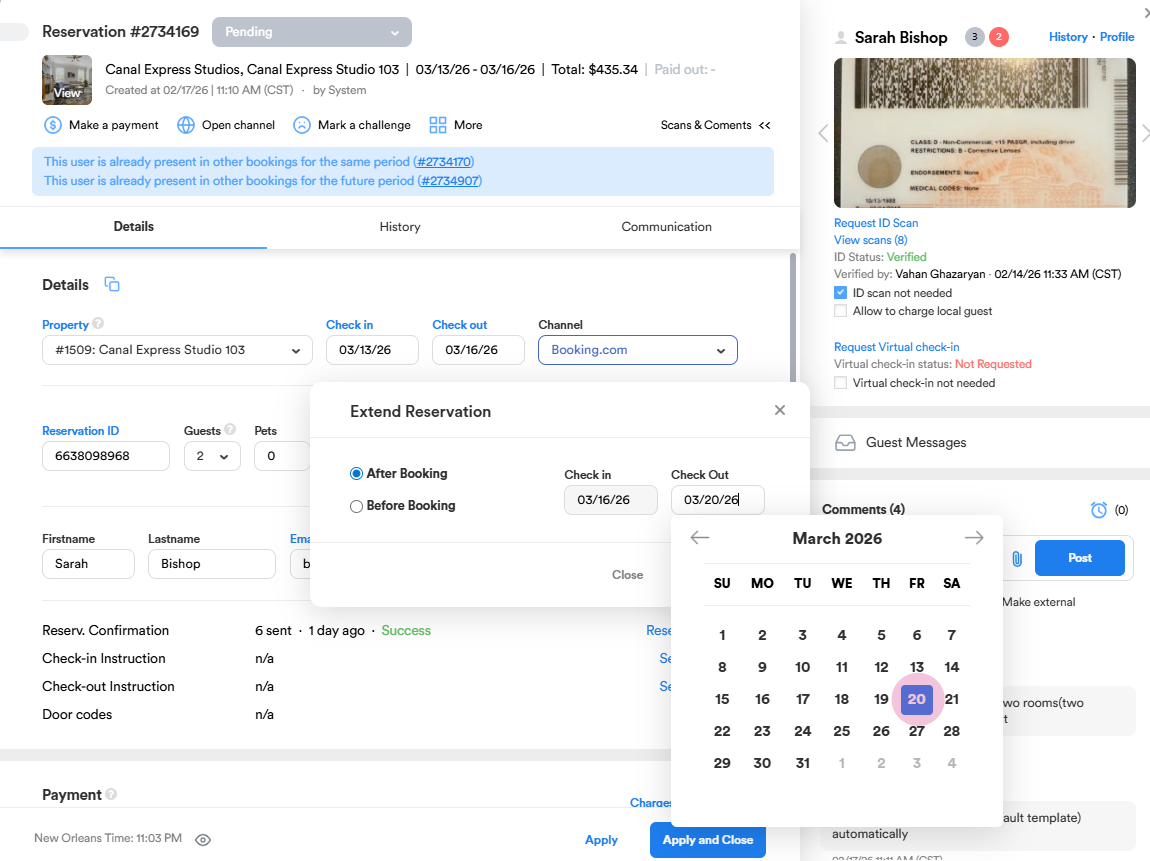
Step 12: Notice the extension reflected in the reservation’s night count.
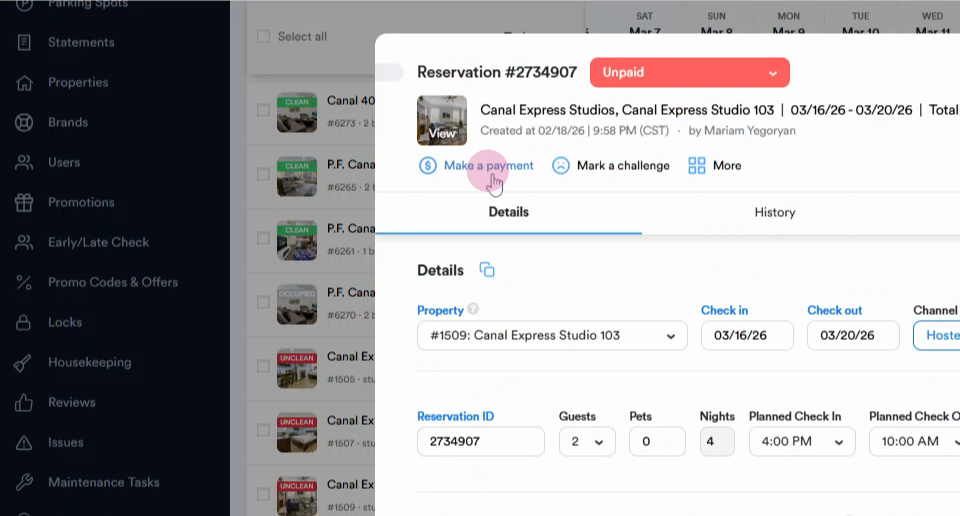
Step 13: Go to Make a Payment to request payment for the additional nights.
Step 14: There are two main options for relocation: one from the More button in the reservation dialog and the other from the Property dropdown menu. Choose the new property from the list. Check the availability of the new property for the desired dates leave a comment and press apply to relocate the guest.
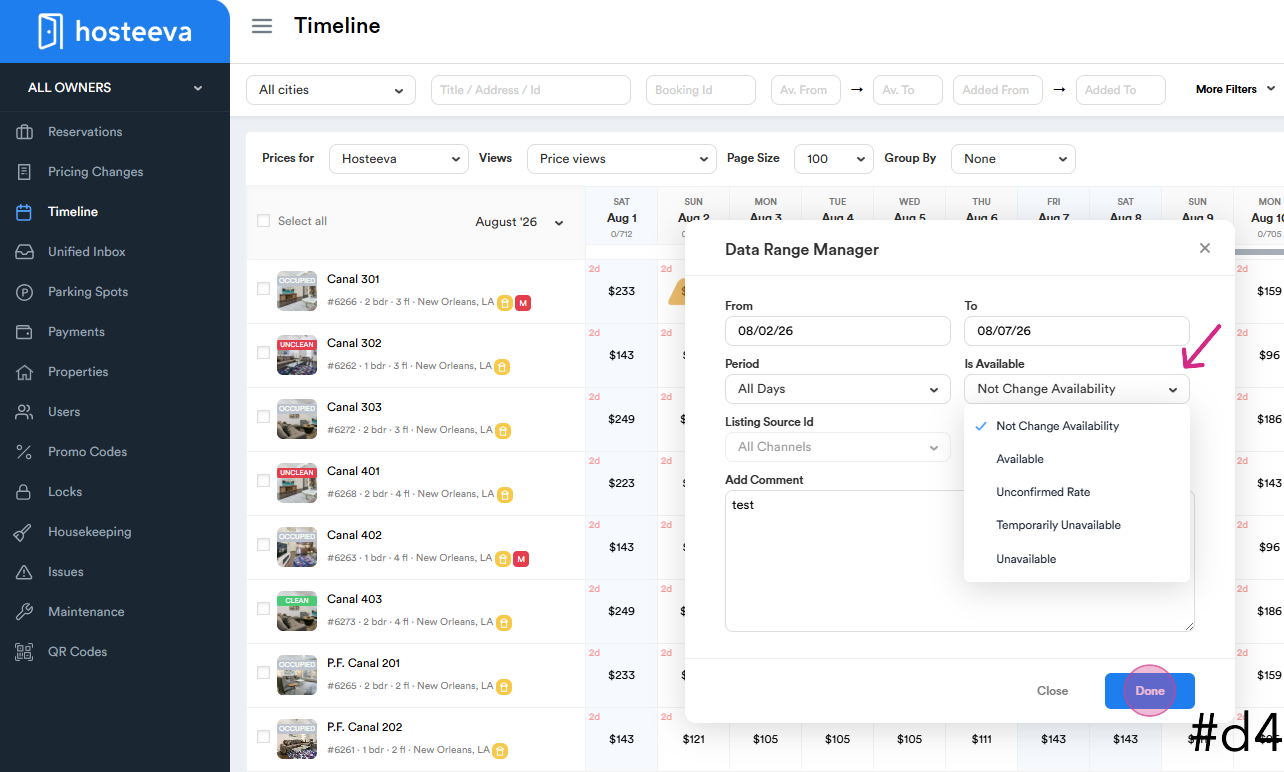
Step 15: Date availability changes are made from the timeline. First, select the dates you wish to block.
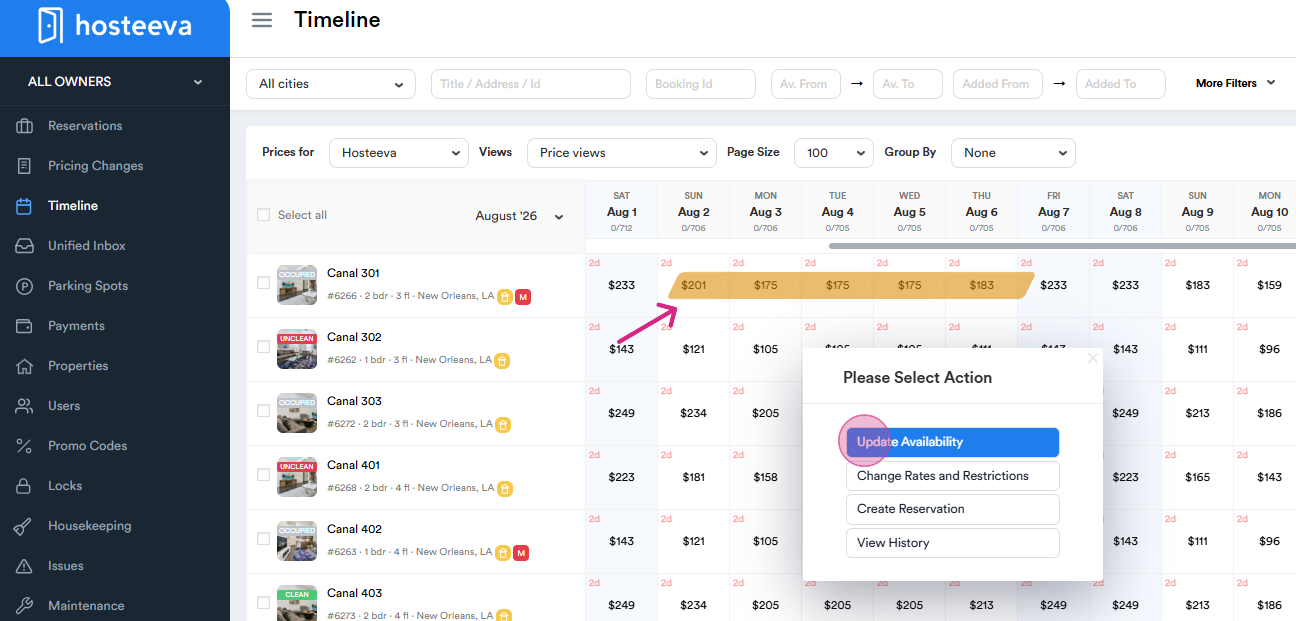
Next, from the Is Available dropdown menu, select the appropriate status, add a comment, and then click Done.
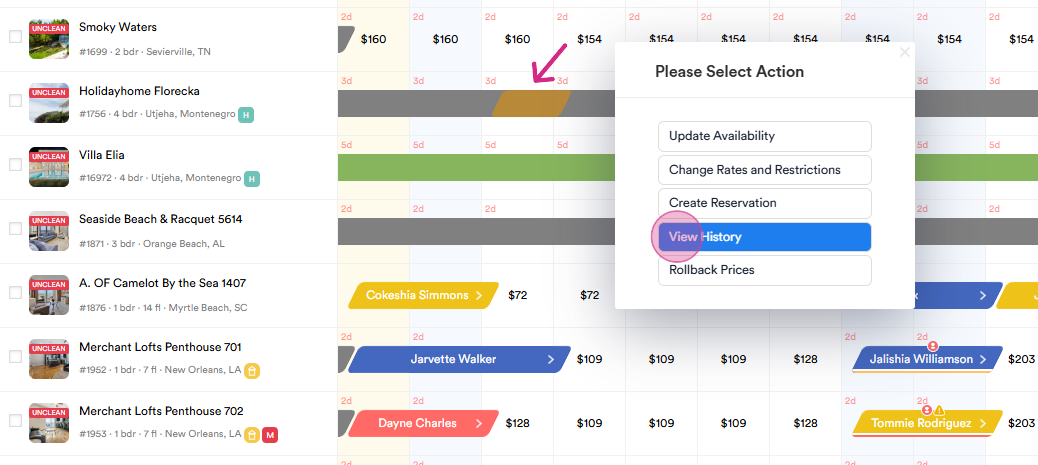
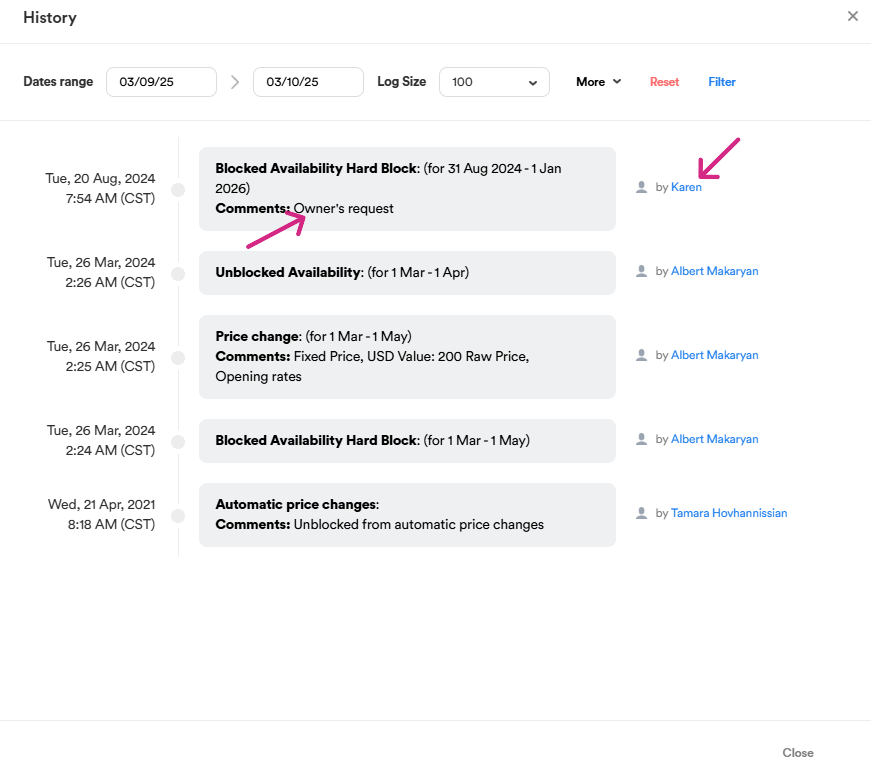
To check the reason for an existing date block on a property, simply right-click on any blocked section of the timeline and select View History.
Here, you can view both the requester of the date block and the creator of the block.
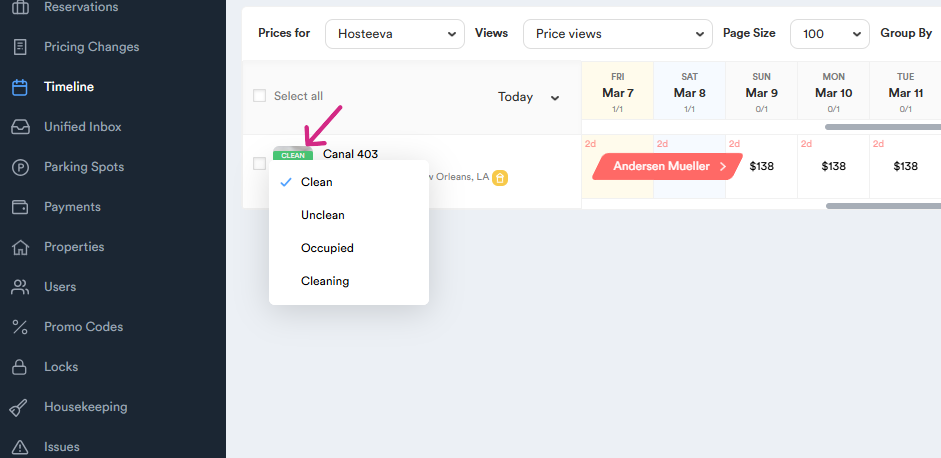
Step 16: To change the housekeeping status, click on the status. Remember, we usually don't change the housekeeping status ourselves. But if you have information from local management or the housekeeping team, you can change it.
Thank you!