This guide explains how to update and upload photos of a property on Expedia.com.
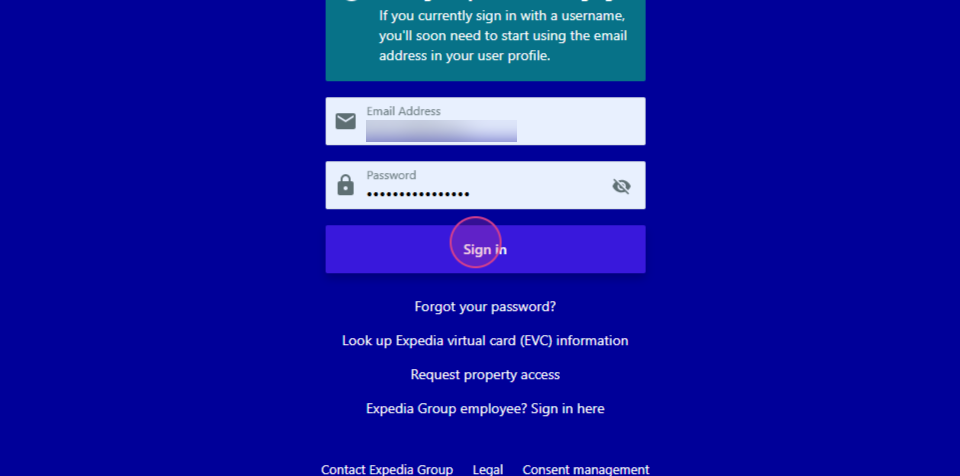
Start by logging into the Expedia account.
Step 1: Search for the property using its ID or name.
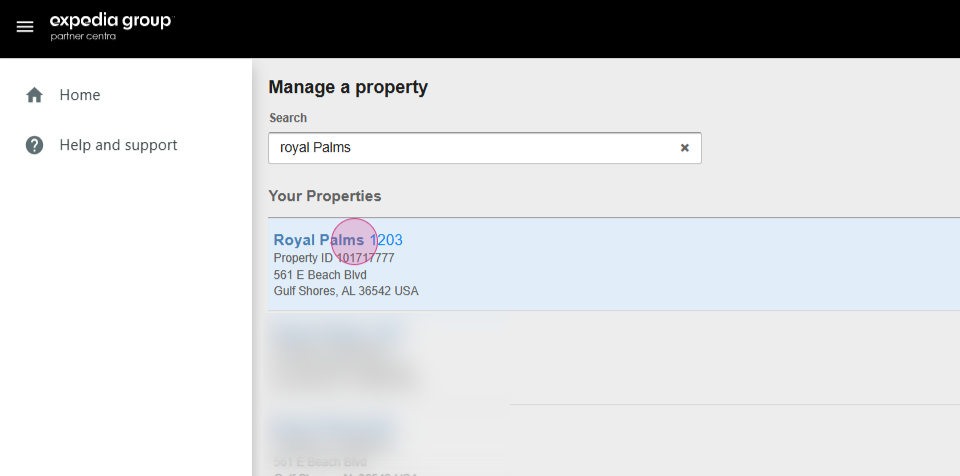
Step 2: Click on the property name. On the left side of the screen, find the property details drop-down menu.
Step 3: Click on the drop-down menu and locate the photo section.

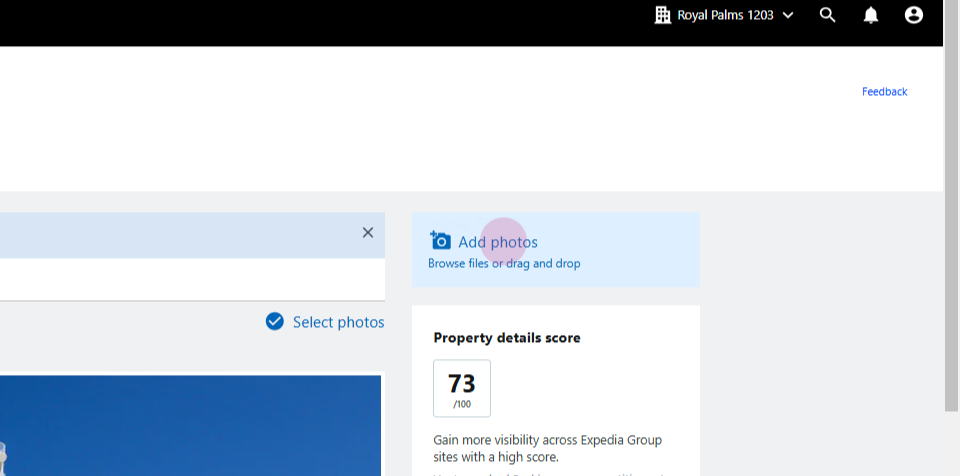
Step 4: In the photo section, add new photos by clicking on the "Add Photos" option in the upper right corner.
Step 5: Choose the photos to upload from the selected folder. Label each photo appropriately. For instance, if the photo is of a living room, label it as "Living Room."
Step 6: Select the appropriate label from the options provided by Expedia.
Step 7: Choose the room that the photo represents. For instance, if the photo is of a one-bedroom condo with a beach view, select that option.

Step 8: Set a primary photo. This is the first photo that viewers will see.

Step 9: After labeling all the photos, click on the "Upload" button to upload them.
Note: All photos must adhere to Expedia's policy of 300 pixels in width. Photos that do not meet these requirements will not be uploaded.
The property detail score is based on the quality of the photos and the amenities provided. For instance, if a gym is listed as an amenity, a photo of the gym is required.