This guide explains how to use timeline filters to view and manage property reservations and prices.
Start by navigating to the timeline page.
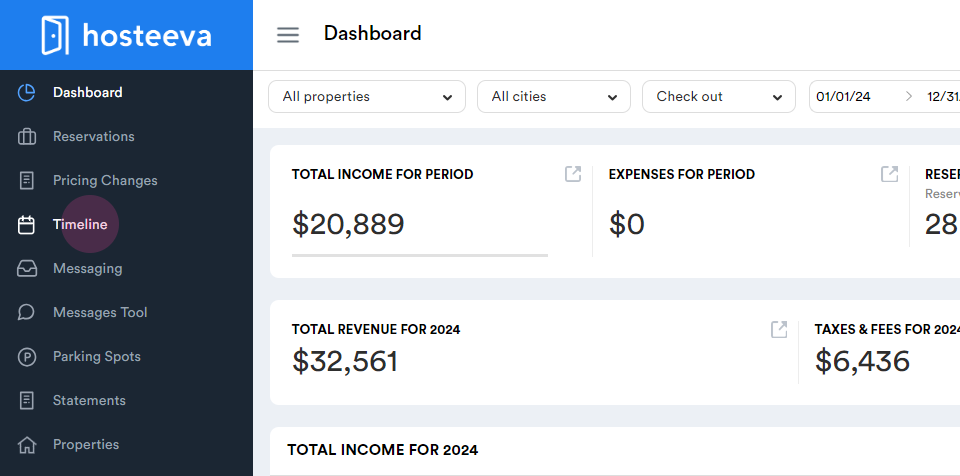
Step 1: Click on the Timeline tab. This feature allows viewing of properties, reservations, and prices.
Step 2: To filter by cities, click on the All Cities tab. From the drop-down menu, select the desired city. The timeline will then display only the properties located in the selected city.

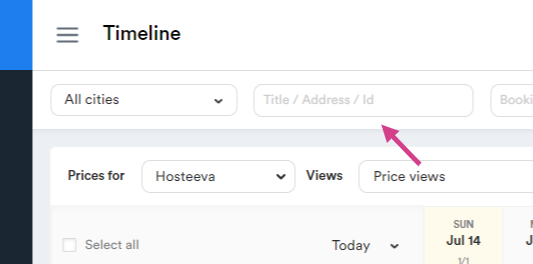
Step 3: Enter the property title, address, or property ID in the blank space provided. The property ID is located under the property name.
Step 4: Search by booking ID. Copy the booking ID and paste it into the Booking ID tab.
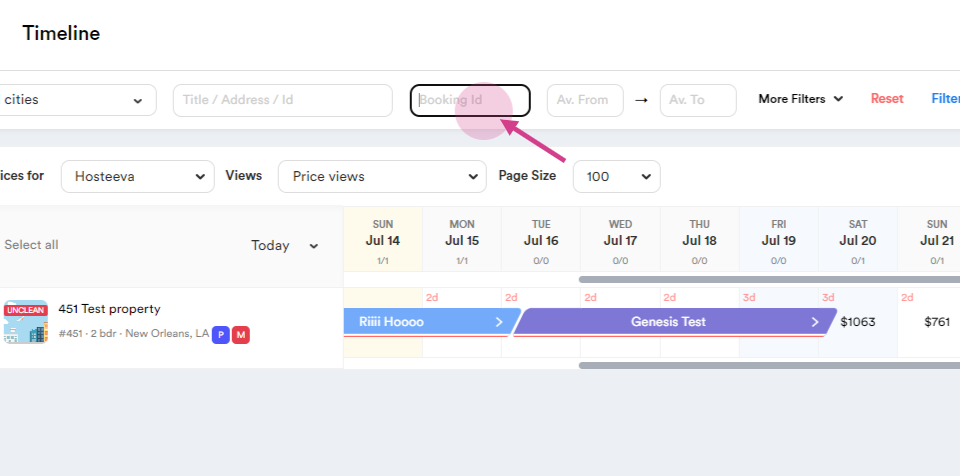
Click on the Filter button to apply the changes. The timeline will refresh and display the data based on the selected filters.
Step 6: To clear all applied filters and restore the timeline to its default view, click on the Reset button.
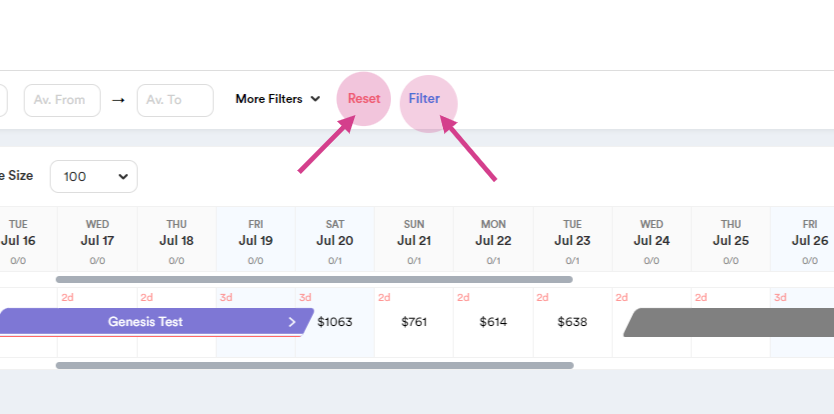
If no data appears after applying filters, double-check the filter criteria or reset the filter and try again.
Step 7: Search by property availability dates.

Step 8: Click on the More Filters button to search based on bedroom count, bedding types, bathrooms, and more.

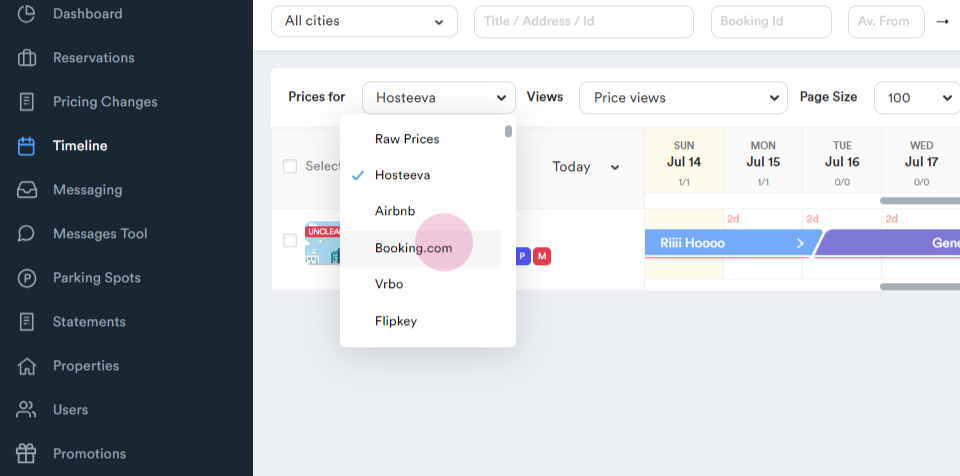
Step 9: Select a booking platform from the drop-down menu to see different booking platform's price view. The default platform is Hosteeva.
Step 10: Adjust the view section. The default view is Prices View. Click on it and select All Basic Prices from the drop-down menu.
This allows viewing of prices even if the calendar is closed.

Step 11: Apply the Minimum Prices filter to view the minimum price under the main price. This will show the lowest price that can be applied.

Step 12: Choose a page size. This is useful for viewing 100 properties on one page.

Step 13: Navigate through the timeline. For example, to see prices for May 2025, find May 25 and click on it.

Hover over the calendar to see price changes and read comments about who changed the prices, why, and when.

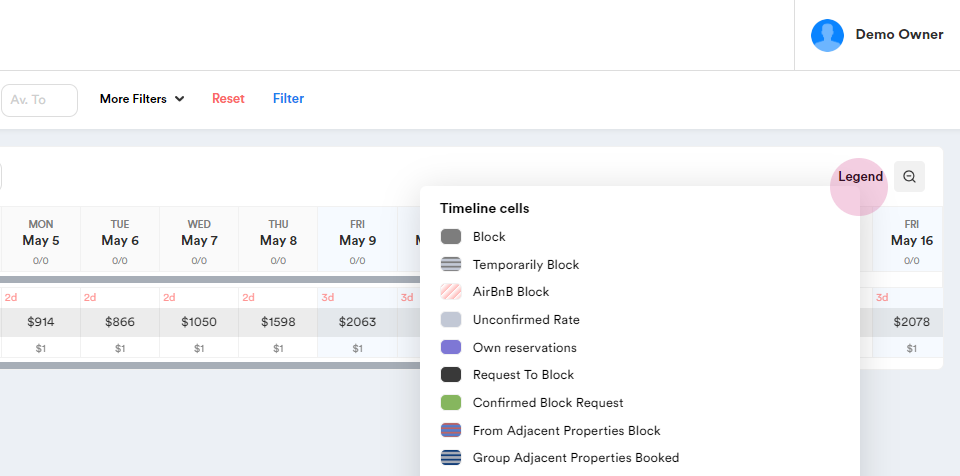
Step 14: Understand the color-coded bookings by hovering over the Legend label. By hovering over this, you can see different colors and explanations. The colors and shapes will help you understand the specific meanings associated with each cell on the timeline. For example, the black color indicates that the calendar is blocked, and the blue color signifies a Booking.com reservation, and so on.
For example, black indicates that the calendar is blocked, and blue signifies a Booking.com reservation.
How to Create a Reservation on the Hosteeva Calendar

-
Click on the calendar and select the desired dates. A window will open.
-
Click the "Create Reservation" button.
-
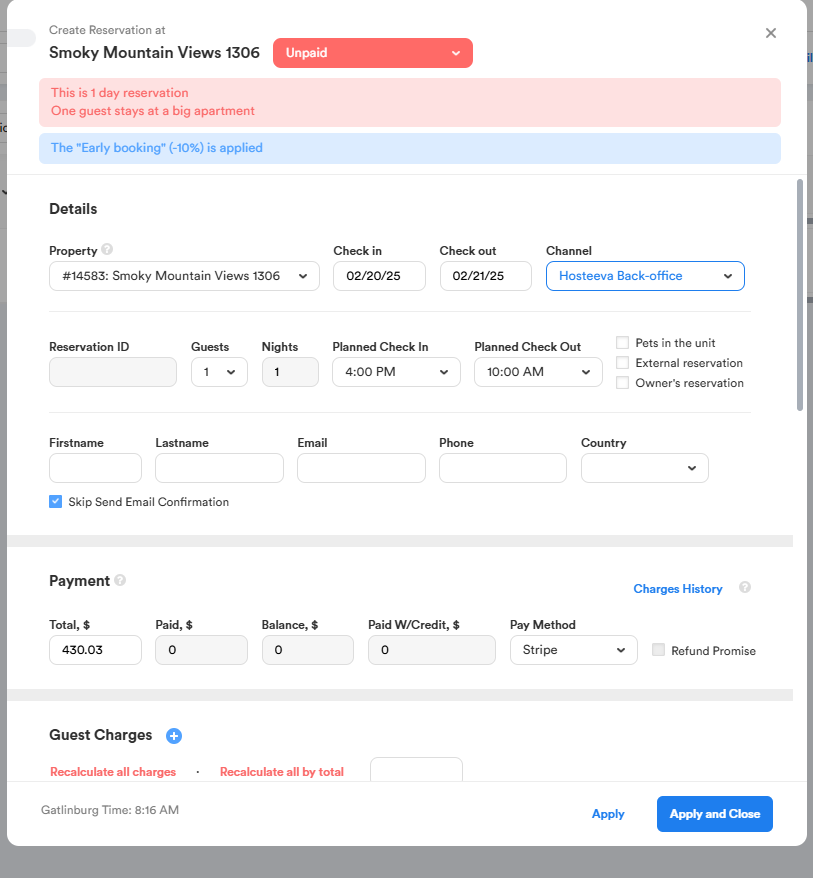
In the reservation dialog, fill out the following required details for the guest:
- First and Last Name
- Address
- Email Address
- Number of Guests
Please note: All of this information is necessary to create a reservation.
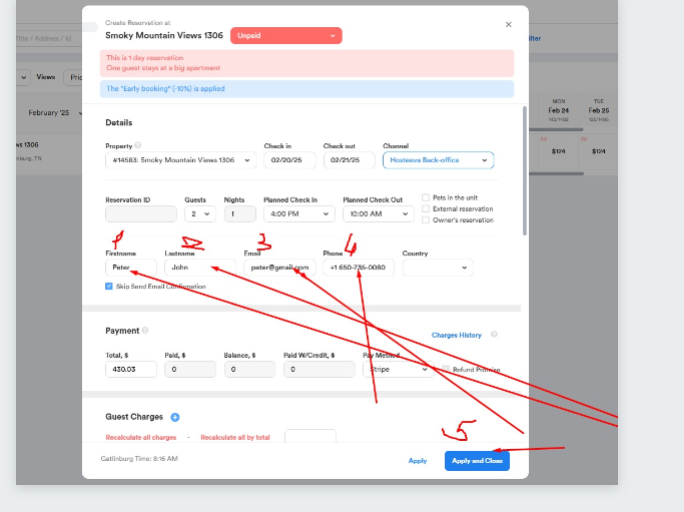
4. After entering all the required details, click "Apply and Close" to complete the process.